Hi Stampers!
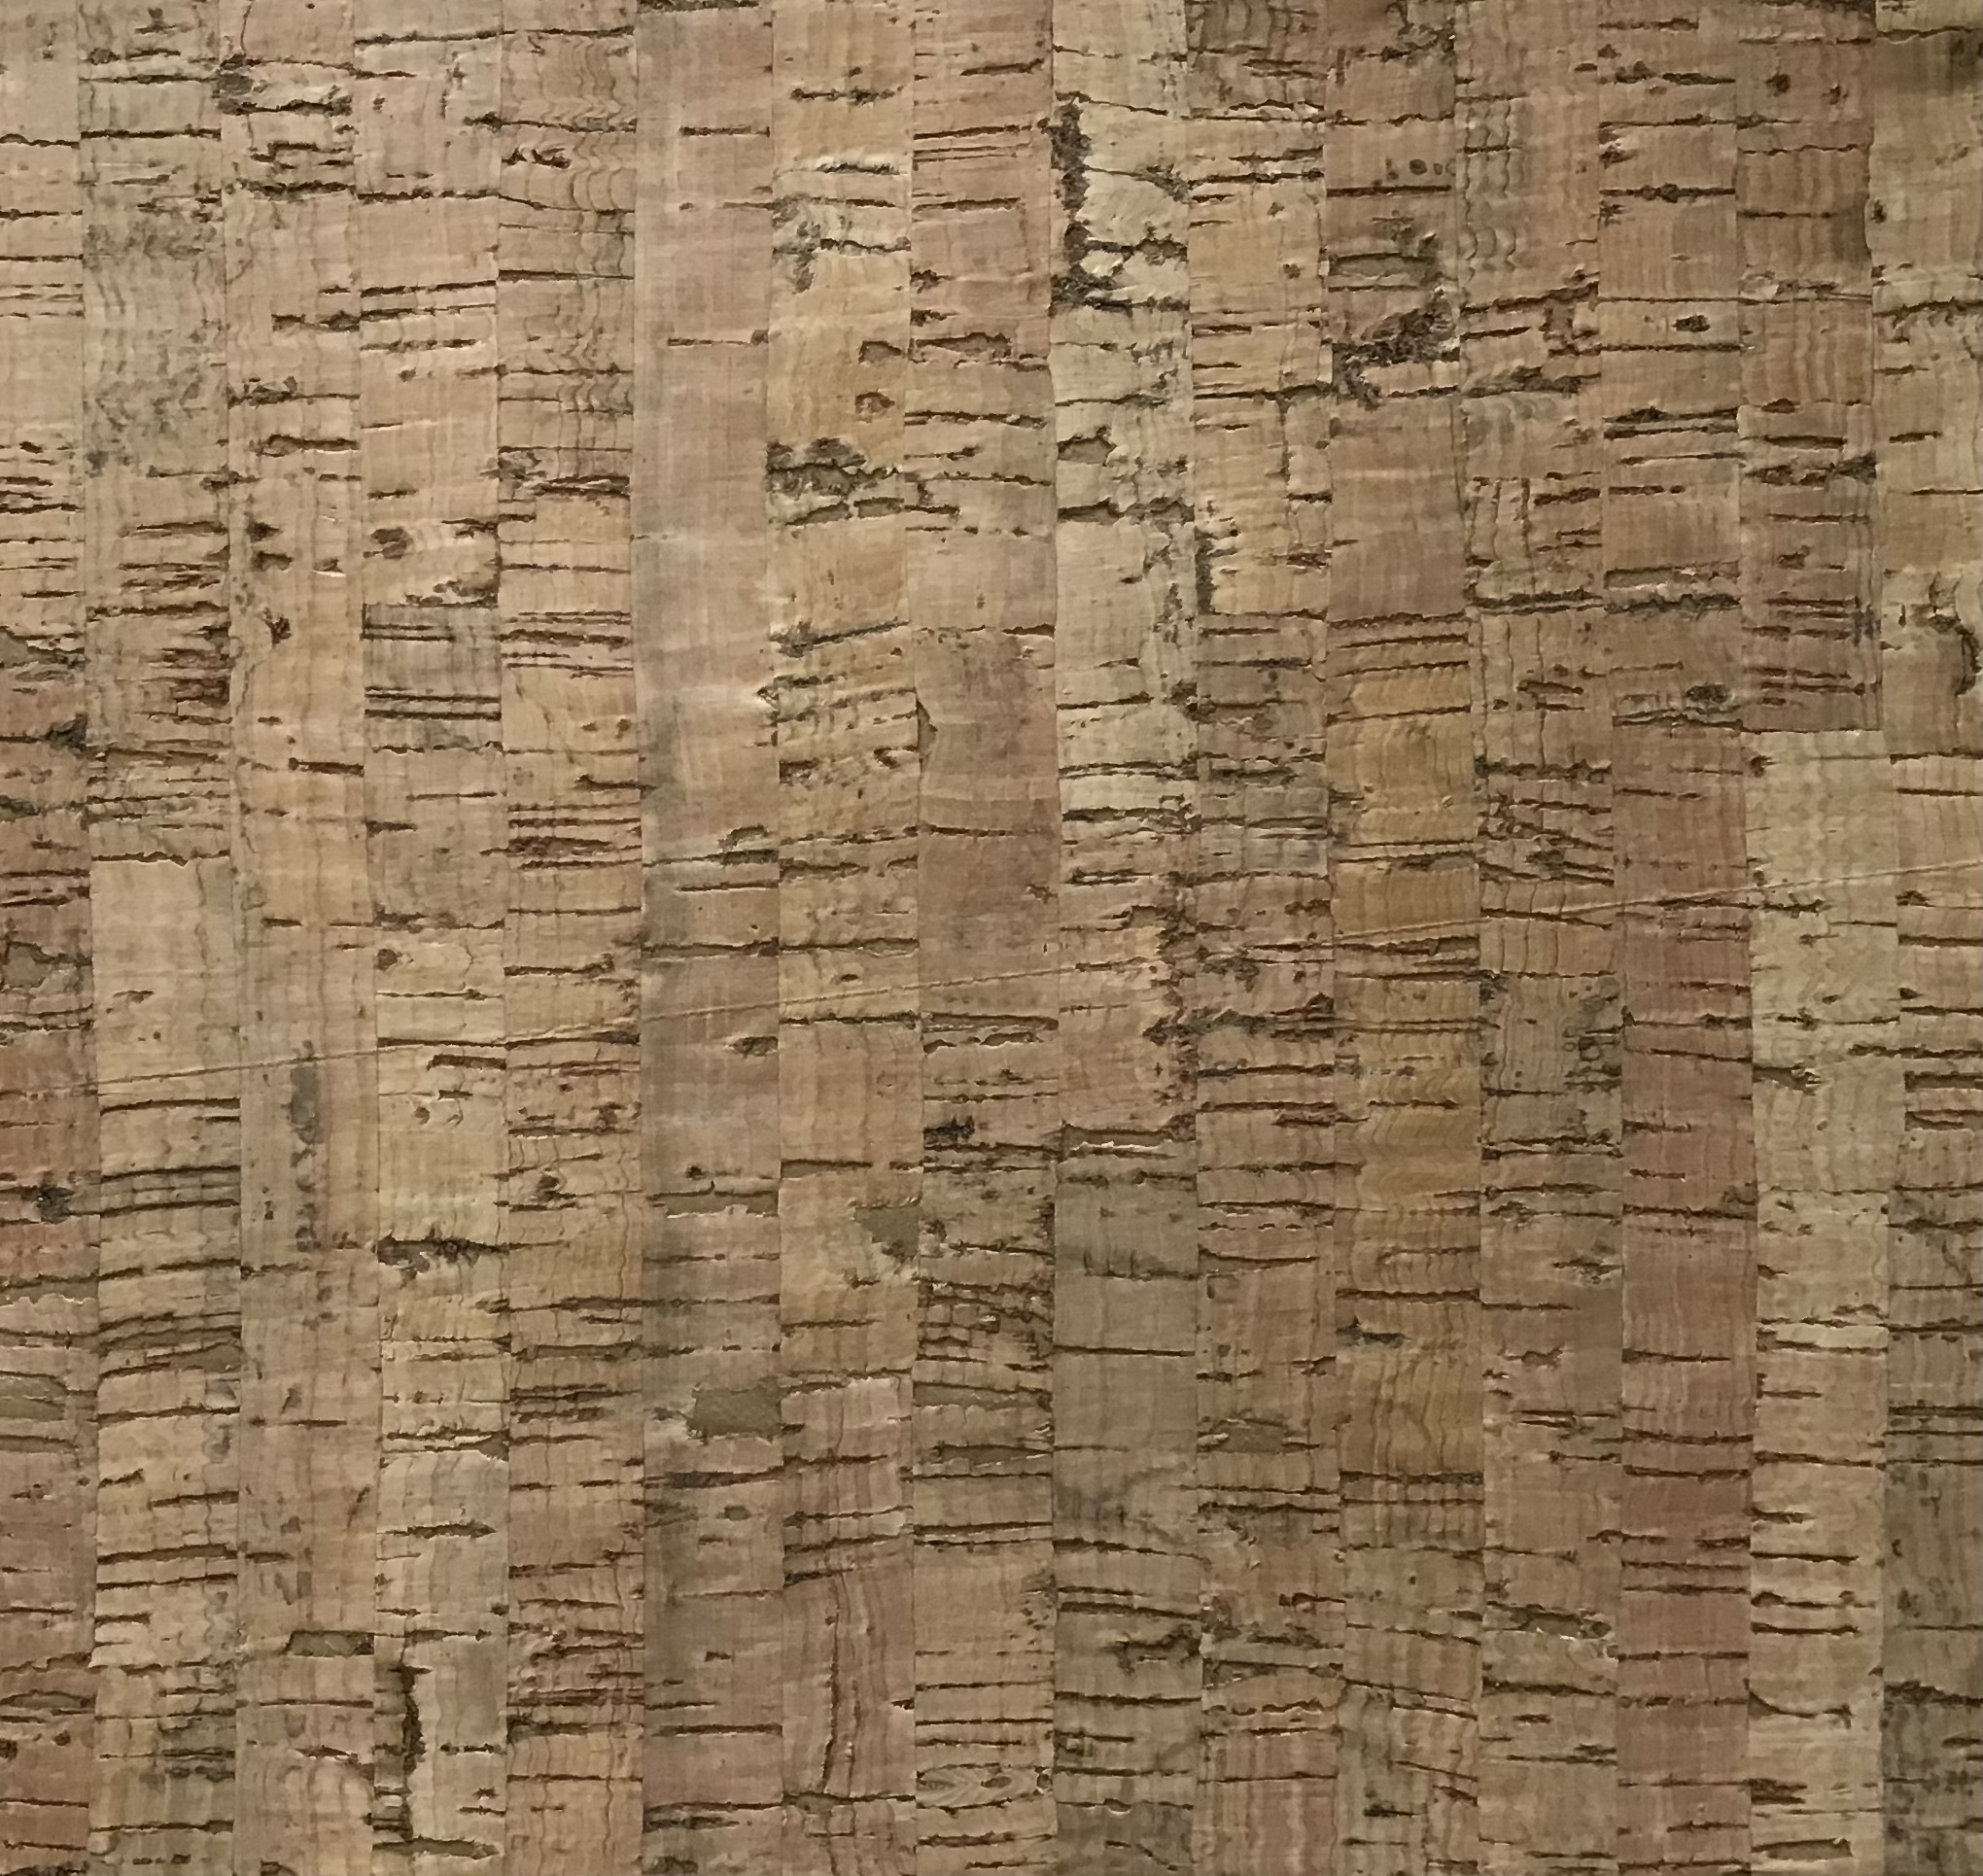
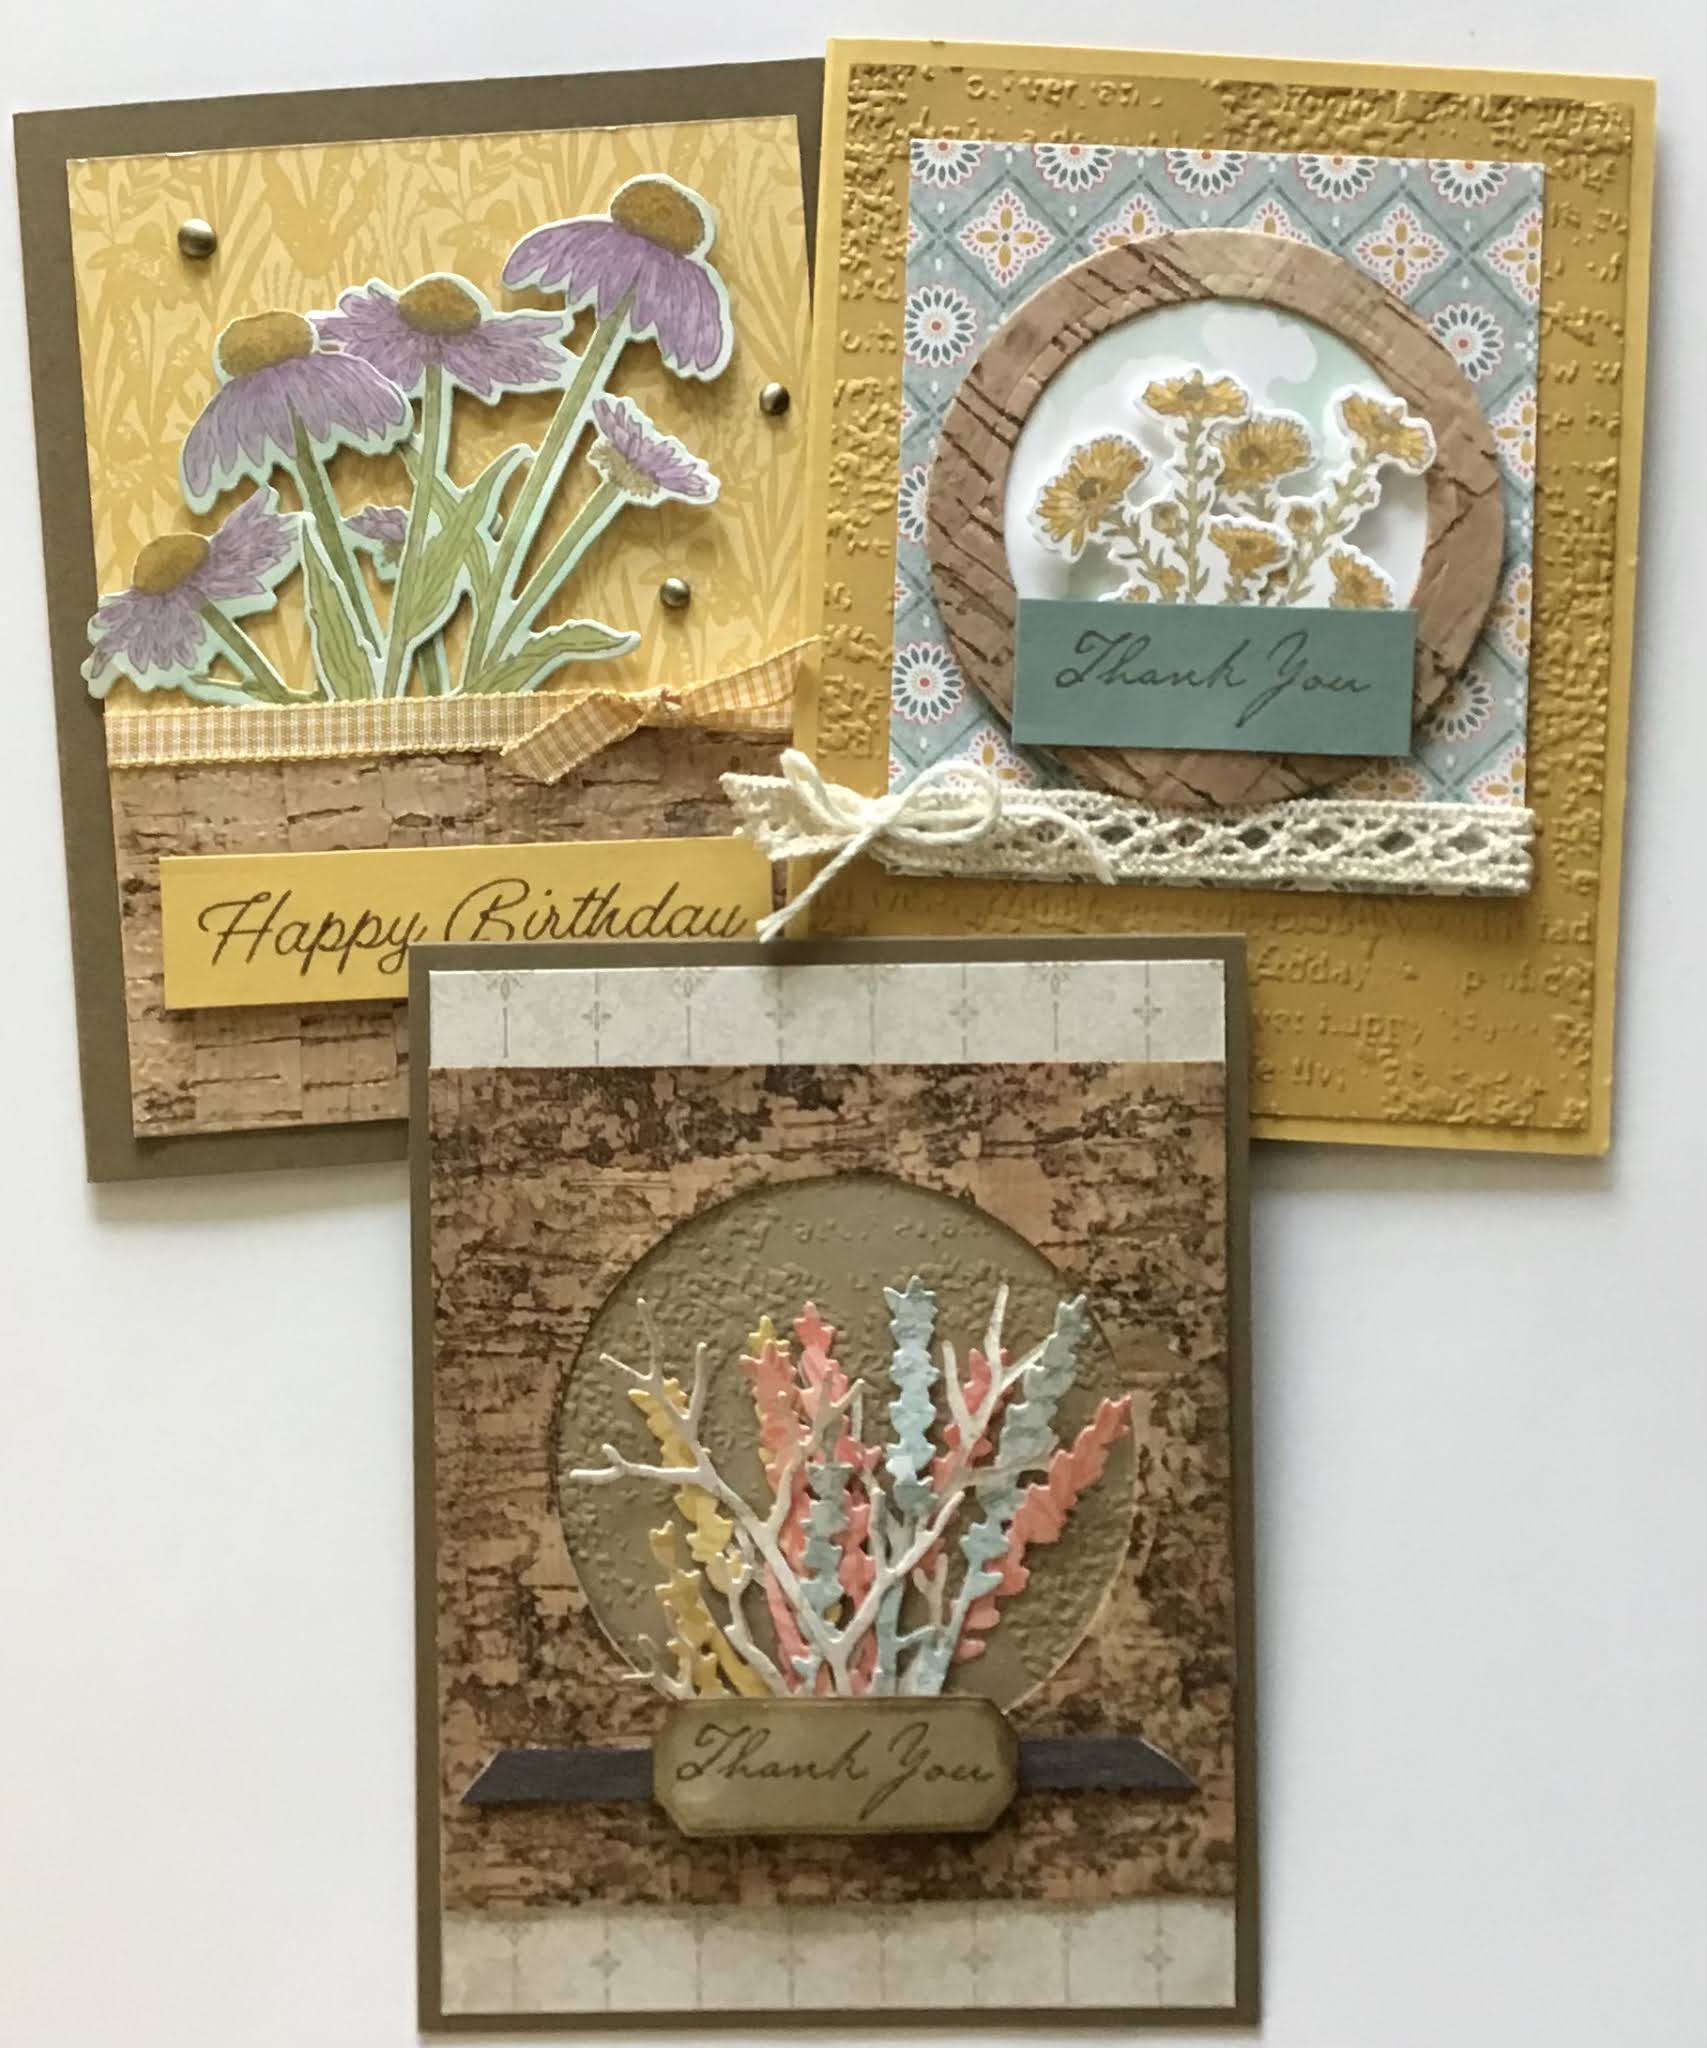
Today I am sharing cards I created using the NATURE’S HARVEST BUNDLE and the beautifully versatile CORK SPECIALTY PAPER. I featured this bundle in my 19 August post, and of course it is prominent in this post, but my main focus today is the lovely CORK SPECIALTY PAPER. This paper is truly cork! It adds such a great natural element to all paper crafting projects.
Let’s take a look at the NATURE’S HARVEST BUNDLE.
NATURE’S HARVEST STAMP SET

HARVEST DIES

CORK SPECIALTY PAPER
DIE CUT THE CORK

SUPPLIES FOR THE CARD
* Bumblebee card base and piece of Bumblebee cut at 5 1/4” x 4”
* Basic White cardstock about 5 1/2” x 4 1/4” for stamping
* Soft Succulent cardstock for greeting - 2” x 3/4”
* Harvest Meadow DSP cut at 3 3/4” x 3 1/4”
* Cork Specialty Paper - 3 1/4” square
* Scrap of printer paper or sticky note to make a mask
* Inks - Soft Succulent and Crumb Cake; Stampin’ Blends - So Saffron (light), Daffodil Delight (dark), Crumb Cake (dark), Old Olive (light)
* Blending brushes
* Two pieces of Diamond Weave Ribbon; one cut at @ 4 1/4” and one cut at @ 1 1/4”
* Six - eight inches of Very Vanilla Twine
* Timeworn Type Embossing Folder
* Layering Circles Dies (3” diameter and 2 1/8” diameter) and Harvest Dies
* Adhesive and dimensionals
ASSEMBLY
* Stamp two of the floral images with the Crumb Cake ink on one end of the DSP and color the images with the Stampin’Blends
* Die cut the frame from the cork using the two Layering Circles Dies. Use the larger die to cut a circle from the Basic White cardstock. Die cut the floral images and use the same die to cut out 2-3 masks from the printer paper (sticky note)
* Emboss the 5 1/4” x 4” piece of Bumblebee cardstock. Use the Crumb Cake ink and a blending brush to add just a bit of color to the cardstock.
* Place the masks on the circle of Basic White cardstock. Use the Soft Succulent ink and a blending brush to go over the cardstock. Remove the masks.
* Attach the floral images to the background circle with dimensionals. Adhere the cork frame to the piece.
* Stamp the greeting on the Soft Succulent cardstock using Crunb Cake ink
* Adhere the embossed Bumblebee cardstock to the card base.
* Adhere about 1/4” of the longer piece of ribbon to the bottom back side of the DSP. Adhere about 1/4” of the shorter piece of ribbon to the opposite back side of the DSP. Bring the longer piece along the front side of the card and line it up with the shorter piece, tie the twine in a bow around the two pieces of ribbon
* Adhere the focal piece to the DSP and adhere this piece to the card front.
* Adhere the greeting
USE AN EMBOSSING FOLDER ON THE CORK

SUPPLIES FOR THE CARD
* Soft Suede card base
* Bumblebee DSP from the Harvest Meadow collection
* Bumble Bee cardstock - 3” x 3/4” for greeting
* Basic White scraps (larger)
* Cork Specialty Paper - 3 3/4” x 2”
* Bumblebee Gingham Ribbon - one piece @5” long and one piece about 3” long
* Brushed Metallic Dots
* Inks - Soft Suede, Crumb Cake, Pool Party; Stampin’ Blends - Daffodil Delight (light), Pumpkin Pie (light), Crumb Cake (light), Fresh Freesia (dark and light), Old Olive (light), Granny Apple Green (light)
* Blending Brush
* Harvest Die
* Timeworn Type Embossing Folder
* Adhesive and dimensionals
ASSEMBLY
* Stamp two of the floral images on the Basic White cardstock with Crumb Cake ink. Color with Stampin’ Blends. Die cut with the Harvest Dies, and use the blending brush and Pool Party ink to cover the write areas around the flowers.
* Emboss the cork paper with the embossing folder
* Stamp the greeting (from the Sharing Sunshine stamp set) on the strip of Bumblebee strip with the Soft Suede ink
* Adhere the floral images to the card using adhesive toward the bottom of the flowers, adhere the top with
* Adhere the cork to the bottom of the DSP
* Adhere one end of the longer piece of ribbon to the backside of the cardstock, adhere the other end of the ribbon to the other side of the cardstock. Slip the smaller piece of ribbon under the piece on the cardstock, and tie a bow
* Adhere the focal piece to the card base
* Attach the greeting with dimensionals
* Add the Brushed Metallic Dots
STAMP ON THE CORK

SUPPLIES FOR THIS CARD
* Soft Suede cardbase
* Harvest Meadow DSP 5 1/4” x 4”
* 4” x 4” piece of Cork Specialty Paper
* Crumb Cake cardstock slightly smaller than the cork, and a scrap for the greeting
* Scraps of the DSP for die cutting
* Timeworn Type Embossing Folder
* Harvest Dies
* Ink - Early Espresso
* Blending brush or sponge dauber
* 3 1/2” Early Espresso Faux Suede Ribbon
* Adhesive, glue dots, and dimensionals
* Texture stamp from the stamp set
* 3” diameter Layering Circles Die
ASSEMBLY
* Emboss the Crumb Cake cardstock with the embossing folder
* Use the circle die to cut the center from the cork
* Use your choice of the silhouette dies from the Hatvest Dies to cut 4-5 images from the scraps of DSP
* Stamp the greeting with Early Espresso ink on the scrap of Crumb Cake cardstock and die cut it with the smallest tag die
* Adhere the DSP to the card base
* Use glue dots to loosely attach the silhouette die cuts to the embossed Crumb Cake cardstock
* Use the texture stamp and Early Espresso ink and stamp several times over the cork. Allow to air dry or dry for a few seconds with a heat tool. Adhere this piece to the Crumb Cake piece. Adhere this piece (centered) to the card front
* Adhere the ribbon across the card front just under the circle cut in the cork
* Use dimensionals to adhere the greeting
I have suggested three ways to use the Cork Specialty Paper. I am certain there are many other ways to use this great paper to add a natural element to all your cards and paper crafting projects!

Stamp Happy!
Kim
All stamps and stamped images ©️1990 - 2021 Stampin’ Up!®️
No comments:
Post a Comment