Hi Stampers!
Today we will take a look at the Stand Alone Fun Fold Card. Some call this fold an inverted gate fold. Okay, I sort of see the reasoning for that name, but I prefer the stand alone fun fold moniker, because I feel it is a better description of the card. It truly stand up lol on its own making it perfect to display on a shelf or table. I like this fun fold, because it is easy to make, can be created in portrait or landscape orientation, uses scraps of patterned papers or cardstock, and it fits in an A-2 size envelope. Let’s take a look at the sample cards:

VIDEO
STAND ALONE FUN FOLD THAT IS SUPER EASY TO CREATE
WHAT YOU NEED
STAND ALONE CARD - PORTRAIT
* Card Base - Cut cardstock at 8 1/2” x 5 1/2” score on 8 1/2” side at 2” and 3 1/8” on each side, or 2”,
3 1/8”, 5 3/8”, and 6 1/2”
* Front Panels - cut 2 at 1 3/4” x 5 1/4” ; for center panel cut 1 at 2” x 5 1/4” (can be patterned paper or other Cardstock)
* Back Panel - cut 1 at 2” x 5 1/4” (white or light colored cardstock)
* Optional - cut 2 more pieces of patterned paper or cardstock at 1 3/4” x 51/4” to place on back side of side panels
* Stamps, dies, inks, adhesives, embellishments to finish the card
STAND ALONE CARD - LANDSCAPE
* Card Base - Cut cardstock at 11’ x 4 1/4”. Score on 11” side at 2 3/4” and 4 1/8” on each side, or
2 3/4”, 4 1/8”, 6 7/8”, 8 1/4”.
* Front Panels - cut 3 at 4” x 2 1/2” (use patterned paper or cardstock)
* Back Panel - cut 1 at 4” x 2 1/2” using white or light colored cardstock
* Optional - cut 2 panels at 4” x 2 1/2” from patterned paper or cardstock for back side of side panels
* Stamps, dies, inks, adhesives, embellishments to finish the card
NOTE - Most of my supplies come from Stampin’ Up!®️. Many are no longer available and are noted as such. Supplies from other sources are listed as such. I encourage you to create your own versions of these cards using items you already have in your stash.
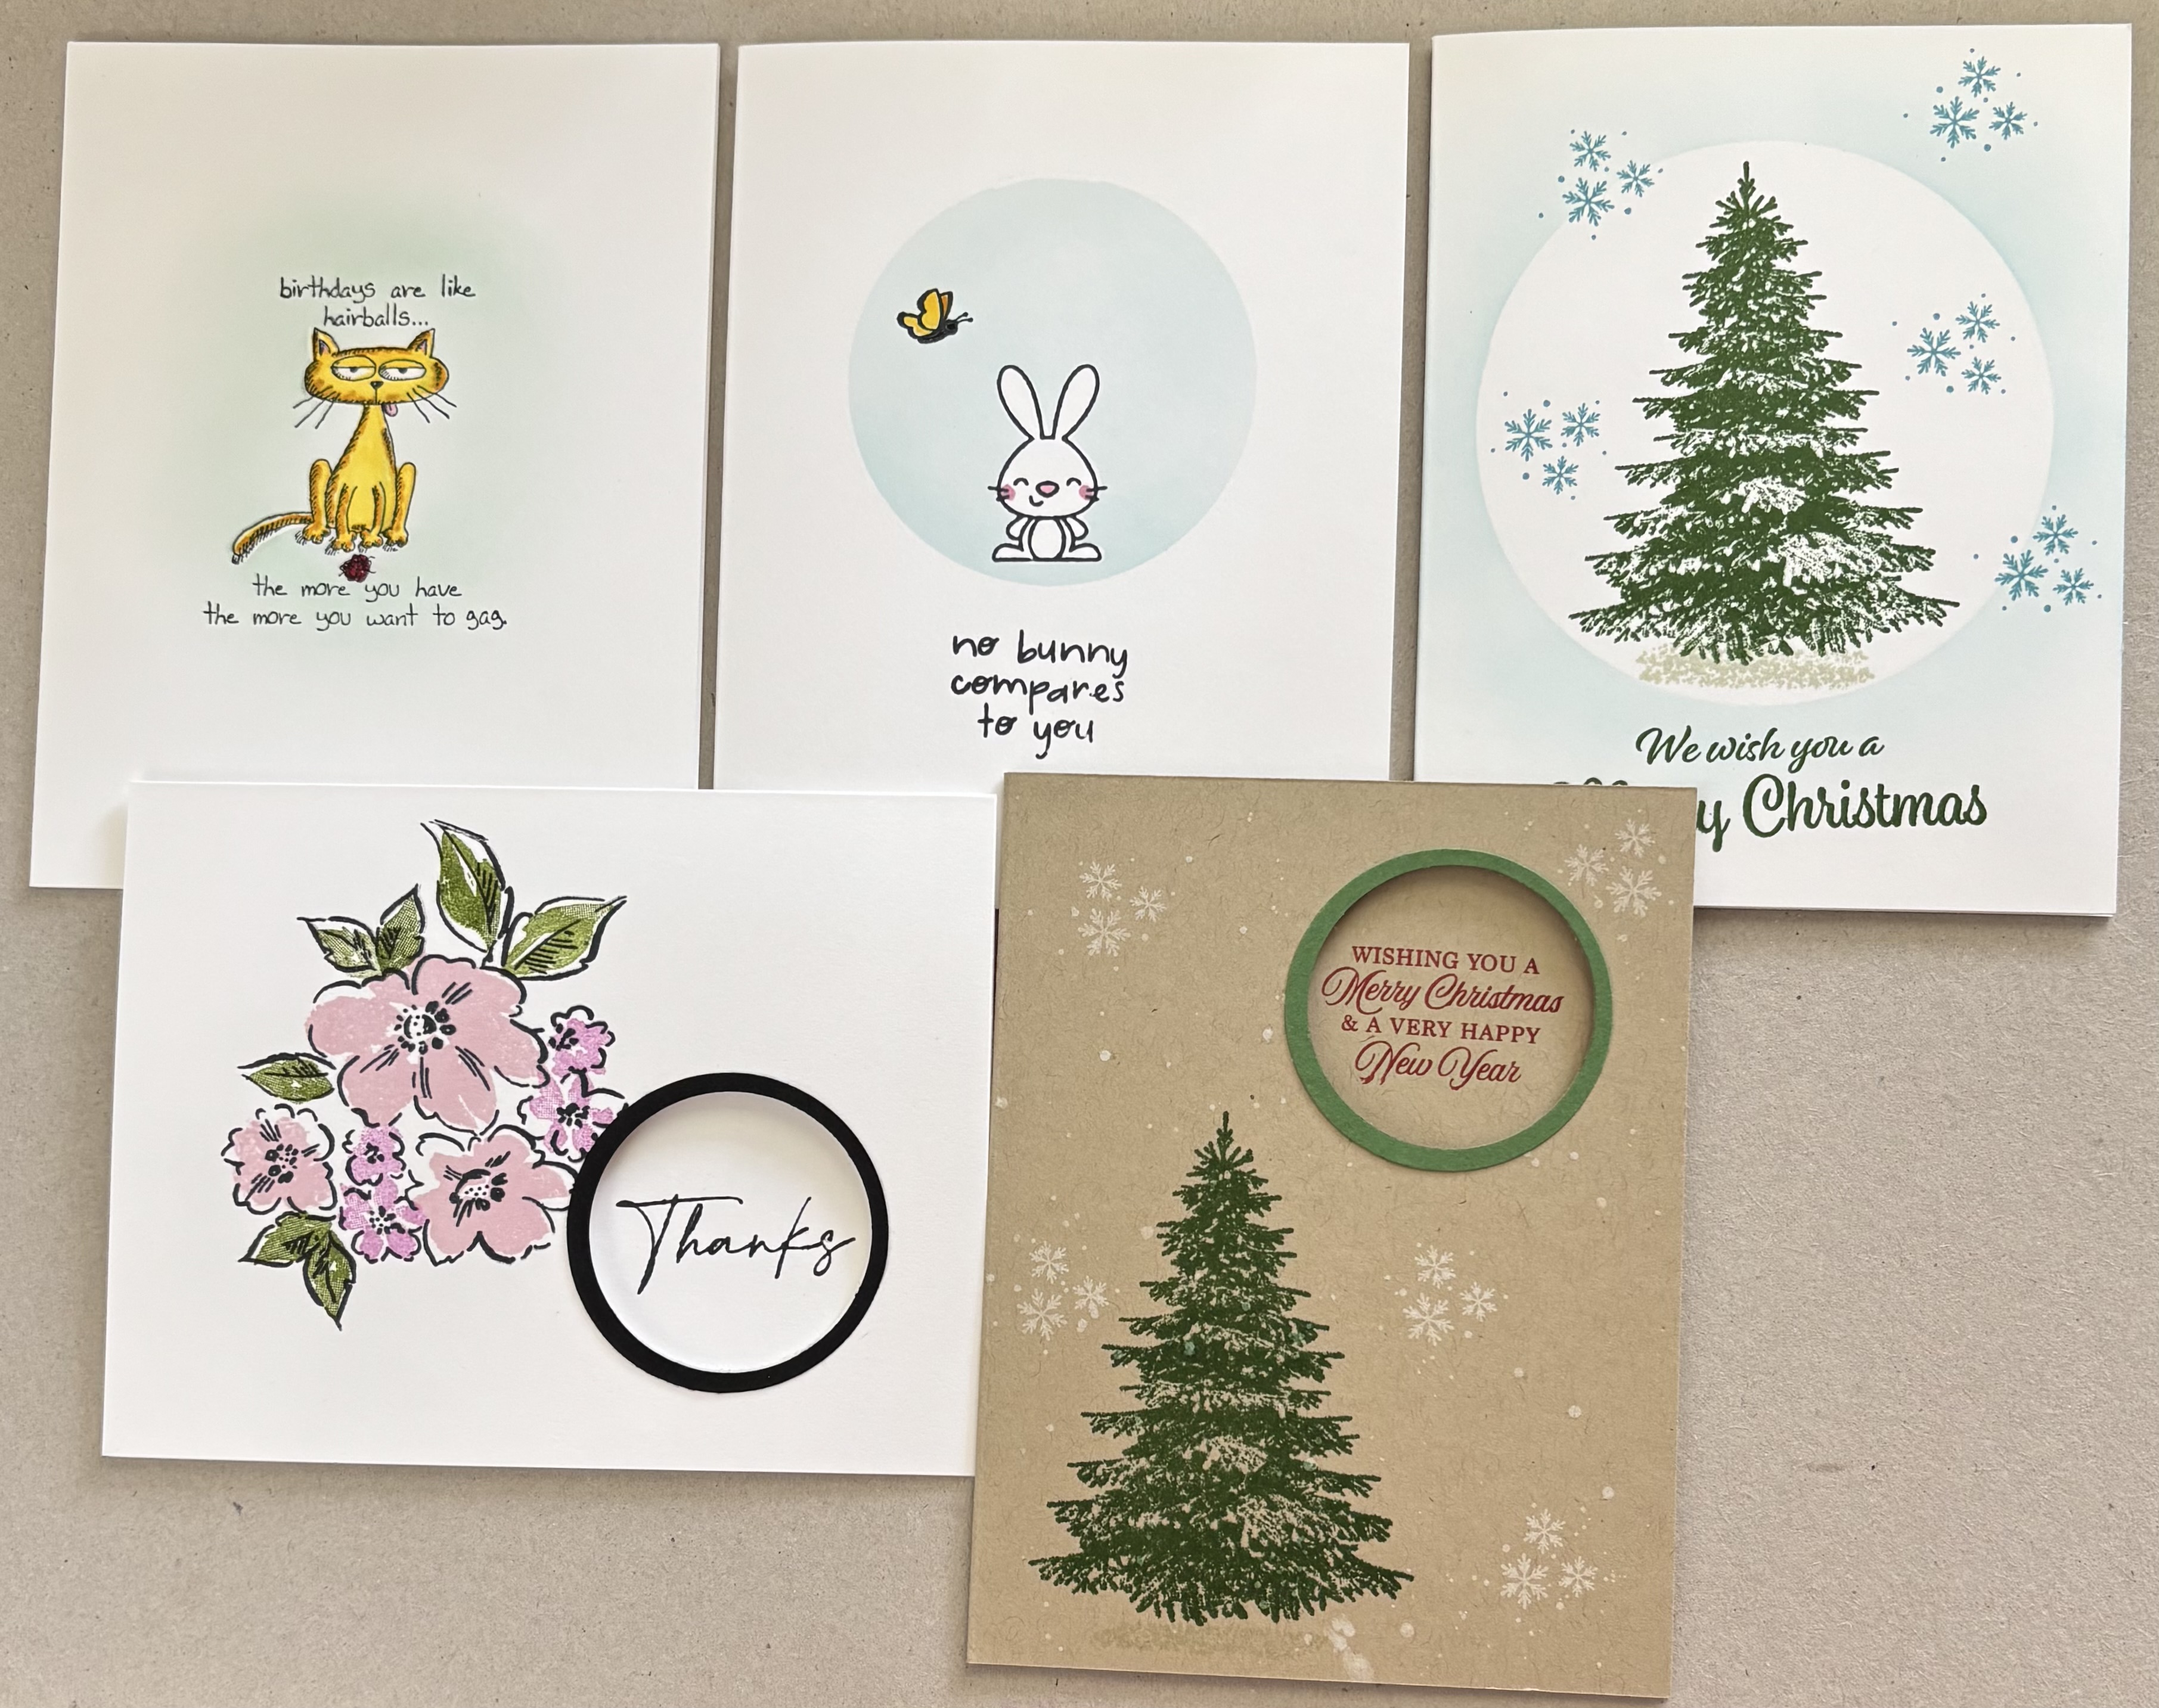
THE CARDS
(PORTRAIT VERSIONS)
THANKS SO MUCH CARD

* Cardstock - Coastal Cabana, Petal Pink, Basic White
* Patterned Paper - Whale of a Time (retired)
* Stamps - Ocean Friends & dies (retired)
* Inks - Calypso Coral, Cajun Craze, Granny AppleGreen
* Adhesive, Dimensionals
* Embellishments -random dots (?)


SUPPLIES I USED
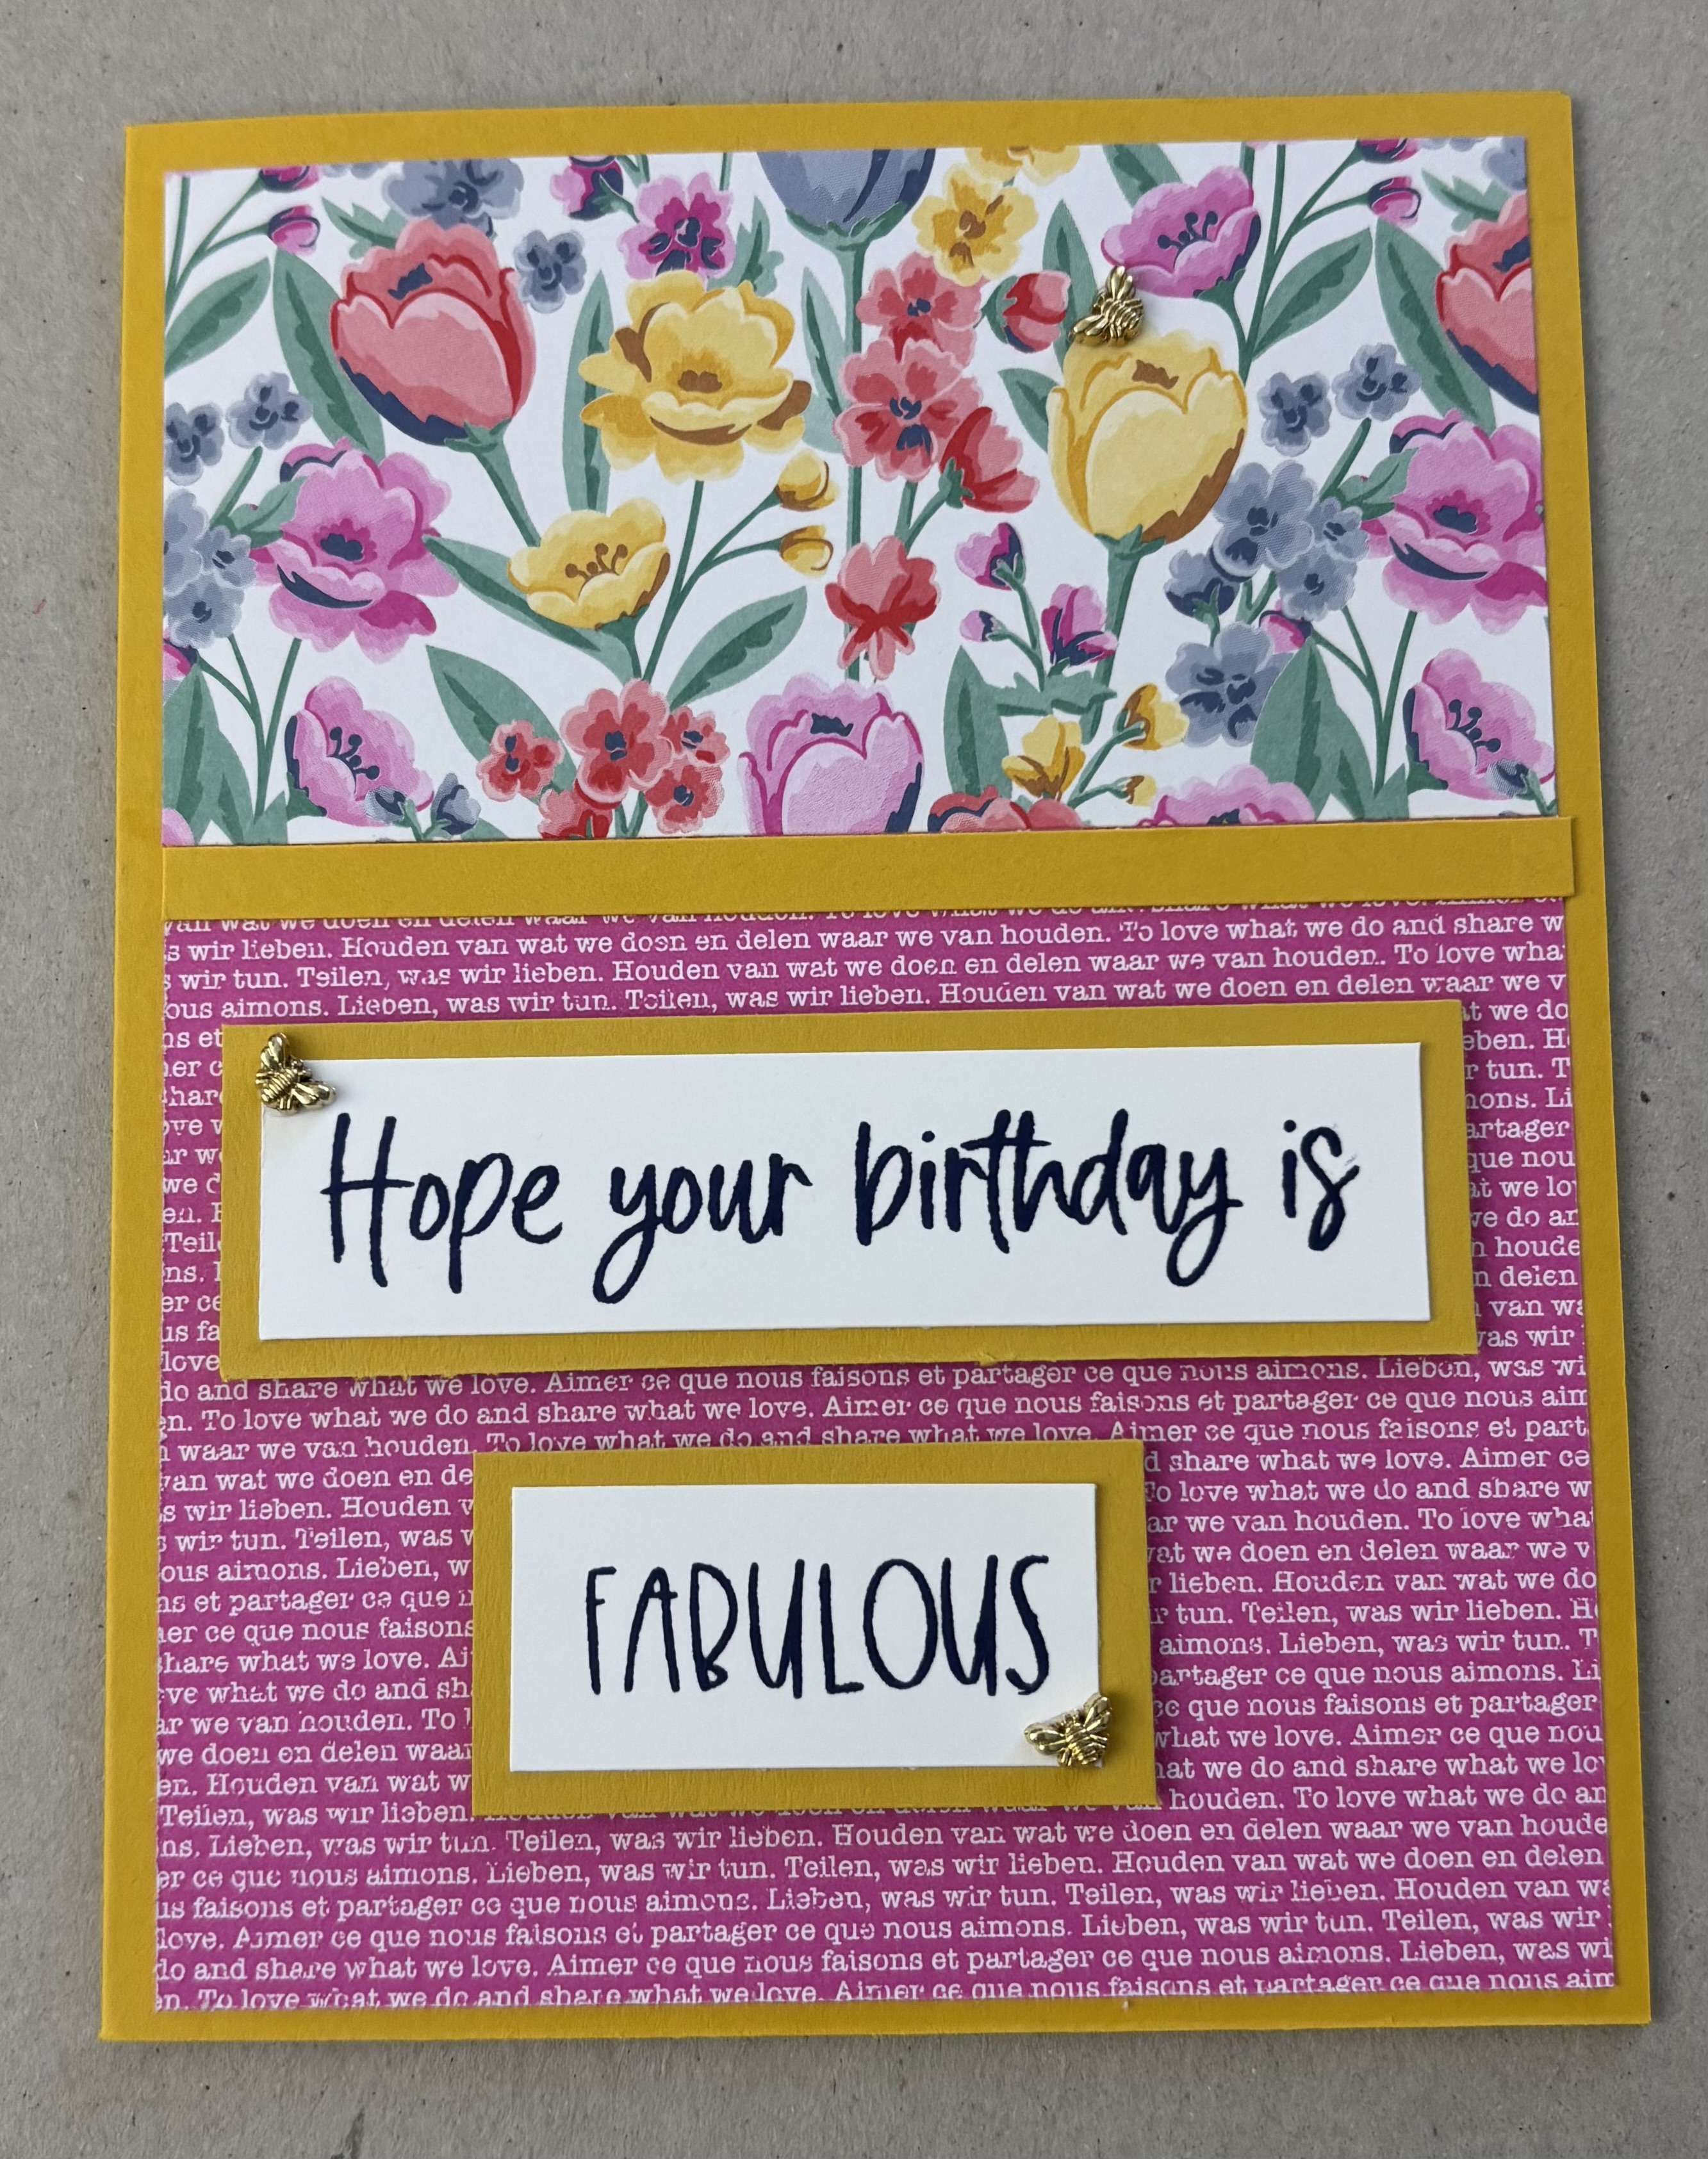
GLADYS’ BIRTHDAY GREETING

SUPPLIES I USED
* Cardstock - Shaded Spruce, Basic White, Basic Black, Pretty In Pink, Bubble Bath, Lemon Lolly
* Patterned Paper - (retired)
* Stamps - Round We Go
* Dies - Gladys (Tom Holtz / Sizzix)
* Ink - Tuxedo Black (Memento)
* Adhesive, Dimensionals
* Embellishments - random dots (?)
THE CARDS
(LANDSCAPE VERSIONS)
HELLO TURTLES

SUPPLIES I USED
* Cardstock - Azure Afternoon, Pool Party, Basic White
* Patterned Paper - Whale of a Time (retired)
* Stamps - Sea Turtle, Four You, For You (all retired)
* Inks - Pool Party, Granny Apple Green, Azure Afternoon; Clear Glitter Brush (Scrapbook.com)
* Embellishments - same random embellishments (?)
* Adhesive and dimensionals
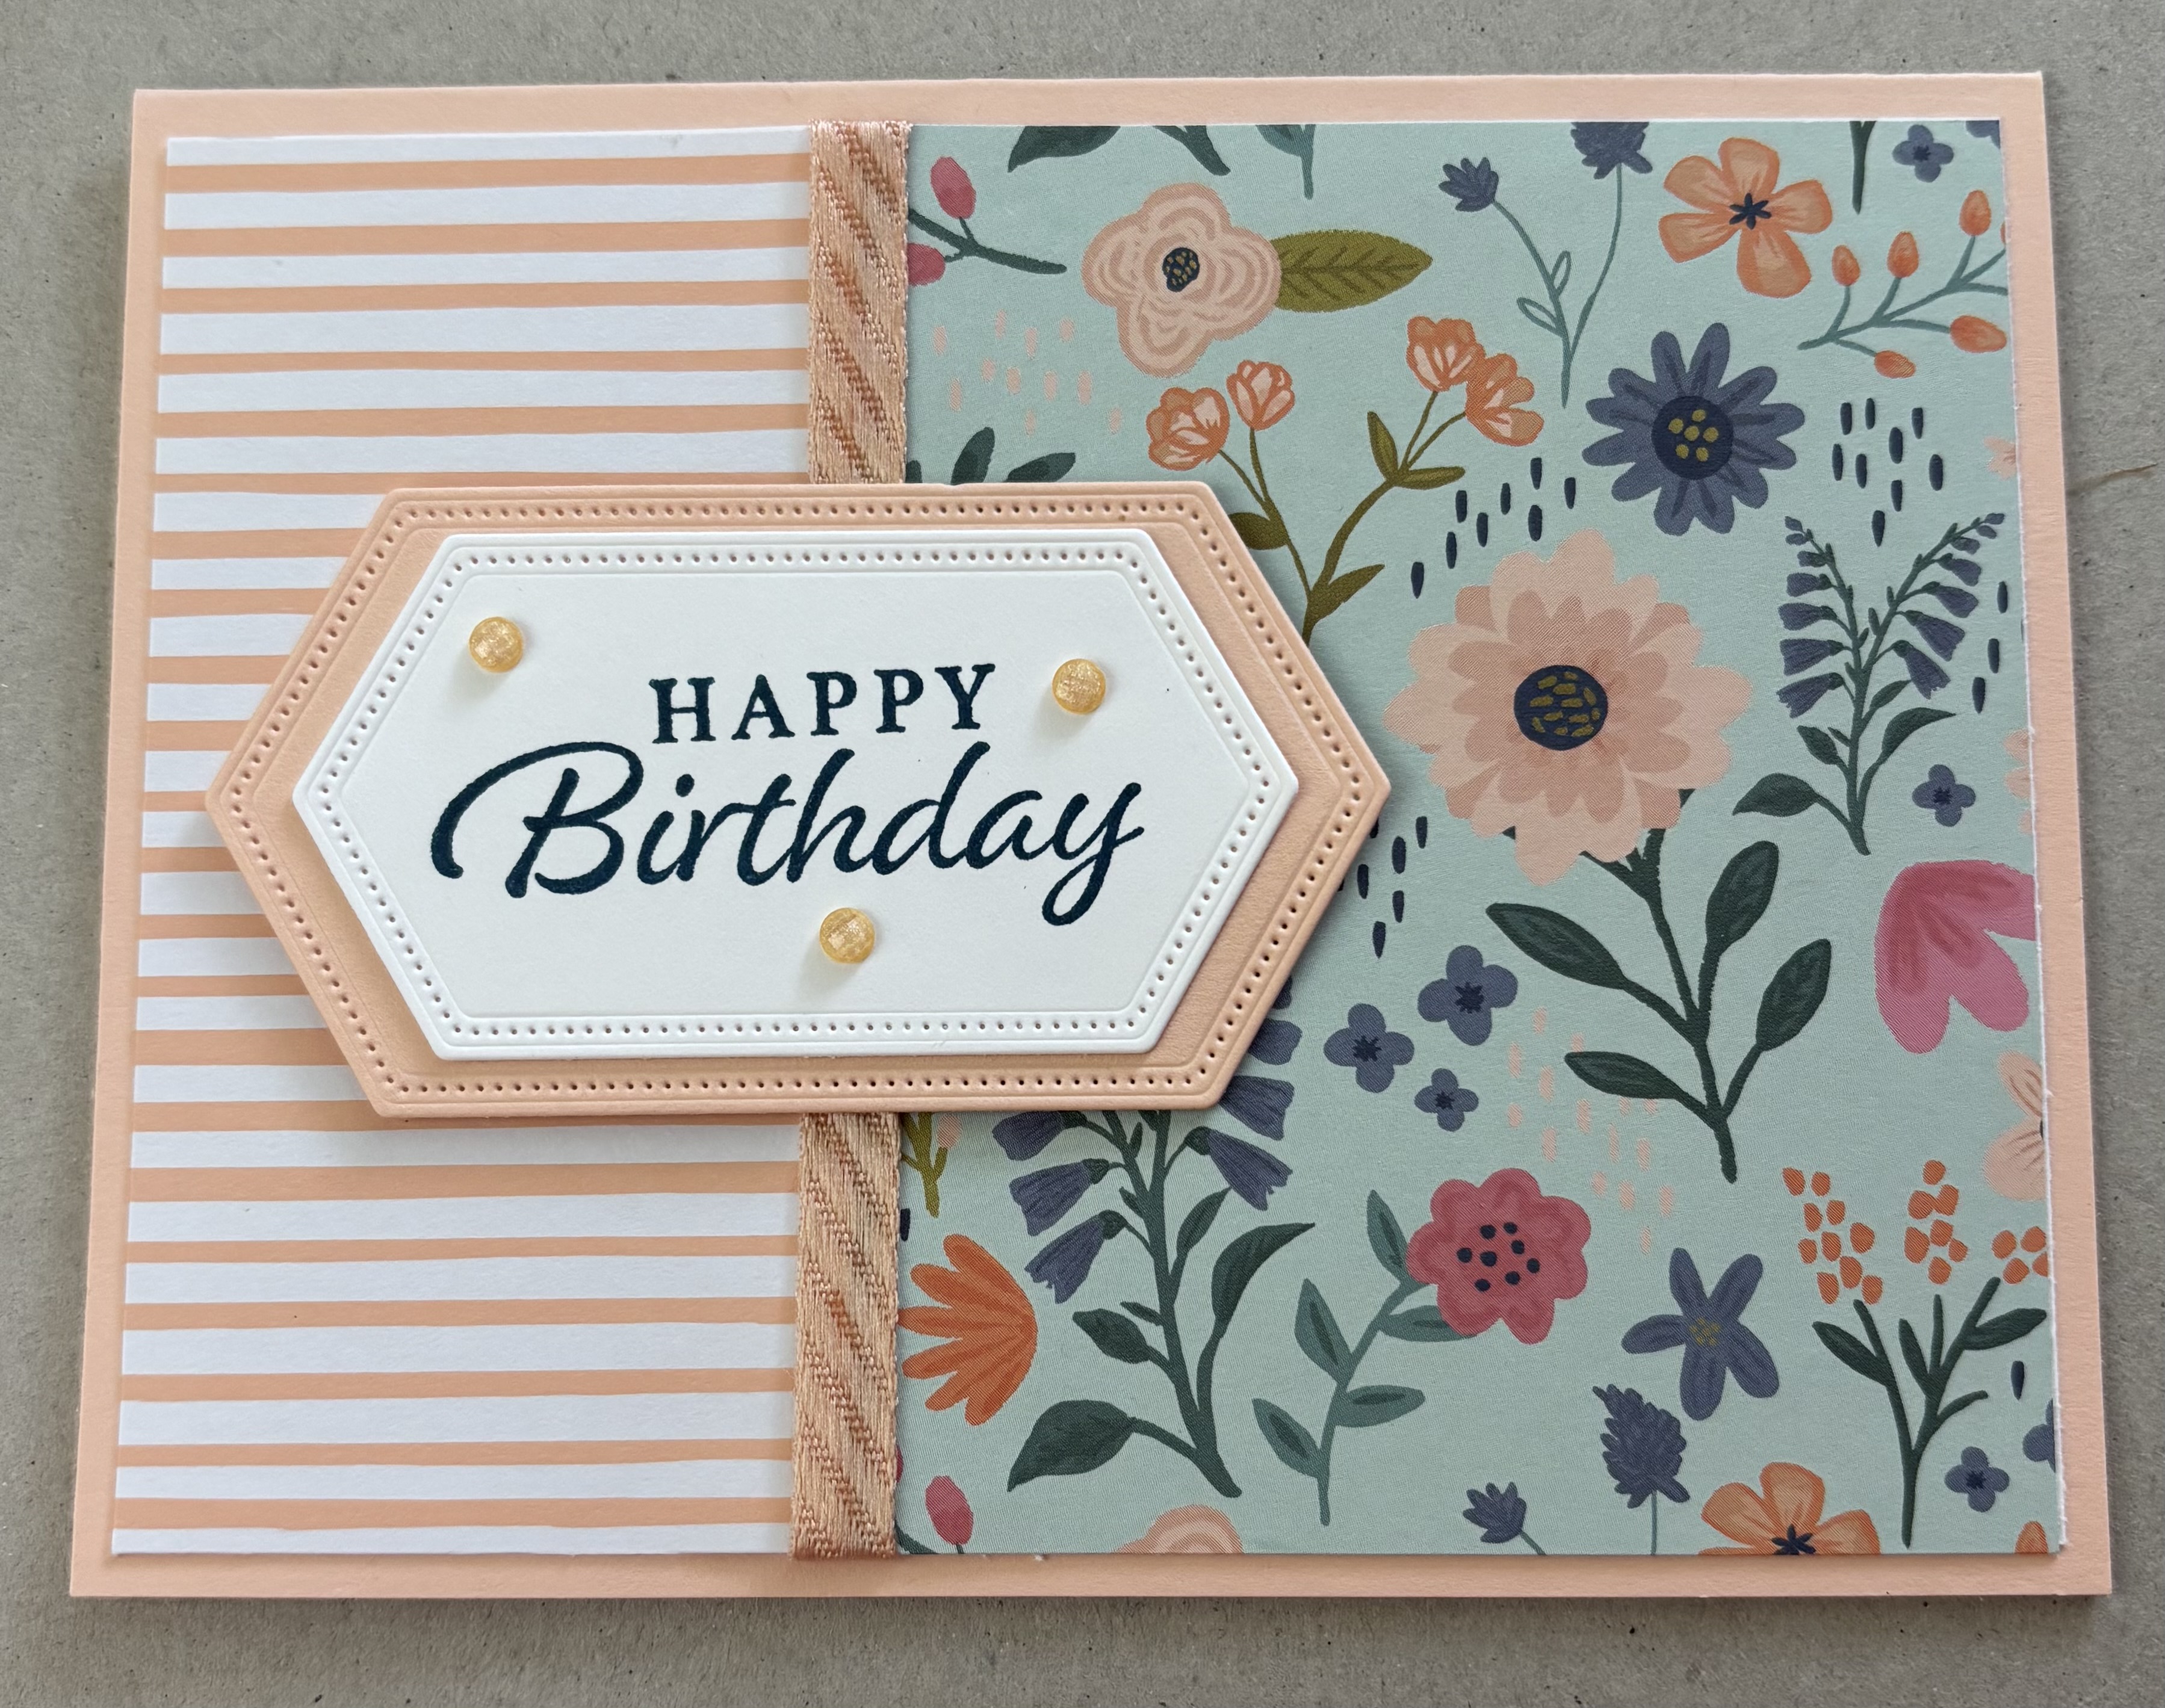
HIBISCUS CELEBRATION

SUPPLIES I USED
* Cardstock - Crushed Curry, Basic White
* Patterned Paper - (retired)
* Stamps - Timeless Tropical & dies, Round We Go (both retired)
* Inks - Strawberry Slush; Stampin’ Blends - Strawberry Slush, Flirty Flamingo, Daffodil Delight
* Embellishments -random (?)
* Dies - Stylish Shapes
* Adhesive and dimensionals
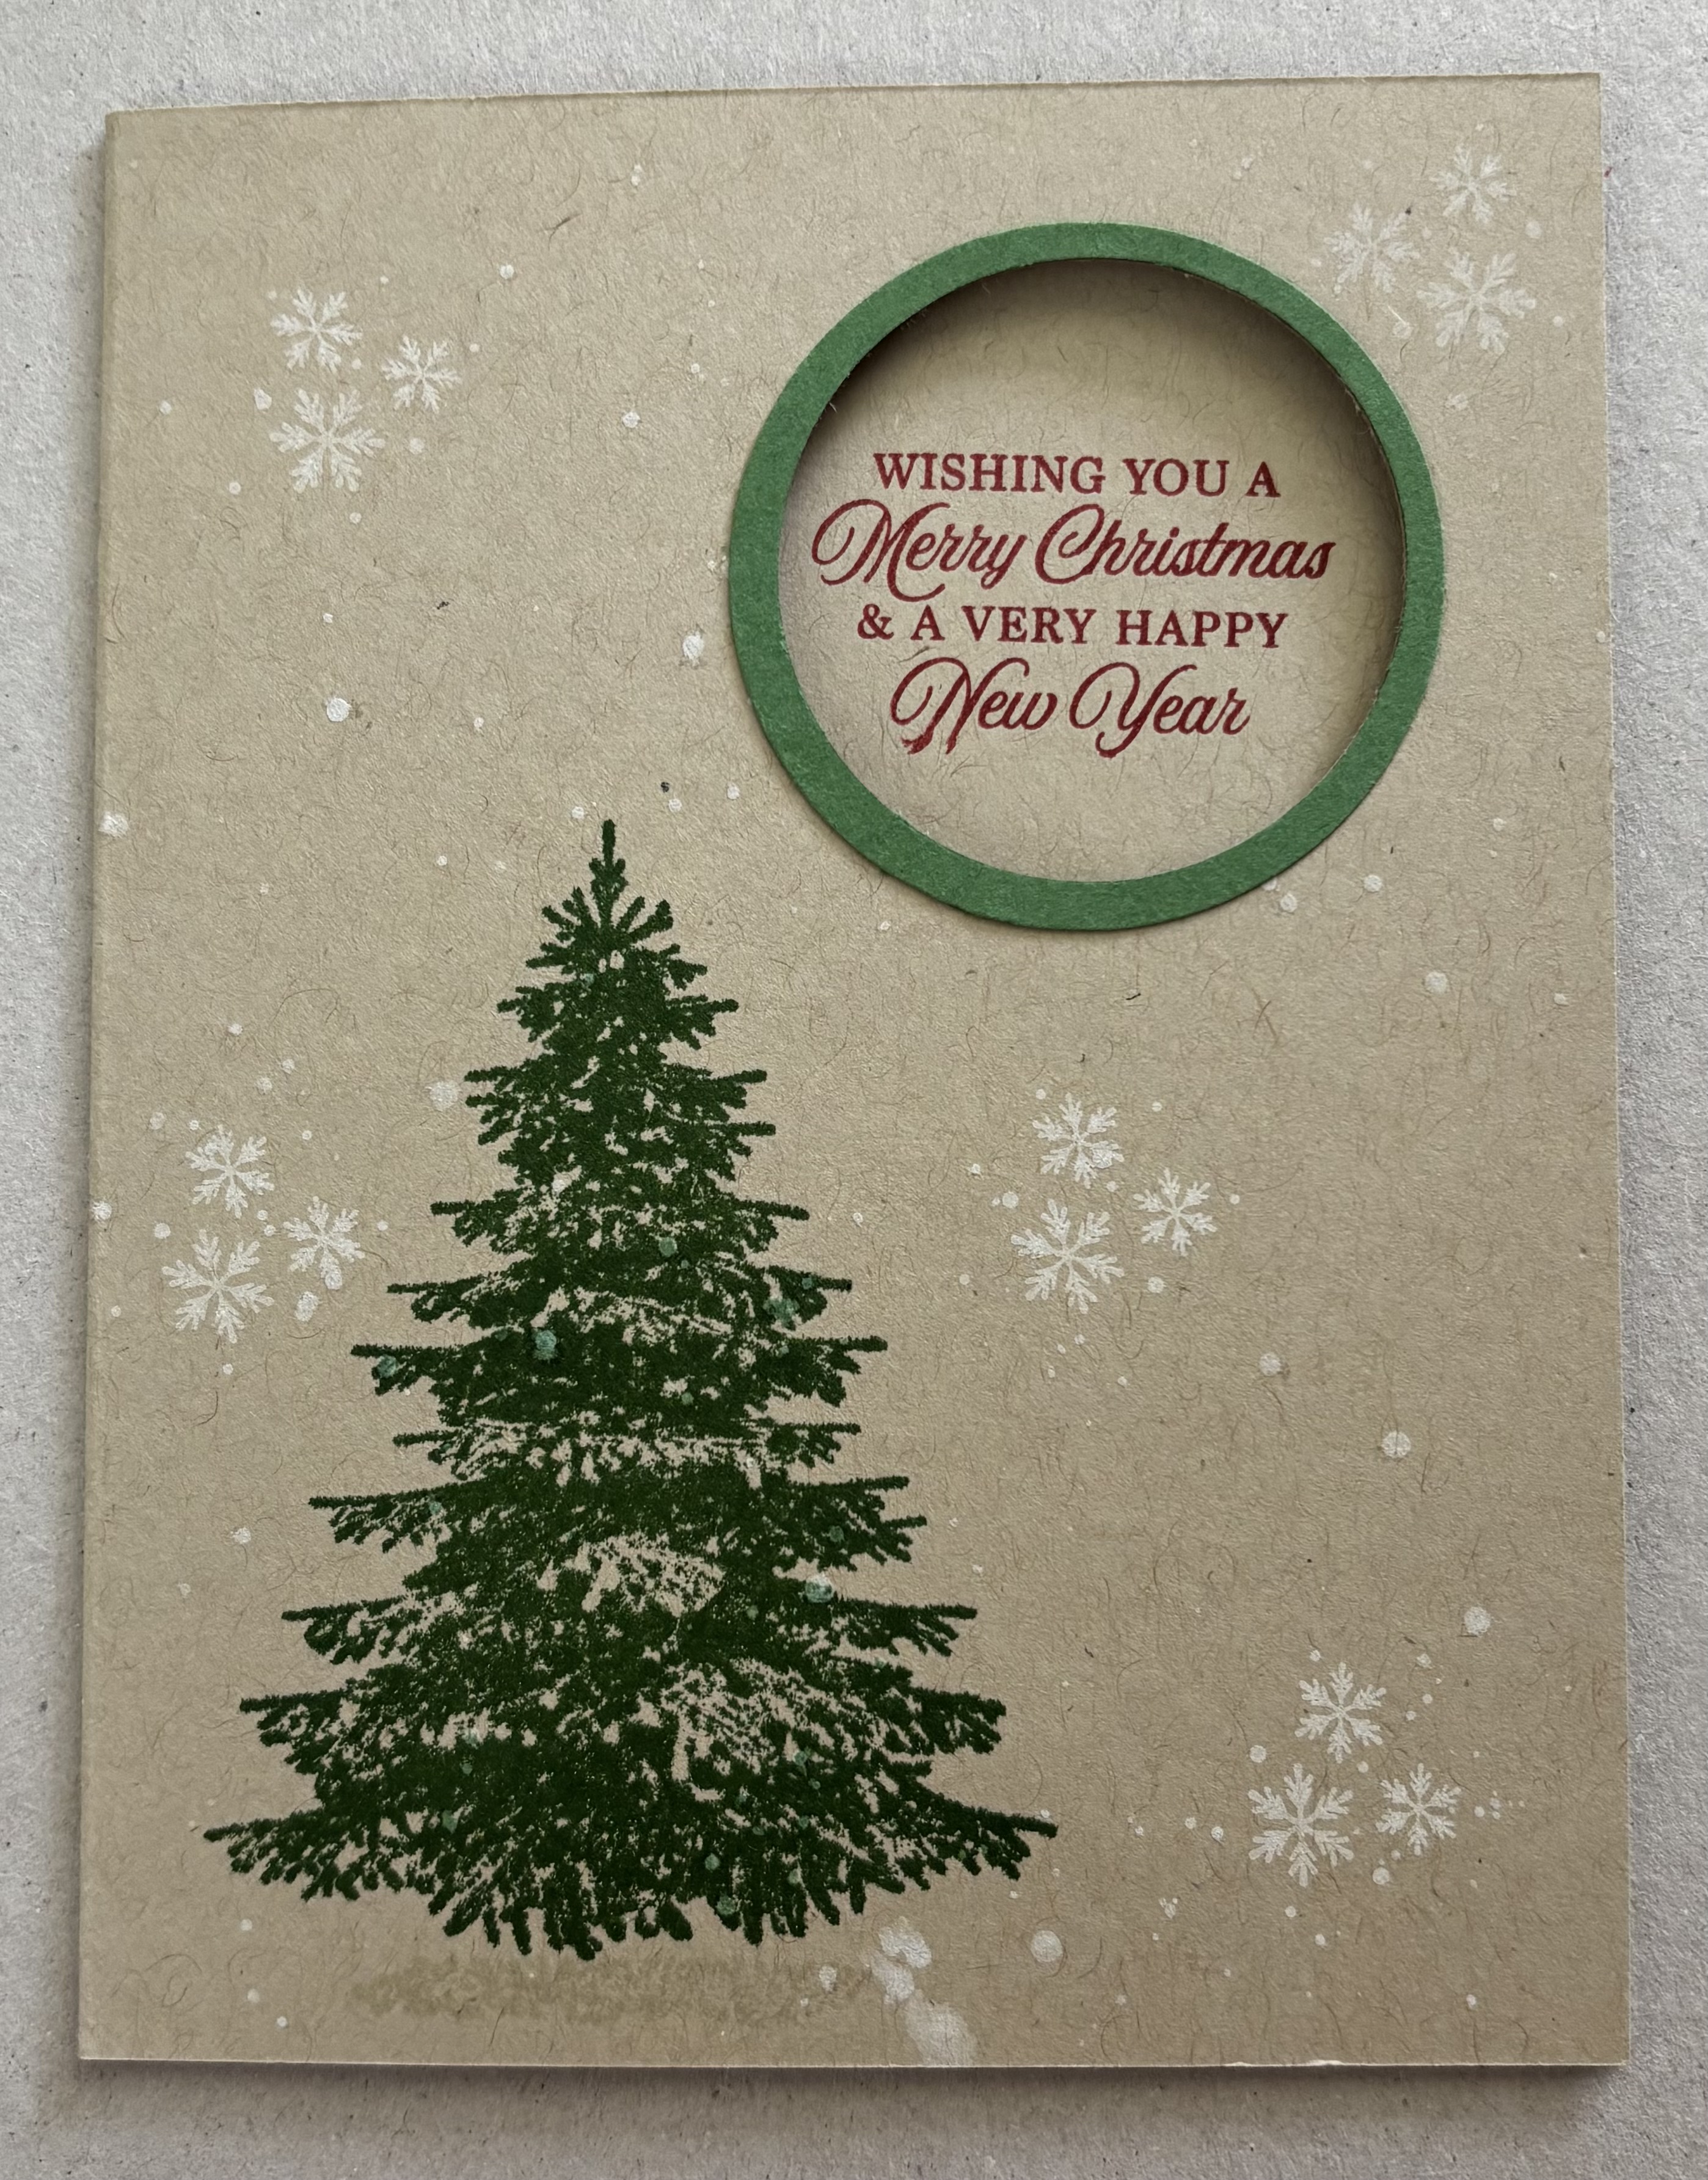
SNOWMAN CHRISTMAS

* Cardstock - Cloud Cover, Basic White
* Patterned Paper - Candy Cane Lane (Doodlebug Design Inc.)
* Stamps - Snowmen Peakers & dies (Pink & Main), Itty Bitty Christmas (retired)
* Inks - Cloud Cover; Stampin’ Blends - Timid Tiger, Bubble Bath, Cloud Cover, Pool Party, Seaside Spray (retired), Color Lifter; Stampin’ Write Marker - Basic Black
* Embellishments - Candied Snow Sequin Mix (Picket Fences)


SUPPLIES I USED
VIDEO CARDS

MERMAID
(Portrait)

SUPPLIES I USED
* Cardstock - Basic White; Jewels Smooth Cardstock (Scrapbook.com)
* Patterned Paper - (retired)
* Stamps - Mesmerizing Mermaid & die, Best Fishes (both from Crafter’s Companion)
* Ink - Night of Navy; Stampin’ Blends - Timid Tiger, Strawberry Slush, Summer Splash, Pool Party, Petal Pink, Gray Granite, Crumb Cake
* Punches - Circles 1 3/4” and 2”
* Adhesive, dimensionals
NOTE - Measurements for the patterned paper strips:
Cut 2 at 1 1/2” x 5” and cut one at 1 3/4” x 5”
SAIL BOAT - LANDSCAPE
(Landscape)

* Cardstock - Timid Tiger, Basic White
* Patterned Paper - (retired)
* Stamps - Let’s Set Sail, Best Day (both retired)
* Inks -Timid Tiger, Night of Navy, Summer Splash, Poppy Parade
* Adhesive, foam tape


I enjoy creating cards using this fun fold. My cards tend to be bright, sometimes a bit whimsical, but once in a while I make a card that is a little fancy. This fun fold is perfect for whimsical, elegant, simple or elaborate styles. (Most card folds are.) It is the perfect card for display, you can use up some paper scraps, use your wonderful die cut images, or stamp an image on the main panel - so many options! To top it all off - it fits perfectly inside a regular A-2 size envelope! Why not give this fun fold a try? I am sure your cards will be gorgeous!
STAND ALONE FUN FOLD CARDS


Thanks so much for stopping by today. Until next time . . .
Stamp Happy!
Kim