Hi Stampers!
Today I am sharing a very basic card layout. It is perfect for double sided patterned paper, or for larger scraps of patterned paper. It is the perfect layout for when you need a card in a hurry! All it takes is an A-2 card base, a 5 1/4”x 4” piece of double sided patterned paper, or one piece of patterned paper that is 4” wide x 3 1/4” tall and one that is 4” wide x 2”tall, an inside panel, and a greeting. Of course you can add other elements to the card, keep it simple or jazz it up! You can change it up by switching the position of the two pieces of patterned paper. The layout can be oriented as portrait or landscape. This is why I like basic layouts -use the layout, then make it uniquely yours! Let’s take a peek at the sample cards:
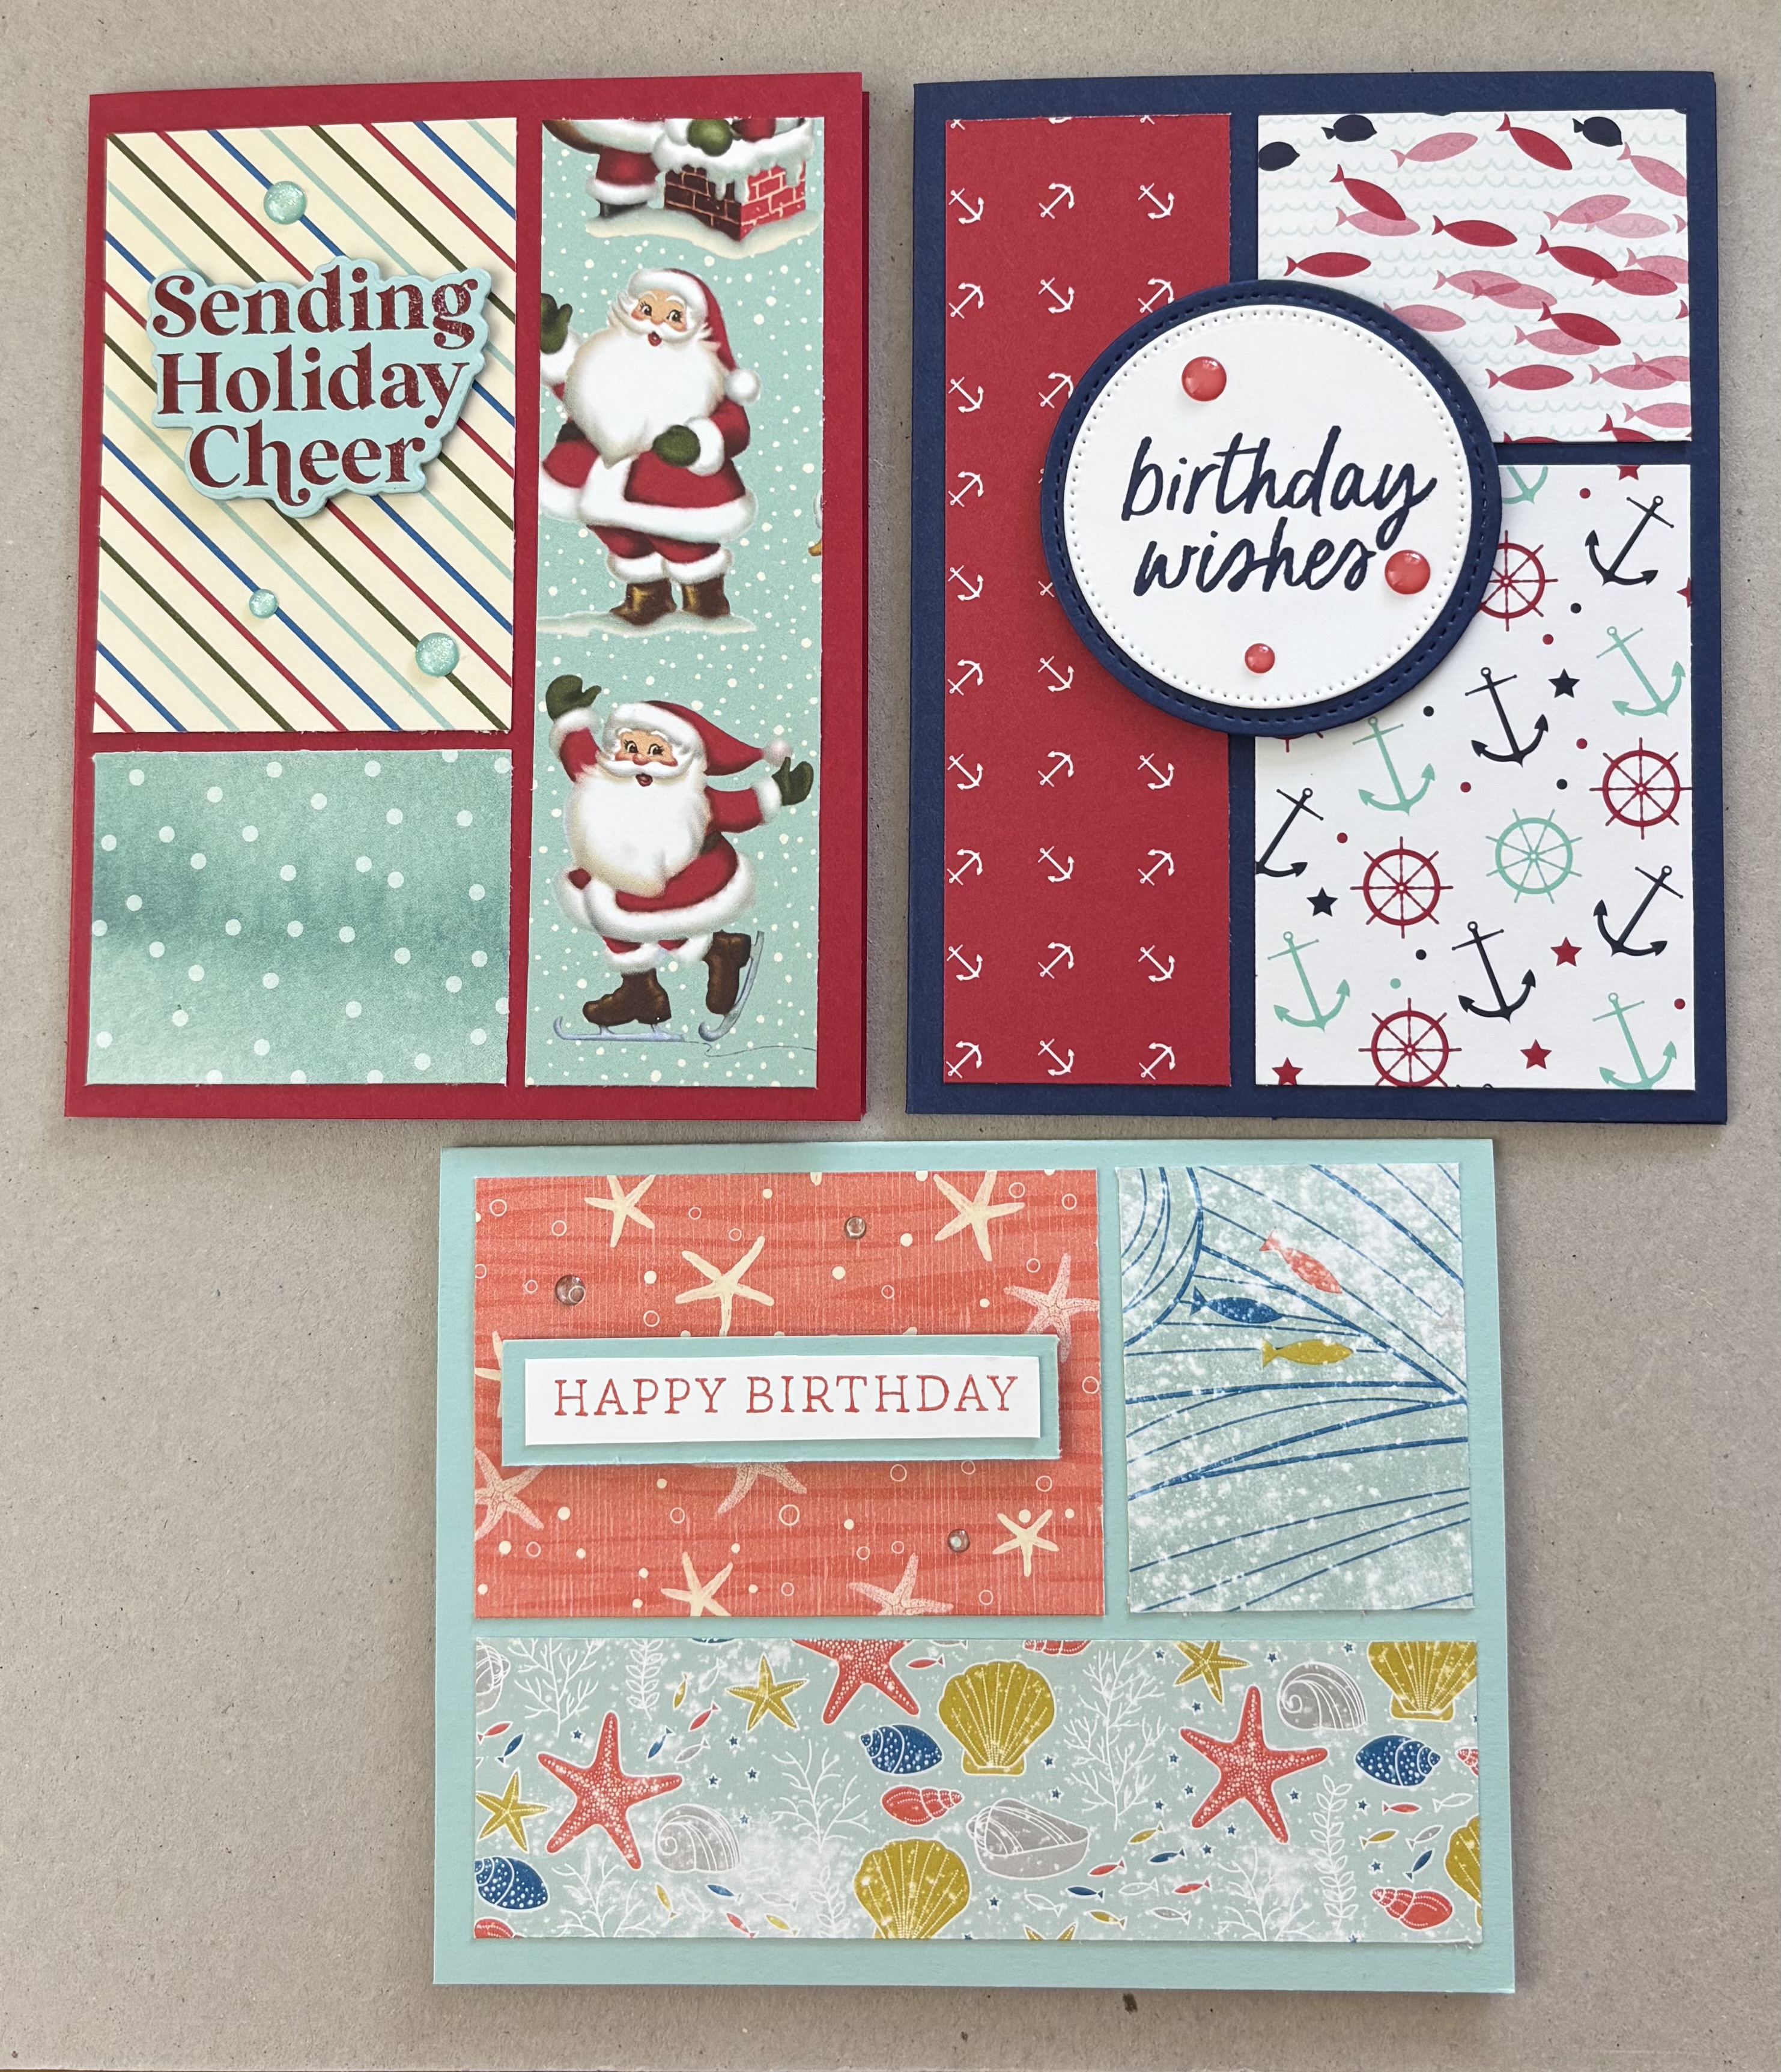
PORTRAIT VERSIONS

LANDSCAPE VERSIONS

VIDEO
SPLIT PANEL CARD LAYOUT FOR CARDS IN A HURRY
SPLIT PANEL CARD LAYOUT

This layout can be flipped. It can also be created in landscape orientation.
BASIC SUPPLIES
* Card Base -A-2 size; 8 1/2” x 5 1/2” scored and folded on 8 1/2” side at 4 1/4”
* Card Panel - Double sided patterned paper (be sure to like the designs on each side) cut at 5 1/4’” x 4” Cut it at 3 1/4” on the 5 1/4” side. Flip one of the pieces over. OR cut 1 piece of patterned paper at 3 1/4” x 4” and another coordinating piece at 2” x 4”
* Inside panel - white or light colored cardstock cut at either 5 1/4” x 4” or 5” x 3 3/4”
* Optional - divider to cover seam - can be ribbon a 1/4” - 1/2” strip of cardstock or patterened paper, etc.
OTHER SUPPLIES
* Greeting, stamped or die cut images
* Other Cardstock
* Inks
* Embellishments
* Adhesives, Dimensionals
SAMPLE CARDS
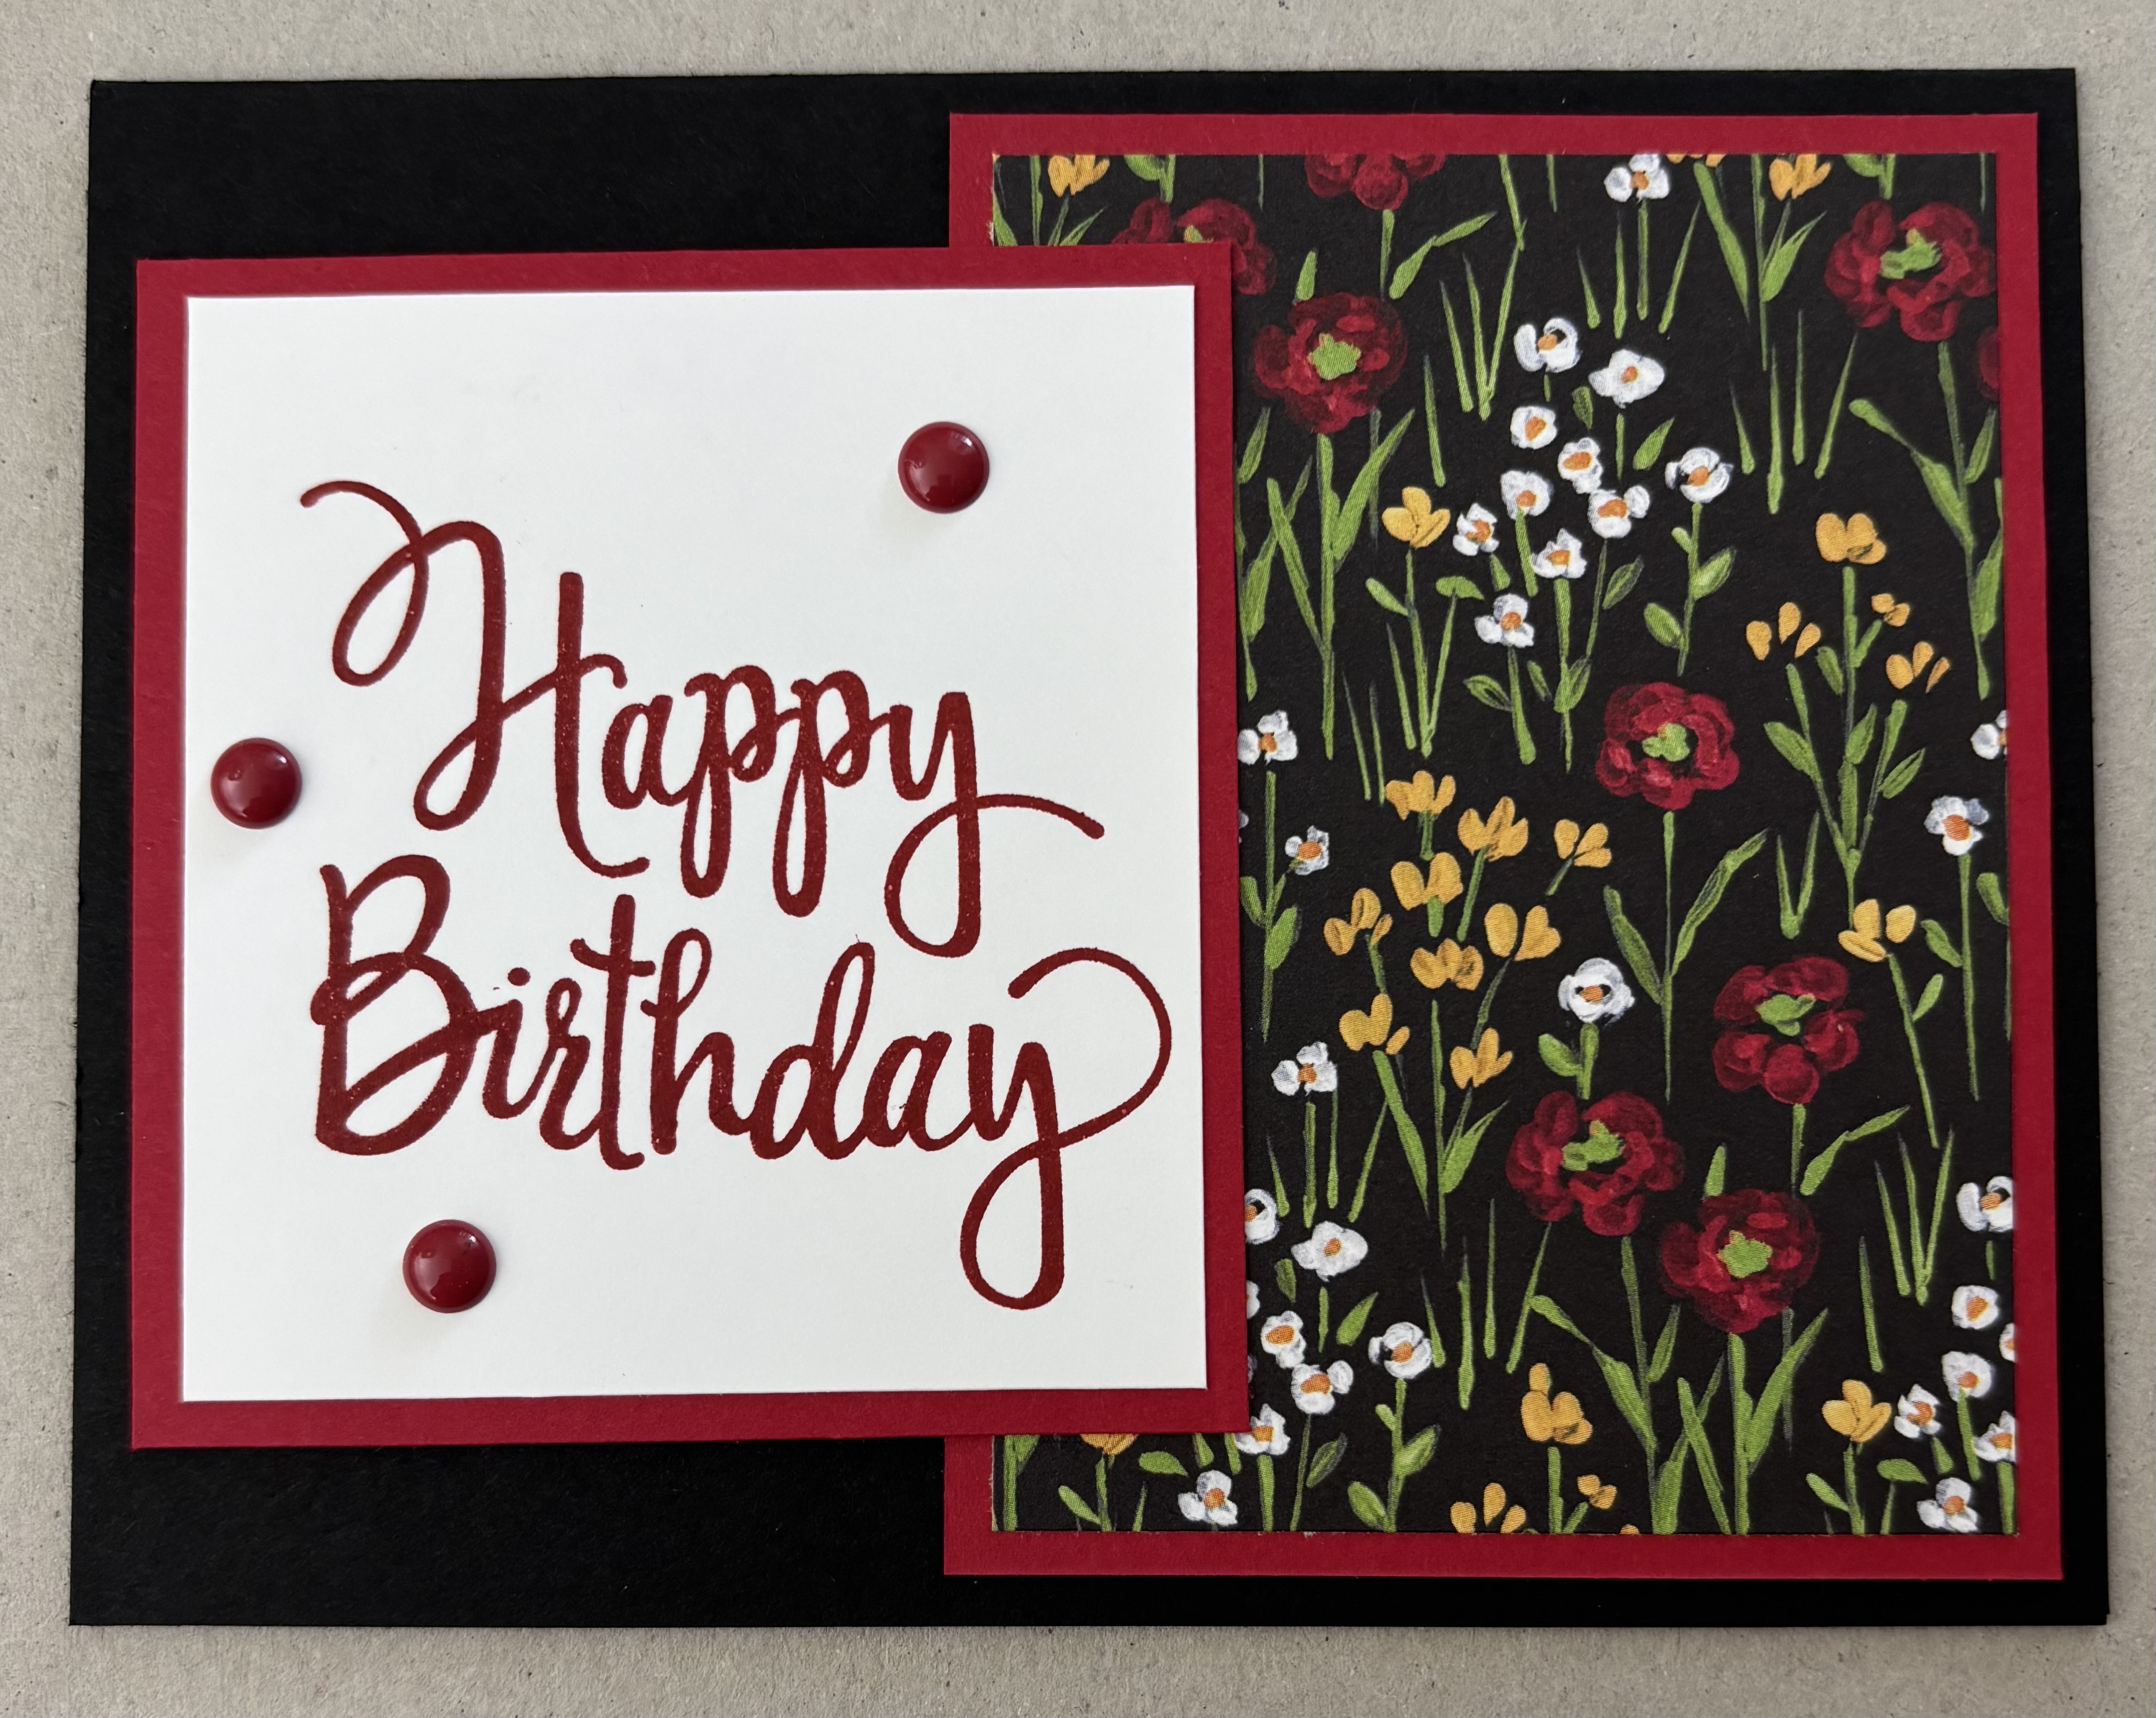
UNCOVERED SEAM

For this card I flipped the layout. Next, I simply adhered the paper pieces to the cardbase, making sure to leave no space between the two pieces.
SUPPLIES I USED
* Sentiment - Mini Birthday (Scrapbook.com)
* Embellishments - Enamel Dots (Simple Stories)
* All other supplies are from Stampin’ Up! ®️
USE 1/4” STRIP OF PATTERNED PAPER TO COVER SEAM

Once again, I flipped the layout and adhered the two pieces of patterned papers leaving no space between the two. I used a piece of coordinating patterned paper cut at 4” x 1/4”to cover the seem.
SUPPLIES I USED
* Stamps - Birthday Wishes (Waffle Flower)
* Embellishments - Enamel Dots (Simple Stories)
* All other supplies are from Stampin’ Up!
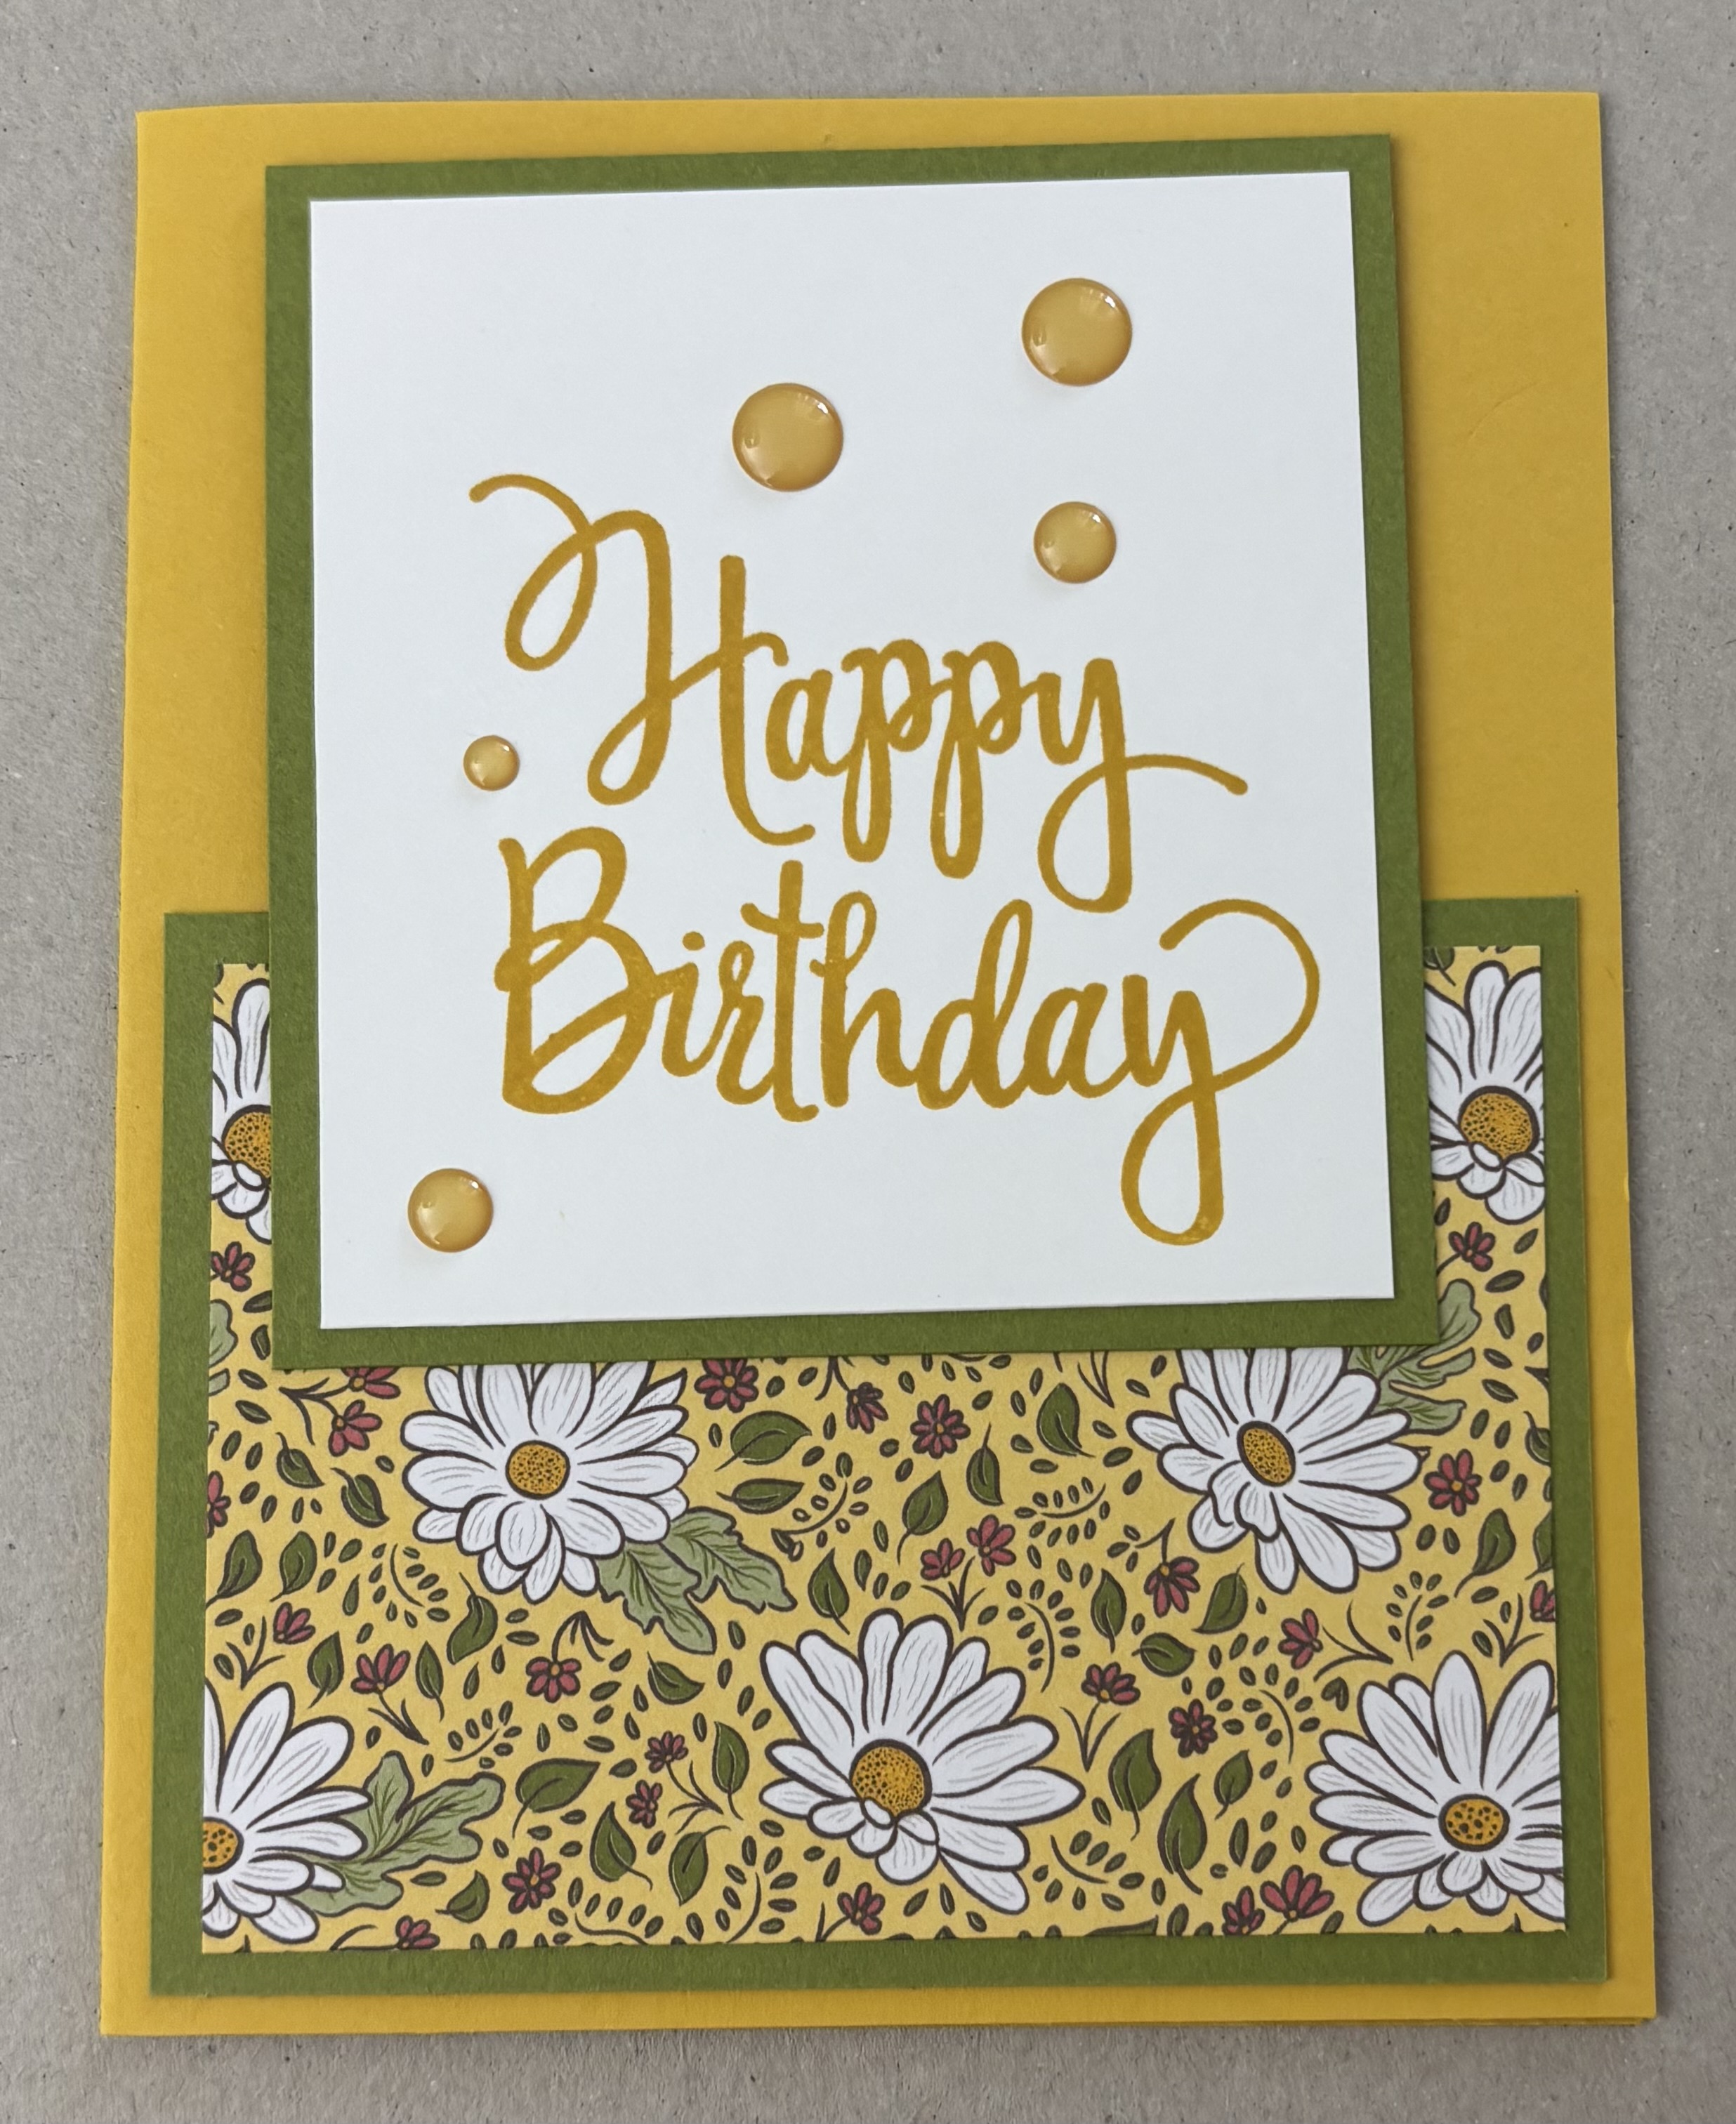
USE 1/4” STRIP OF CARDSTOCK TO COVER SEAM
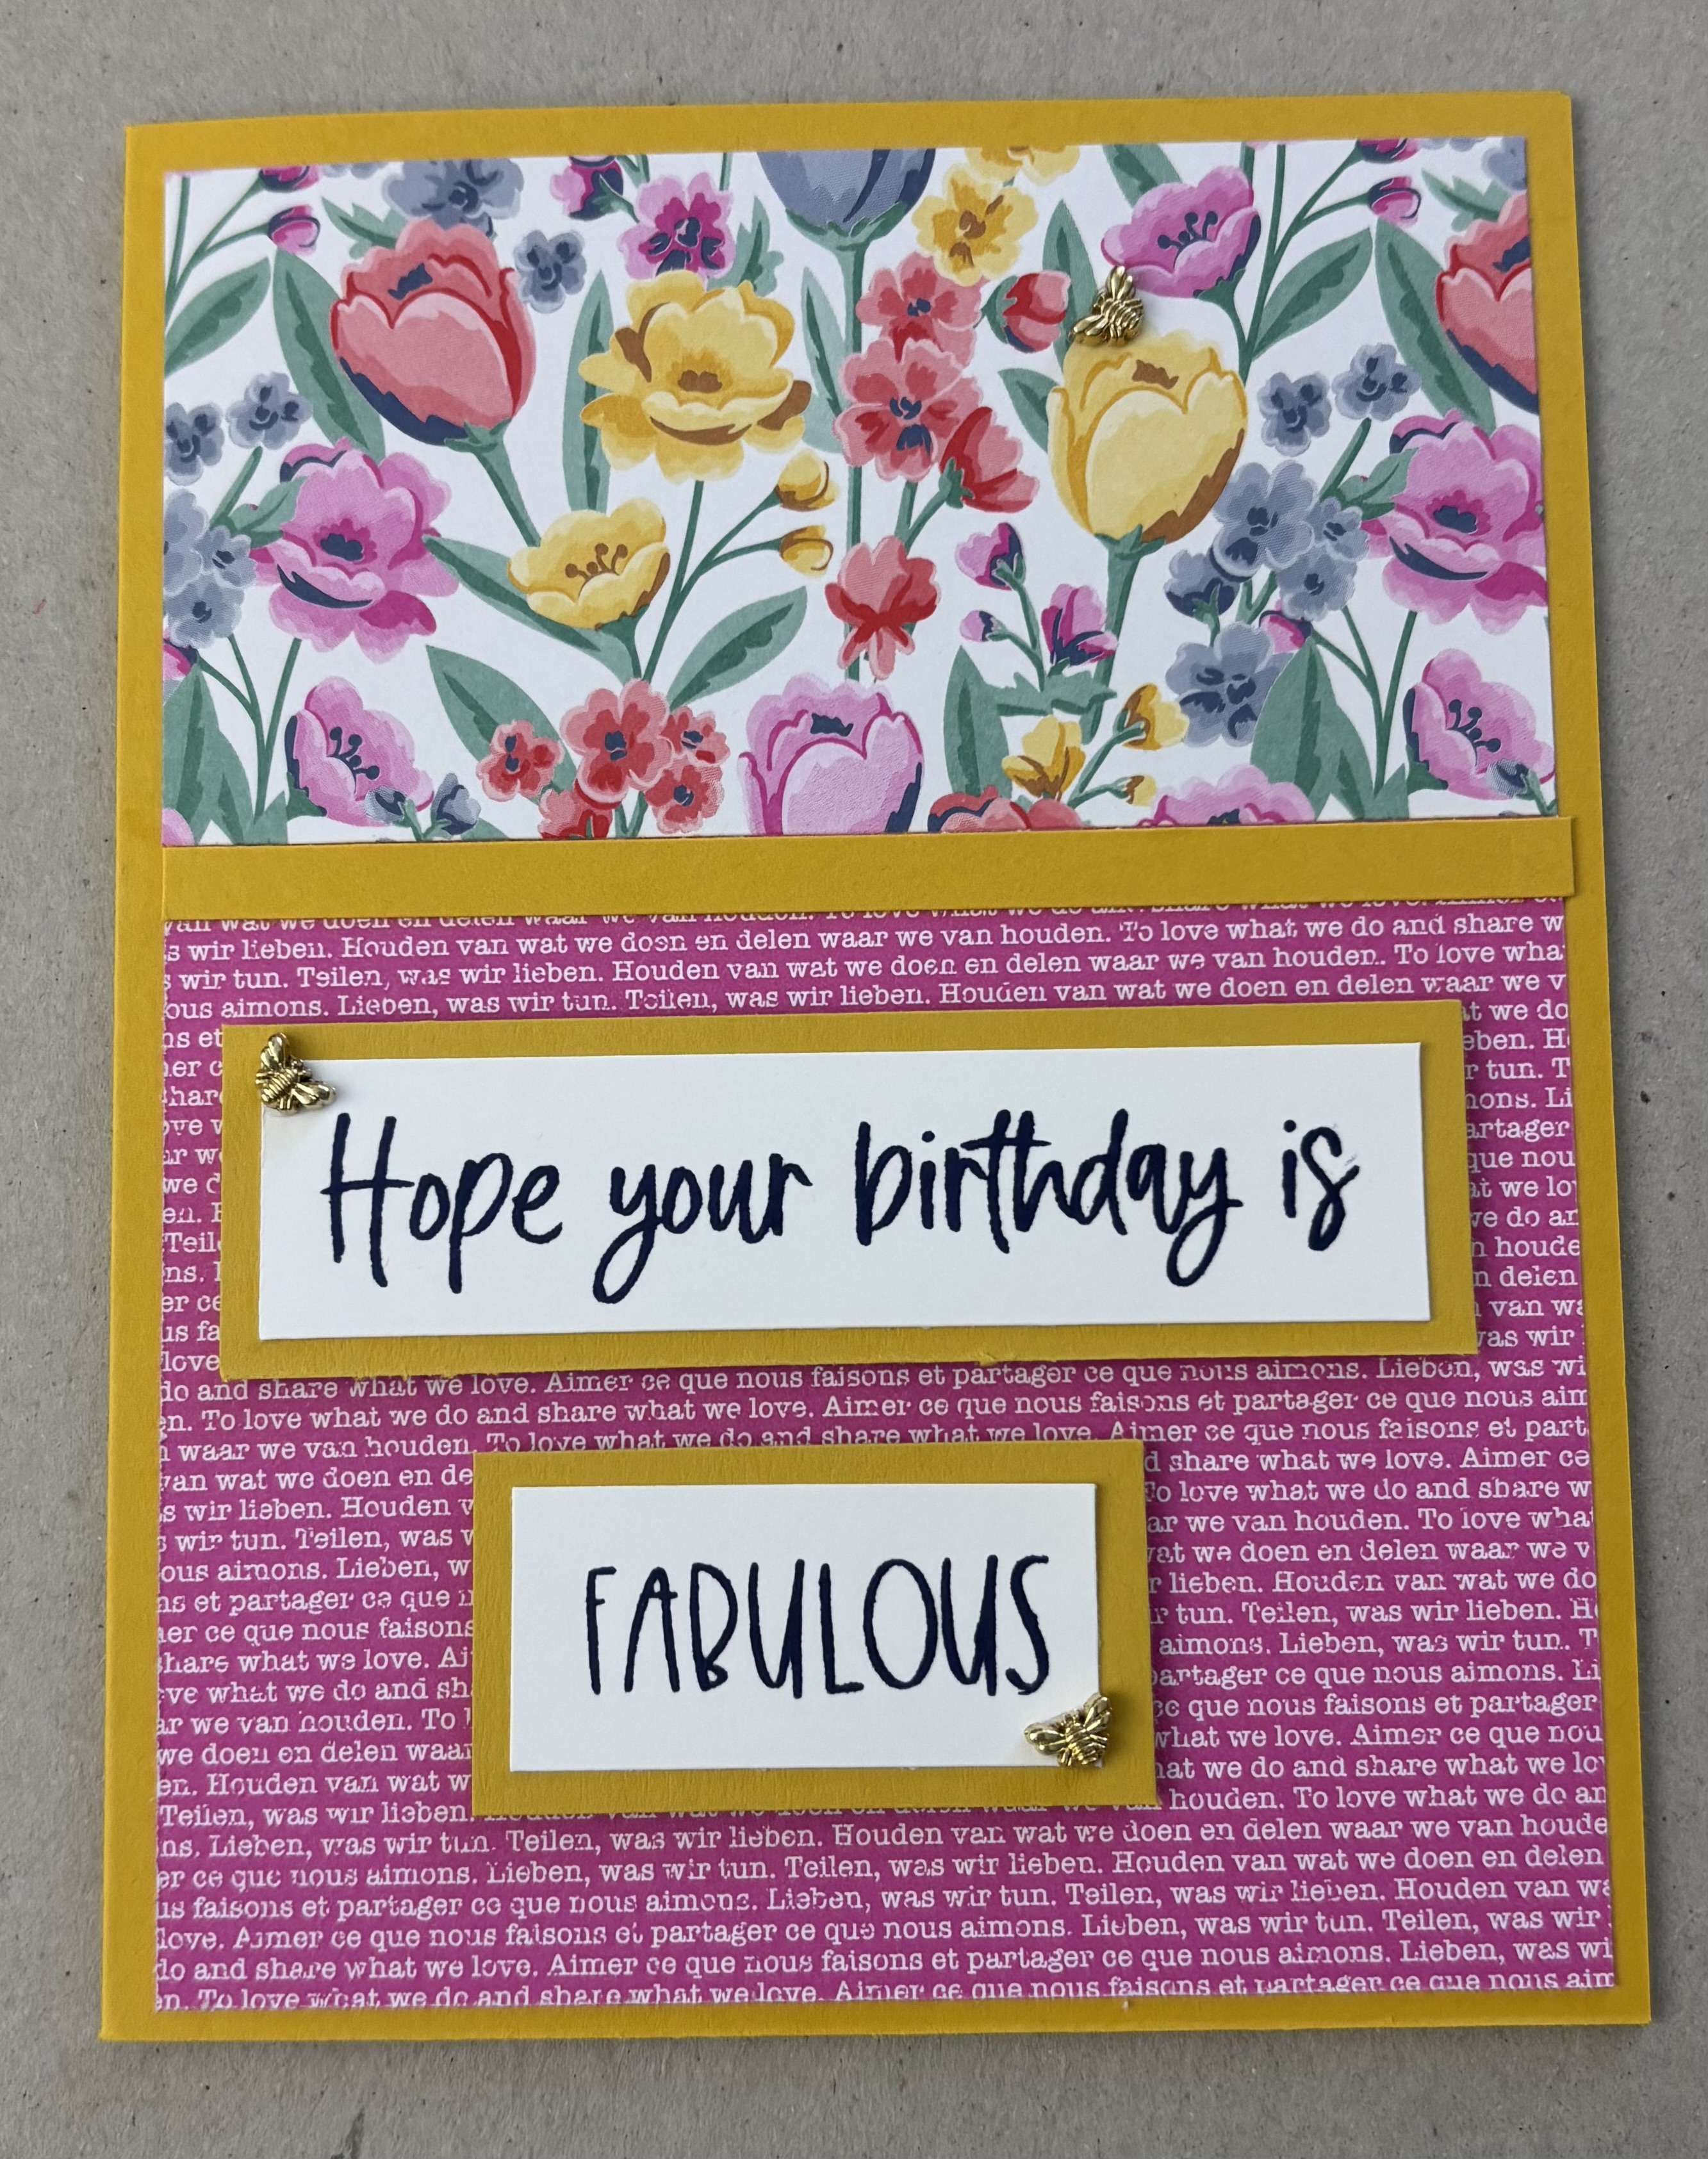
No flipping the layout this time. I covered the seem with a piece of cardstock which is cut at 1/4” x 4”.
SUPPLIES I USED
* Stamps - Flippin’ Fabulous (Honey Bee Stamps)
* All other supplies are from Stampin’ Up!
USE RIBBON TO COVER SEAM

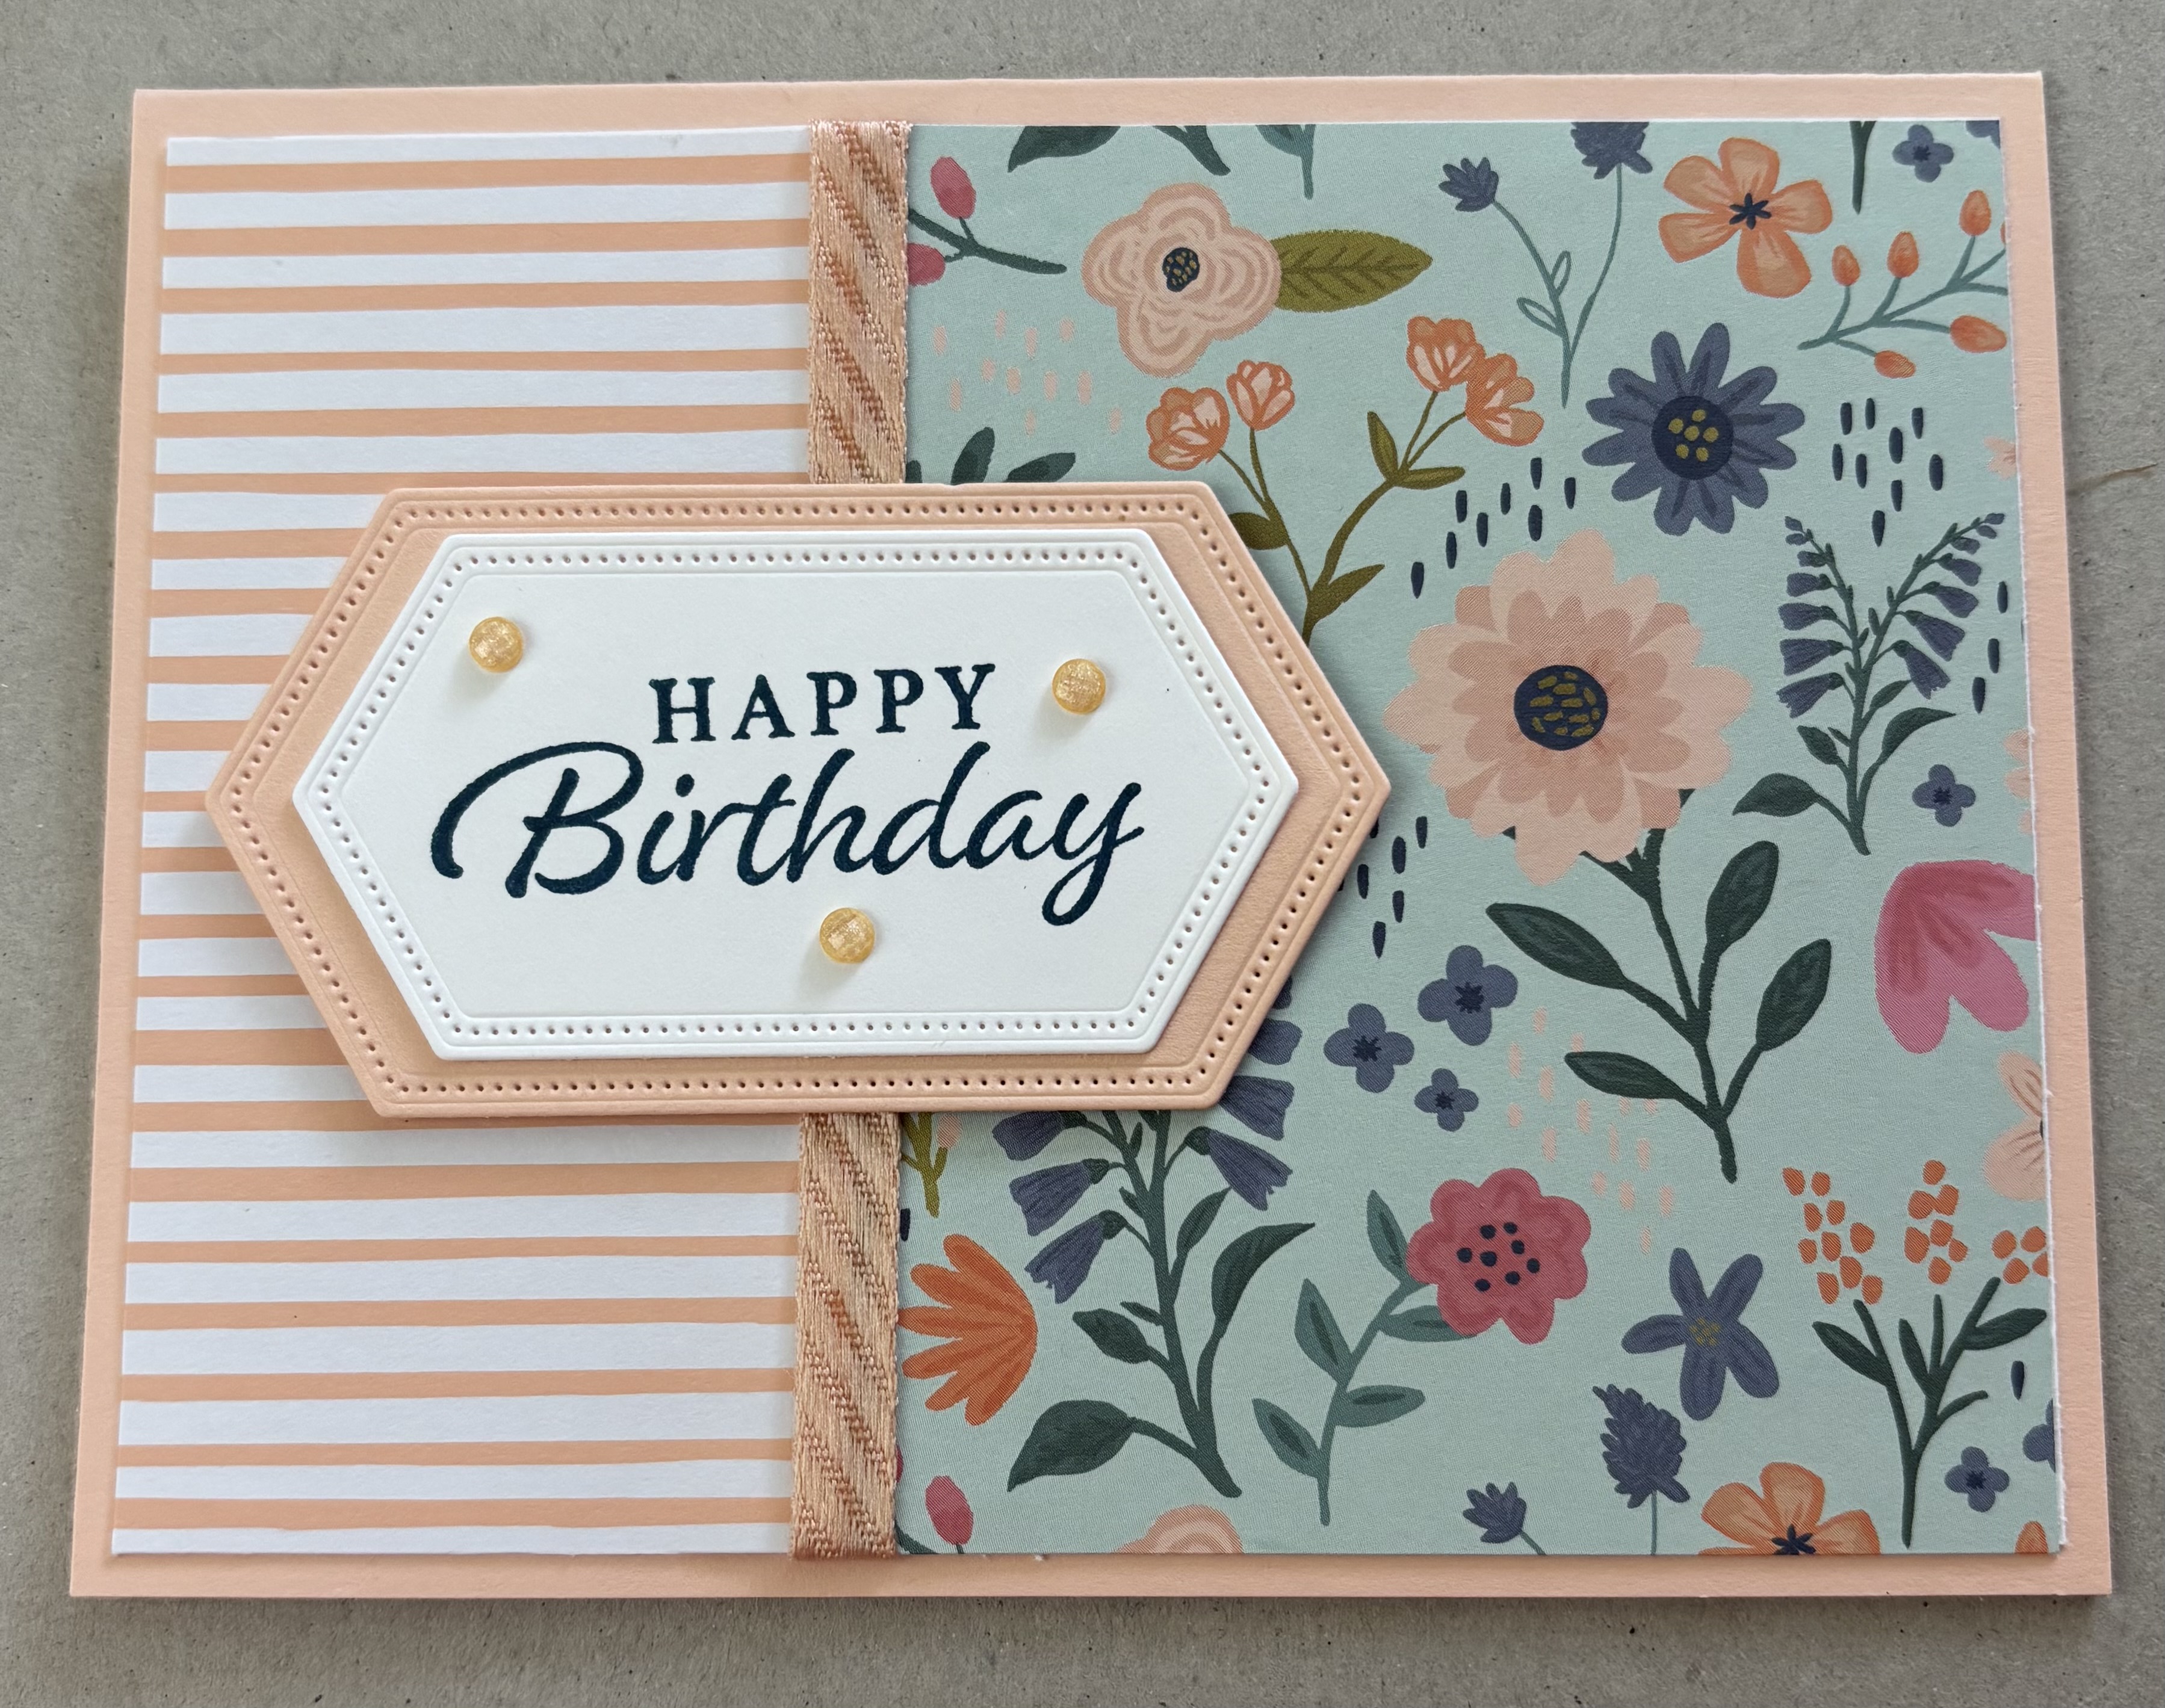
The card panel for this card was assembled on a piece of printer paper. The seam on this card was covered with two pieces of ribbon. Each piece of ribbon is cut at 5 1/4” long. They are adhered to the card panel with glue dots and secured to the back of the panel with tape. Then I adhered the panel to the card base.
SUPPLIES I USED
* All supplies for this card are from Stampin’ Up!
USE 1/2” STRIP OF PATTERNED PAPER TO COVER STRIP

To cover the seam on this card a used a coordinating piece of patterned papers cut at 1/2” x 4”.
SUPPLIES I USED
* Embellishments - Enamel Dots (Simple Stories)
* All other supplies are from Stampin’ Up!
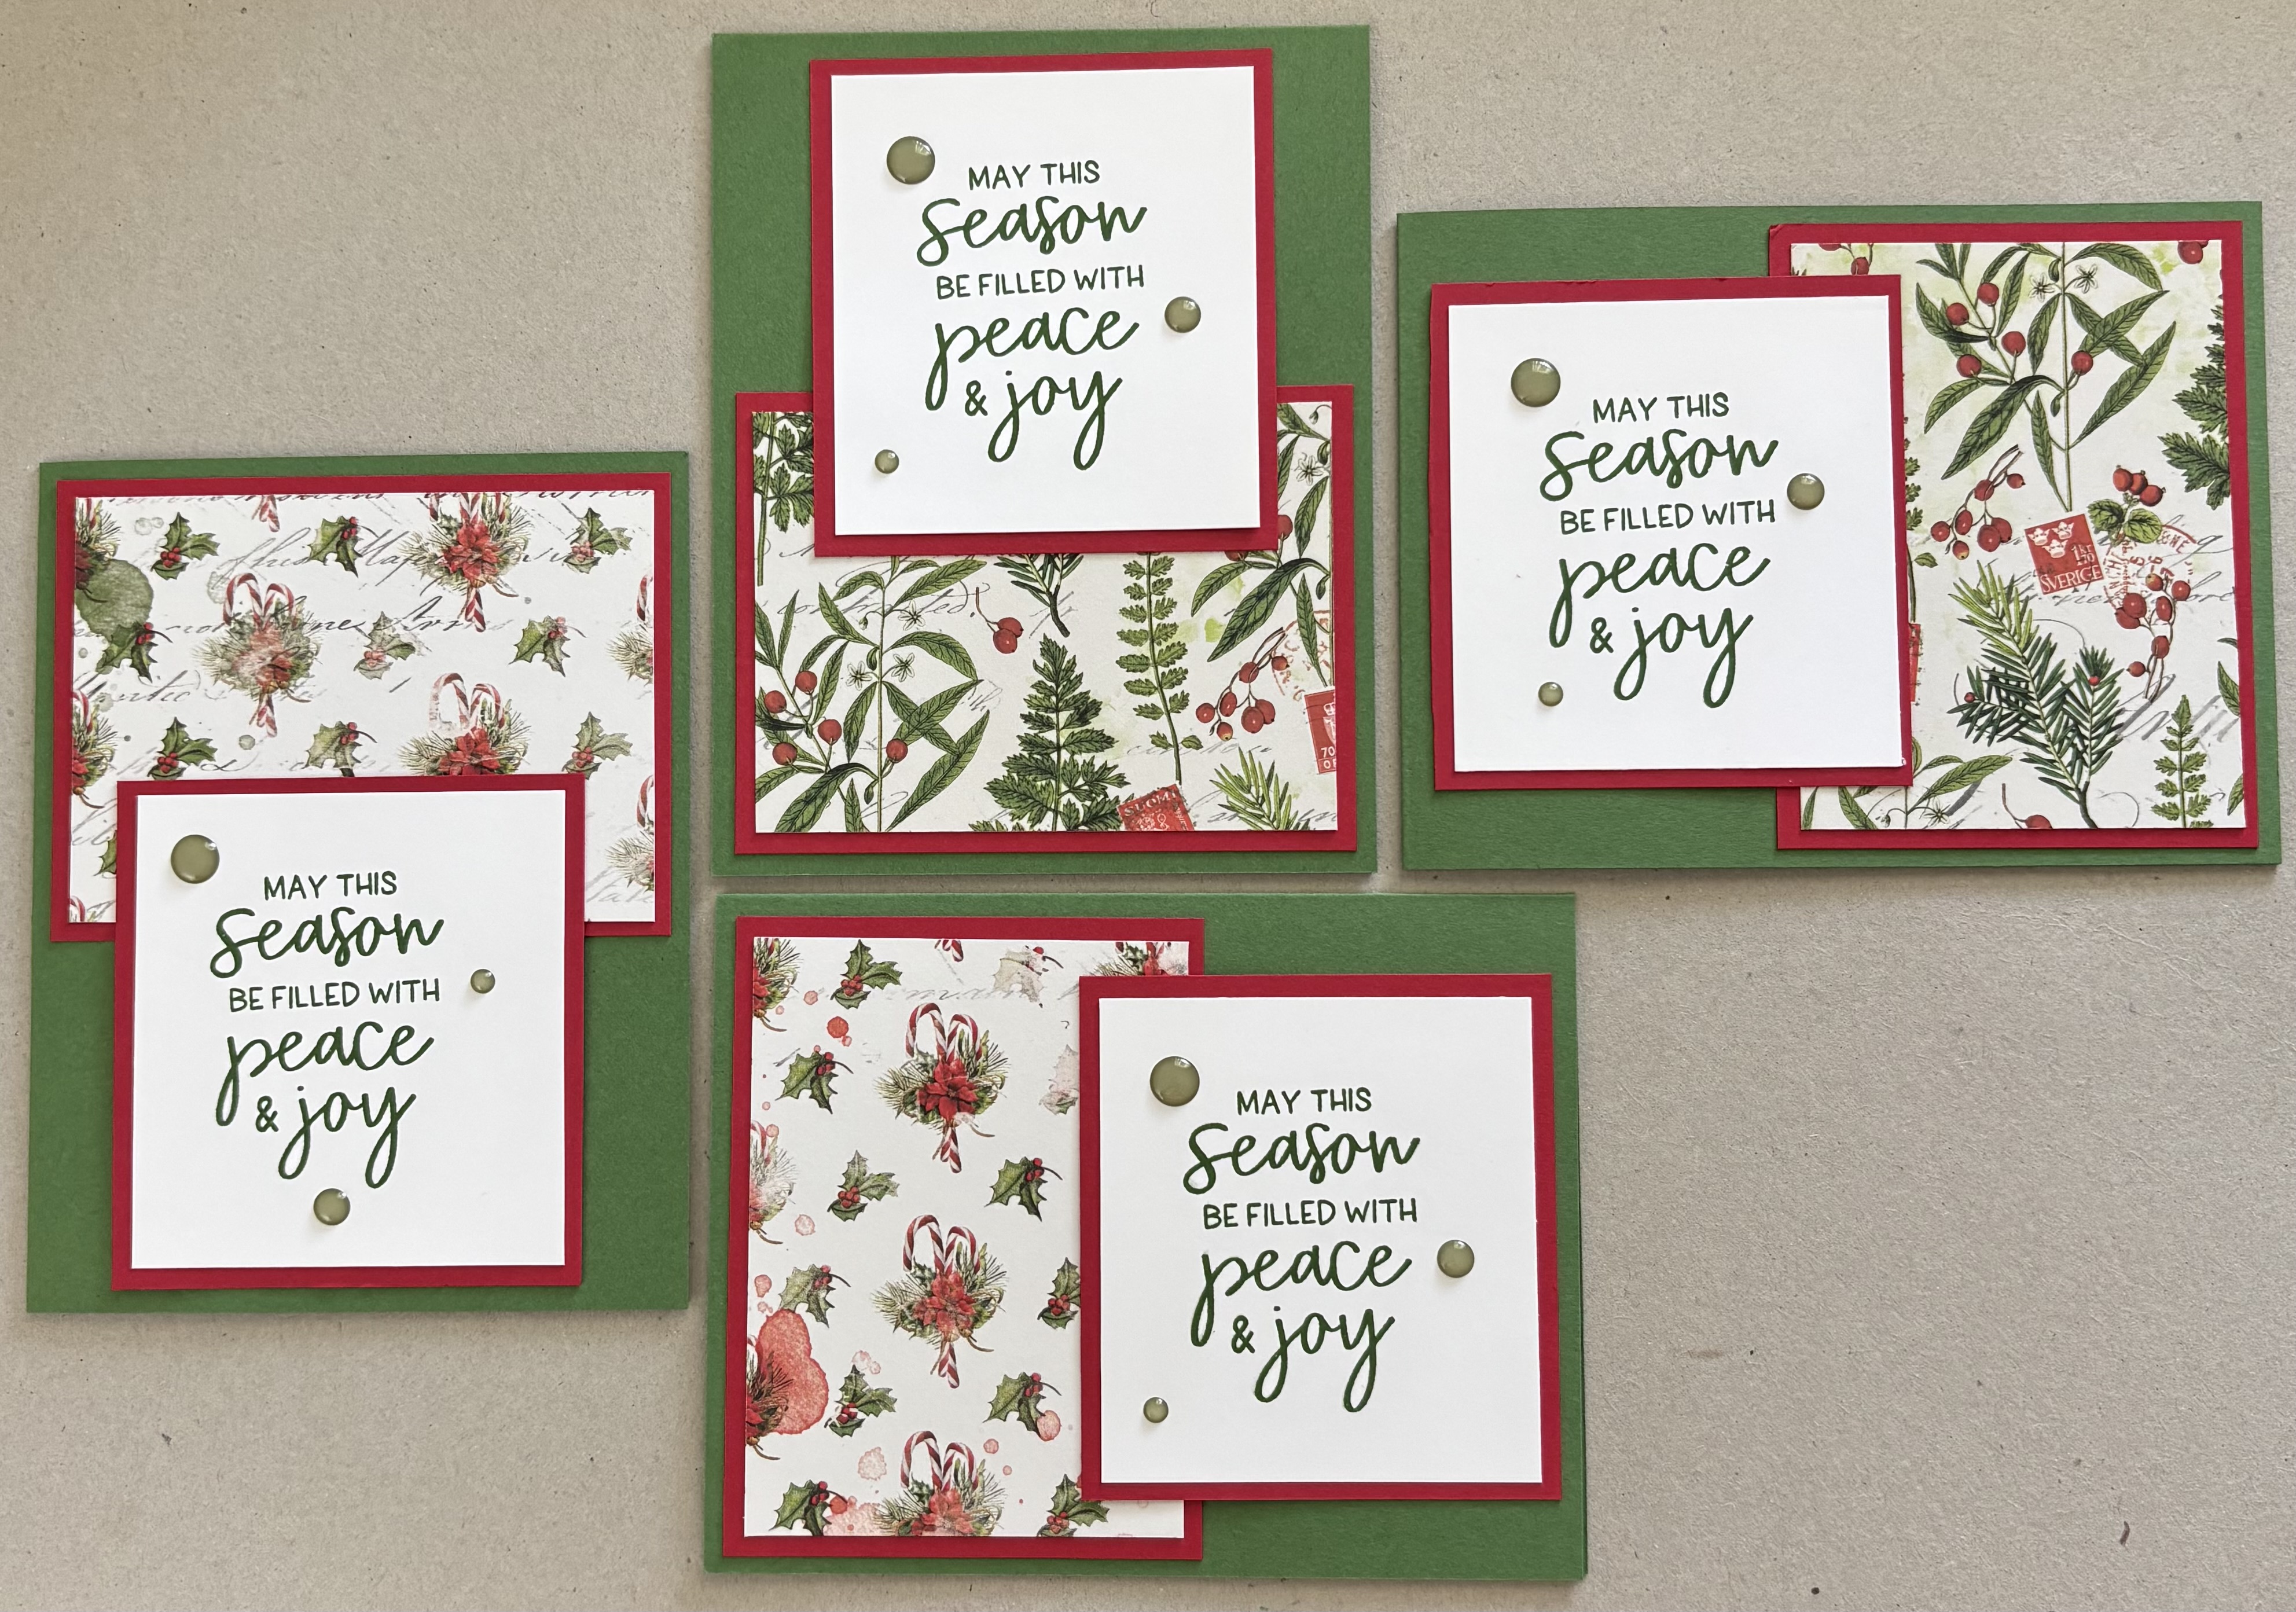
CHRISTMAS VERSION OF LAYOUT

Here is a Christmas version of the layout. Once again I flipped it. I added a contrasting strip of cardstock to cover the seam.
SUPPLIES IUSED
* Embellishments - Enamel Dots - Brights (Violet Studios)
* All other supplies from Stampin’ Up!
DOUBLE STRIP CARDSTOCK TO COVER SEAM

To cover the seam for this card I used two strips of cardstock. The wider one is 3/4” x 4”. The narrower one is 1/2” x 4”.
SUPPLIES I USED
* All supplies are from Stampin’ Up!
LANDSCAPE VERSIONS

* All supplies are from Stampin’ Up!
* Floral Patterned Paper - Florals Essentials Collection (Violet Studios)
* All other supplies are from Stampin’ Up!
VIDEO CARDS


* All are from Stampin’ Up!

* Patterned Paper - Bees & Butterflies Collection (Paper Rose)
* All other supplies are from Stampin’ Up!


SPLIT PANEL LAYOUT CARDS


The split panel card layout, is easy to create, uses patterned paper scraps and cardstock scraps, is great for showcasing larger greetings, there are various options for covering the seam, and the layout can be flipped! The layout can also be used in portrait or landscape orientation. So easy, so many options! Why not give it a try?
Thank you so much for stopping by today! Until next time . . .
Stamp Happy!
Kim
NOTE
I use mostly Stampin’ Up! products. Products from other companies are noted as such. I am not affiliated with, nor am I compensated by any company, manufacturer, or other entity.i share where I get my supplies as a resource only.