Hi Stampers,
The other day I looked through my collection of specialty papers and ribbon. Seems my collection has grown a bit over the past few months! It was time to stop collecting, and start using! So… I decided to make some gift tags! And here they are!

I used the GIVING GIFTS DIES (Mini Catalog) to create the images on the tags. Here is a look at the dies:
GIVING GIFTS DIES

TAILOR MADE TAGS DIES


TAG HOW TO & MEASUREMENTS
* For all the large tags I used two pieces of cardstock cut at 4” x 2” and for all the smaller tags I used two pieces of cardstock cut at 3” x 1 1/2”.
* The ribbon, cord, or twine for all tags is cut at 7”.
* Stamp To/From on the back side of the tag if you wish.


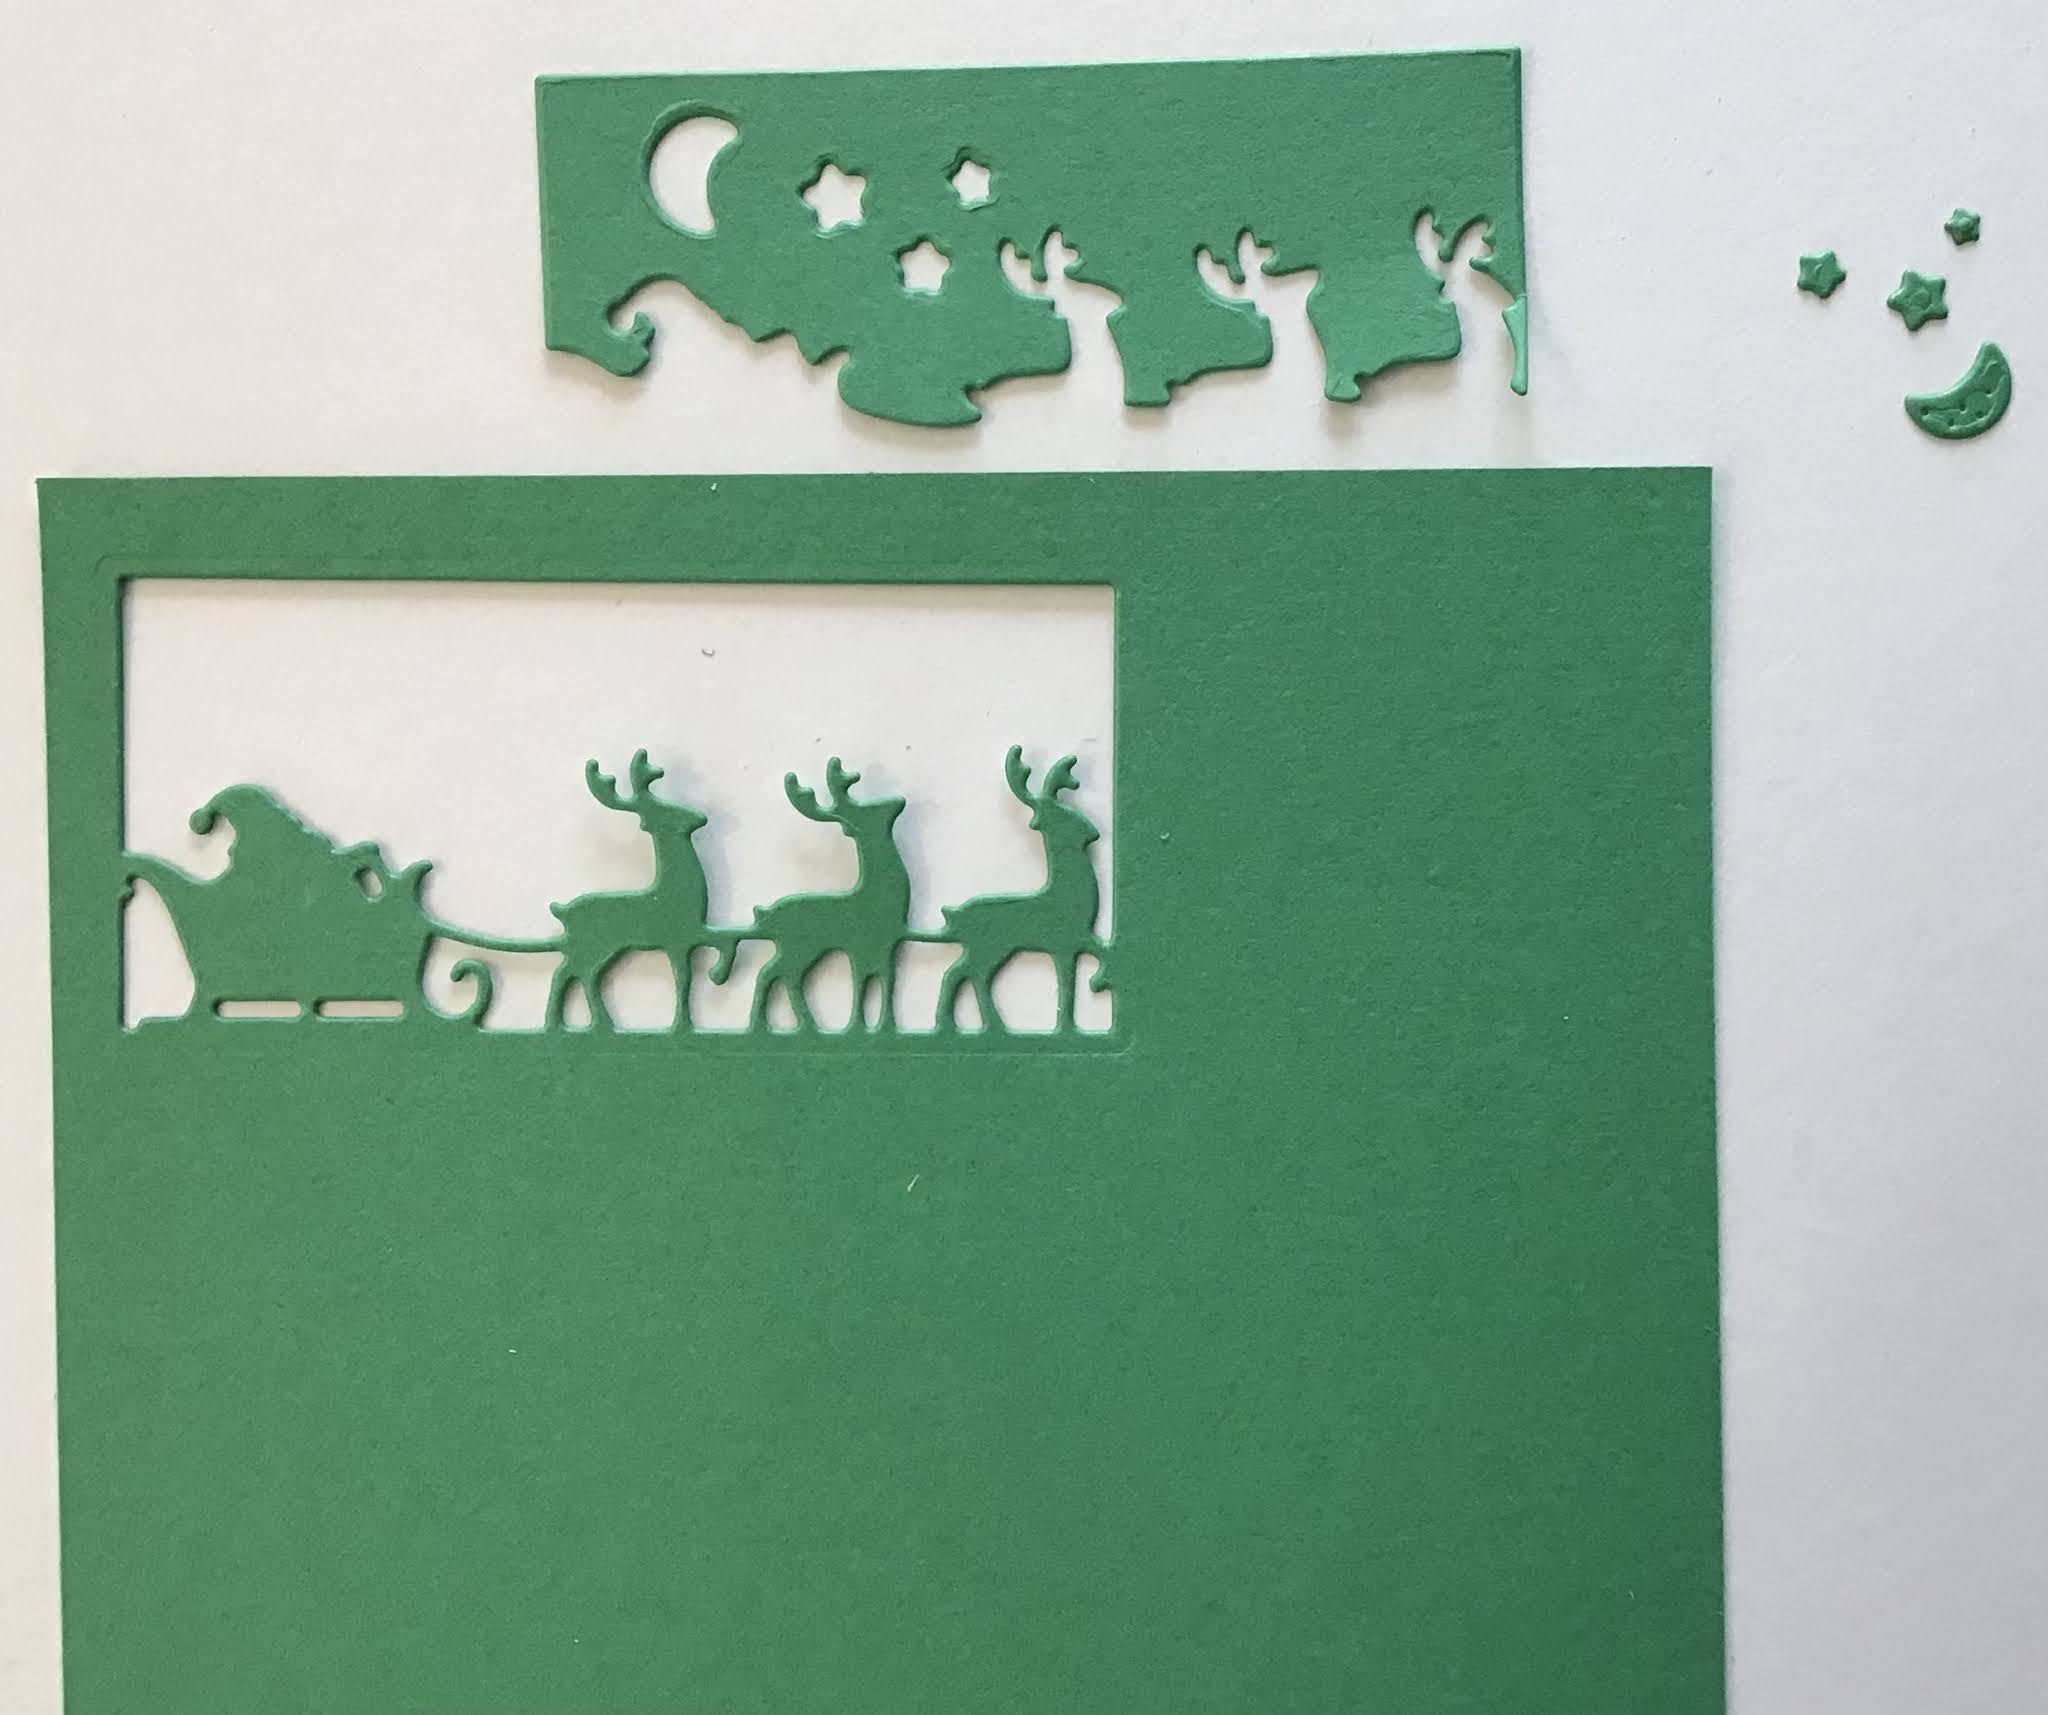
*A NOTE ABOUT THE SANTA DIE & THE MOON/STARS DIE

* To make a tag with these two dies follow the same steps for a tag as explained above, just add the moon & stars die.


HELP! I DON’T HAVE THE TAILOR MADE TAGS DIES!
You don’t have the Tailor Made Tags Dies? No problem! You can still make tags with the GIVING GIFT DIES. Below are two other tag options:
USE A TAG TOPPER PUNCH

To make the tags with a tag topper punch (Fancy Tag Topper & Delightful Tag Topper Punches are featured in the Annual Catalog) cut two pieces of cardstock the same dimensions as listed above. Place each piece of cardstock in the punch and punch the shape for the tag top. Place the GIVING GIFTS Die on top of the piece of cardstock you want on top of the tag, and run through the die cut machine. Adhere the two pieces together, and add ribbon.
USE PIECES OF CARDSTOCK TO CREATE THE TAG

Cut the cardstock following the dimensions listed above. Place the GIVING GIFTS DIE centered on the piece of cardstock you want to be the topside of the tag. Run it through the die cut machine. Adhere this to the other piece of cardstock. Use a hole punch to make a hole in the top of the tag. Add ribbon to the tag.
*MAKING TAGS WITH THE GIVING GIFTS DIES VIDEO*
Here is the “Double Shaker” card I showed in the video. It was made using the Giving Gifts Dies:

SUPPLIES FOR TAGS
VELVET PAPERS

* SANTA’S SLEIGH TAG - Red Velvet and White Velvet papers, Real Red Sheer Ribbon.
*SNOWFLAKE TAG - White Velvet paper and Silver Foil, Glittered Organdy Ribbon
FOIL PAPERS

* RED ORNAMENT TAG- Red Foil and Gold (Brushed Metallics) Cardstock, Cherry Cobbler & Gold Ribbon
* GREEN ORNAMENT TAG - Green Foil and Gold (Brushed Metallics) Cardstock, Gold Shimmer Ribbon
* GOLD ORNAMENT TAG - Gold Foil and Silver Foil, Simply Elegant Trim (gold)
* SILVER ORNAMENT TAG - Silver Foil and Gold (Brushed Metallisc) Cardstock, Simply Elegant Trim (Silver)
* SANTA’S SLEIGH TAG - Red and Silver Foil and Real Red Sheer Ribbon
RAINBOW GLIMMER PAPER

* ORNAMENT TAG - Rainbow Glimmer paper and Pearlescent paper and Very Vanilla Baker’s Twine
* SNOWFLAKE RAINBOW TAG PINK - Rainbow Glimmer paper, Whimsy and Wonder DSP mounted on Basic White cardstock, and Glittered Organdy Ribbon

That’s all for today, Stampers. Thank you for stopping by. Until next time…
Stamp Happy!
Kim
All stamps and stamped images©️1990-2021 Stampin’ Up!®️
No comments:
Post a Comment