Hi Stampers!
Have you seen the Time of Giving Bundle in the Stampin’ Up!®️ July-December 2021 Mini catalog? (Page 61) I missed it the first couple of times I looked through the catalog. Once I took notice, I had to have it! The stamp set has nice sentiments and four image stamps. I think the snowflakes and swirls image is really pretty, but I love the leaves. All three leaves are one stamp, but the coordinating die cuts them out separately.
Here is a look at the stamp set:


I used the TIME OF GIVING BUNDLE to create a fall themed card. Here is the card:
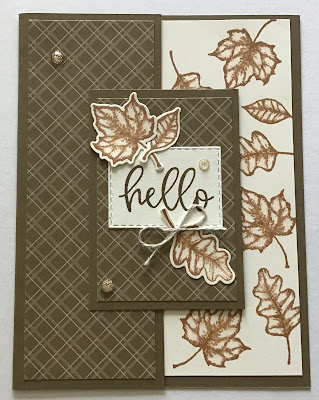
The leaf images are basically outline images with a bit of shading. I used a blender pen on the stamped image to move the ink around and add a hint of color to the leaves. Page down a bit for the video where I demonstrate how to use a blender pen to add a touch of color to stamped images.
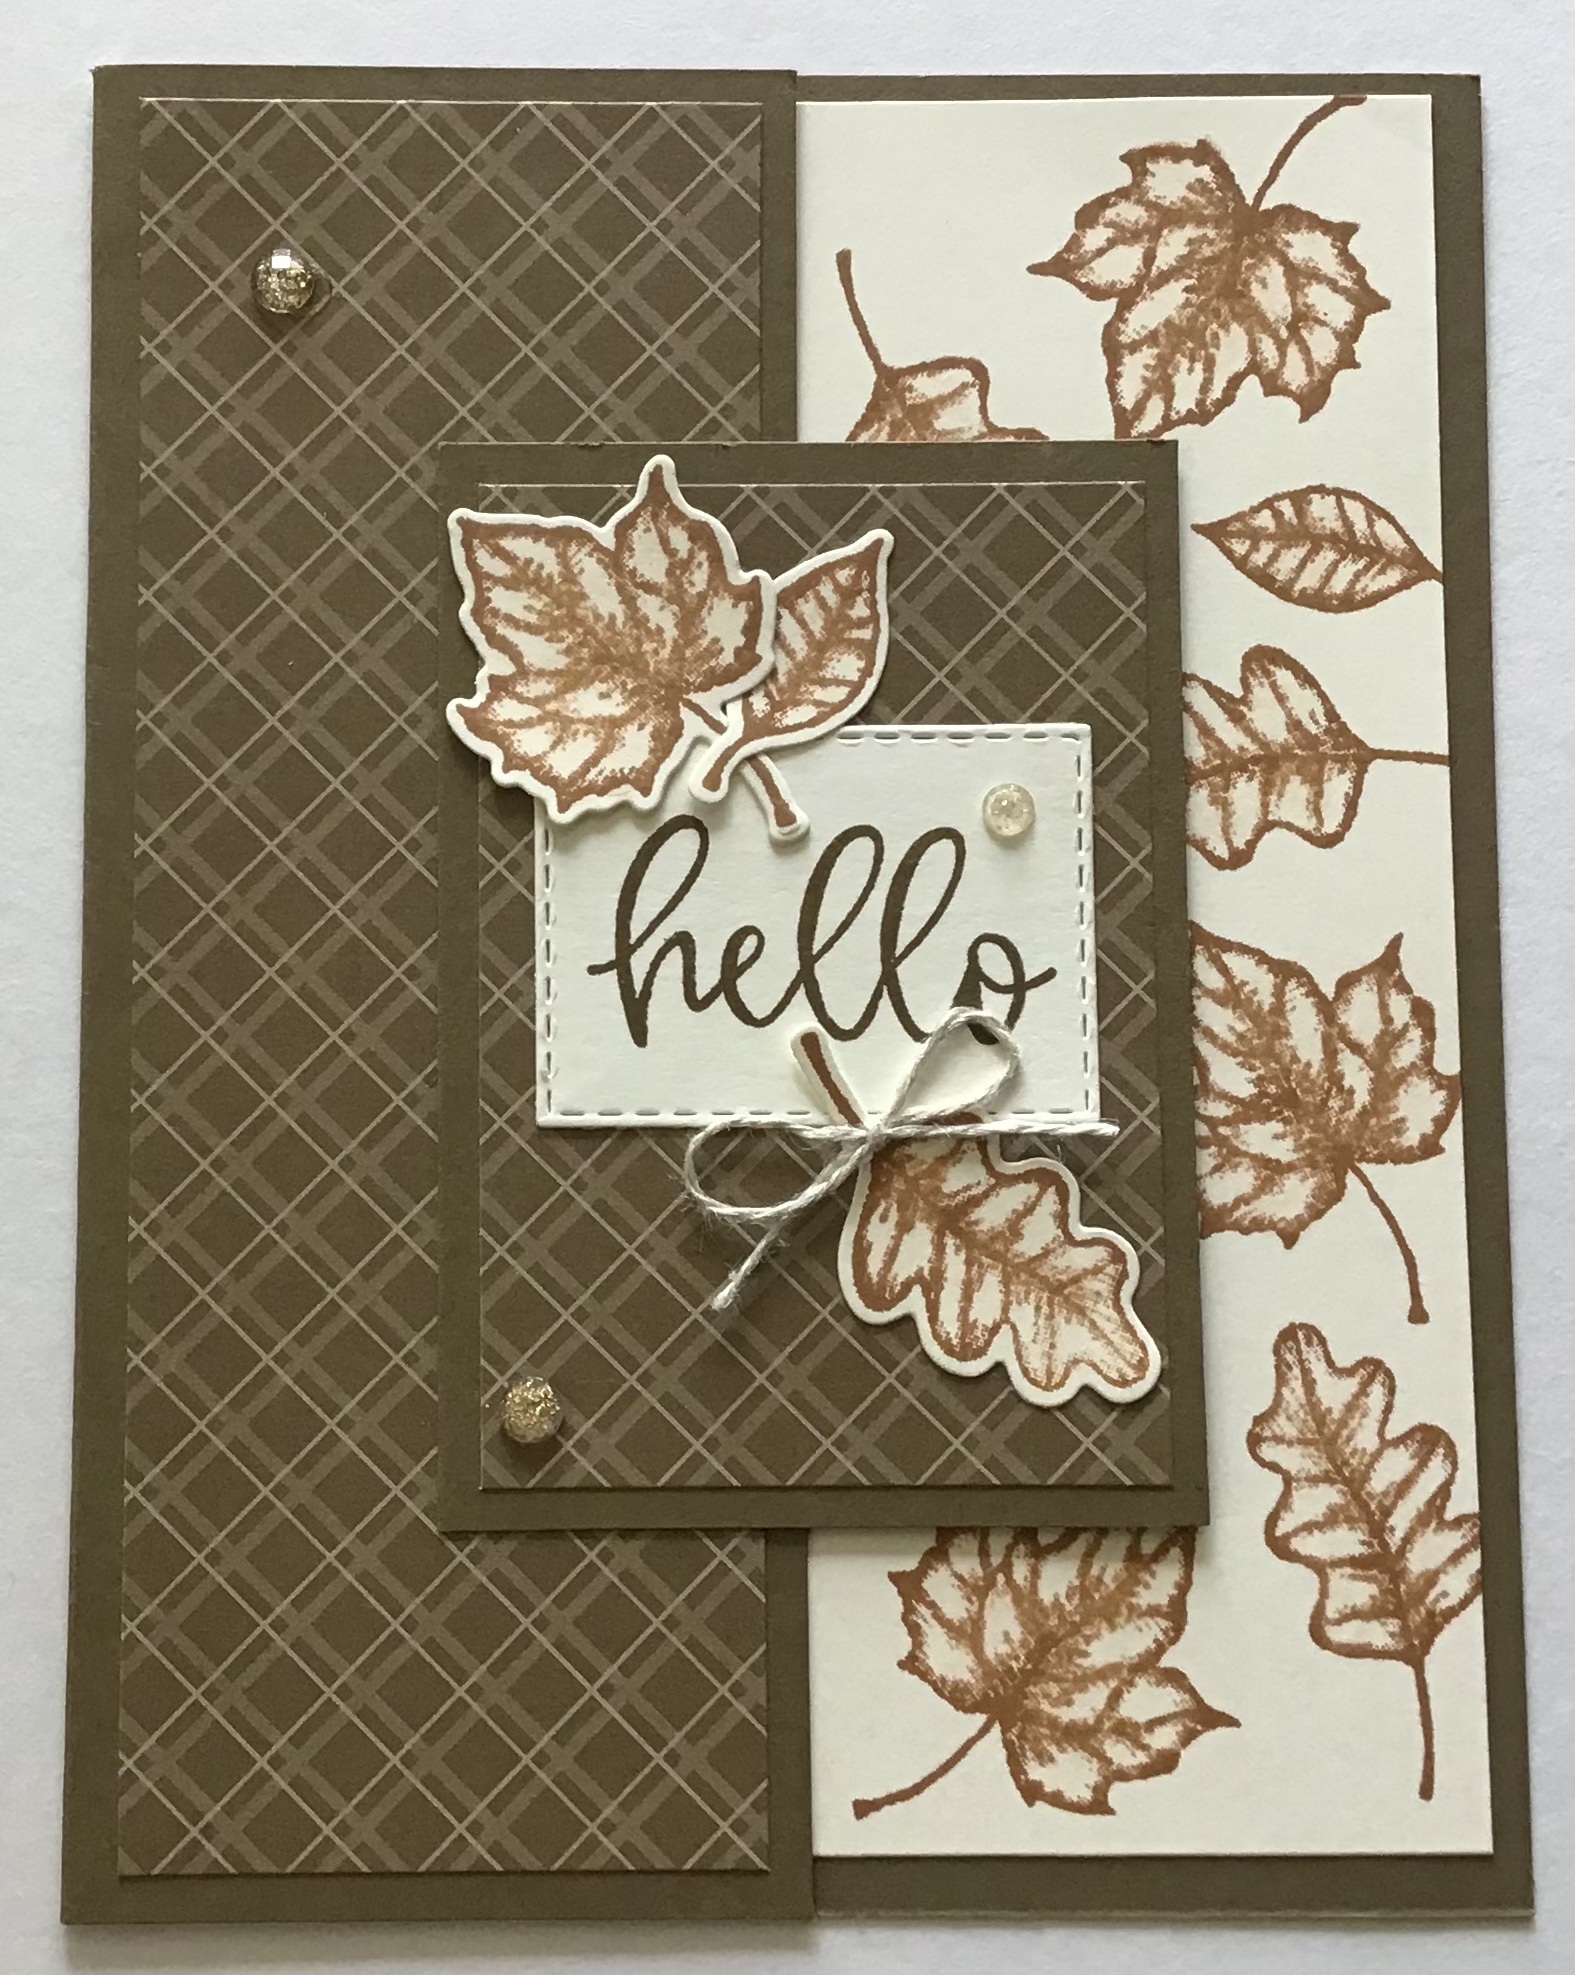
SUPPLIES FOR THE CARD
* Time of Giving Bundle and the Biggest Wish stamp set
* Soft Suede Card base cut at 6 3/8” x 5 1/2” scored and folded at 2 1/8” (or 4 1/4” - it will be the same) along the 6 3/8” side.
* Very Vanilla cardstock cut at 5 1/4” x 4” and a large scrap for stamping
* Soft Suede cardstock cut at 3 1/4” x 2 1/4”
* 6” x 6” DSP x Neutrals - Soft Suede, one piece cut at 5 1/4” x 1 7/8” and one cut at 3” x 2”.
* Inks - Soft Suede and Cinnamon Cider and a blender pen
* Wonderful Gems - 3 clear with gold flakes
* 4-5 inches of linen thread tied in a bow
* Stitched Rectangles Dies - die that measures about 2” x 1 3/4”
* Adhesive and glue dots
ASSEMBLY
* Stamp the leaf images with the. Cinnamon Cider ink along the right side of the Very Vanilla (5 1/4” x 4”) cardstock. Use the blender pen to move some of the ink around the leaf adding a touch of color to the entire image.
* On the scrap of Very Vanilla stamp the leaf images with Cinnamon Cider ink, and use the blender pen as before yo add a dab of color to the leaves. Stamp the greeting (hello) with Soft Suede ink. Die cut the leaf images and use the Stitched Rectangles Die to cut out the greeting.
* Adhere the DSP to the front of the card base and to the piece of Soft Suede cardstock (focal panel base)
* Apply adhesive to only one side of the focal panel base and adhere it to the card front.
* Adhere the greeting and the leaves (see card for placement).
* Use a glue dot to adhere the linen thread bow to the single leaf.
* Place the Wonderful Gems on the card.

NOTE:
The Stampin’ Up 2021-2022 Annual Catalog suggests using Basic White or Shimmery White cardstock with the blender pens. For my card I used the blender pen on Very Vanilla cardstock with no issues. I used a circular motion and a light touch. I avoided going back over areas I had covered. The circular motion, light touch, and going over the stamped area only once helps prevent pilling.The photos above show results using the blending pen on (from top to bottom) Basic White cardstock, Shimmery White cardstock, and Very Vanilla cardstock. VIDEO - USING BLENDING PENS TO ADD COLOR TO STAMPED IMAGES

SUPPLIES FOR THE SHAKER CARD
* Stamp sets - Time of Giving Bundle, Nuts About Squirrels, Banner Year (greeting)
* Soft Suede card base
* Soft Suede and Very Vanilla cardstock, Cork Specialty Paper, and window sheet all cut at 4” x 3 1/2”
* Scraps of Soft Suede, Crumb Cake, Very Vanilla, and scraps of colors for leaves (I used Crushed Curry, Pumpkin Pie, and Cherry Cobbler).
* DSP 5 1/4” x 4” I used the Pattern Party DSP - Black and White tattersall pattern.
* Inks - Cinnamon Cider, Soft Suede, and Memento Tuxedo Black; blending brush
* Layering Circles Die 2 1/2” diameter
* Adhesive, foam adhesive strips
* A few sequins
ASSEMBLY
* Use the blending brush to add ink to the DSP. First add a layer of Cinnamon Cider followed by Soft Suede. The goal is to have areas of lighter and darker coloring.
* Adhere the Cork paper to the piece of Very Vanilla cardstock (this step will give the cork more stability), use the texture stamp from the Time of Giving stamp set and Cinnamon Cider ink and stamp randomly on the cork to add more dimension to the texture of the cork. Allow this to dry or use a heat tool to set the ink (it takes just a few seconds).
* Stamp the squirrel (Nuts About Squirrels) on Very Vanilla with Memento Tuxedo Black ink. Add color with the “filler” stamp and Cinnamon Cider ink. Stamp the greeting (from Banner Year) with Soft Suede on the scrap of Crumb Cake.
* Fussy cut the squirrel. Use scissors or a paper trimmer to cut out the greeting.
* Die cut the cork panel using the Layering Circles Die.
* Die cut the leaves using the leaves die (not the outline die)
* Adhere the window sheet to the back of the cork panel and place the foam adhesive strip on the window sheet along the outside rim of the circle.
* Place the die cut leaves and a few sequins in the center of the 4” x 3 1/2” piece of Soft Suede cardstock. Peel the backing off the foam strip and attack the cork panel to the cardstock.
* Adhere the greeting to a scrap of Soft Suede cardstock and trim the cardstock to make a mat for the greeting. Adhere this to the card above the die cut circle.
* Adhere the squirrel image to the lower left corner of the cork panel.
* Adhere the DSP to the card base.
* Adhere the cork shaker panel to the card.
Stamp Happy!
Kim
All stamps and stamped images ©️1990-2021 Stampin’ Up!®️


