Hi Stampers!
Today’s card features a simple card layout, the NATURE’S HARVEST BUNDLE and other items from the HARVEST MEADOW SUITE. (STAMPIN’ UP!®️ JULY-DECEMBER 2021 MINI CATALOG) This suite of products is my favorite one in the mini catalog. The Designer Series Paper’s color palette projects a soft natural feel that pairs nicely with the Cork Specialty Paper and the Brushed Metallic Dots. The Timeworn Embossing Folder adds a soft bit of texture to cardstock, and the Diamond Weave Ribbon reminds me of a crocheted edging. The stamp set is gorgeous, but my favorite item in the suite is the Harvest Dies! Two dies cut out images from the stamp set, two are label dies for sentiments, and four dies are silhouette dies (I love those.) Let’s take a look at the stamp set and dies.
NATURE’S HARVEST STAMP SET
HARVEST DIES
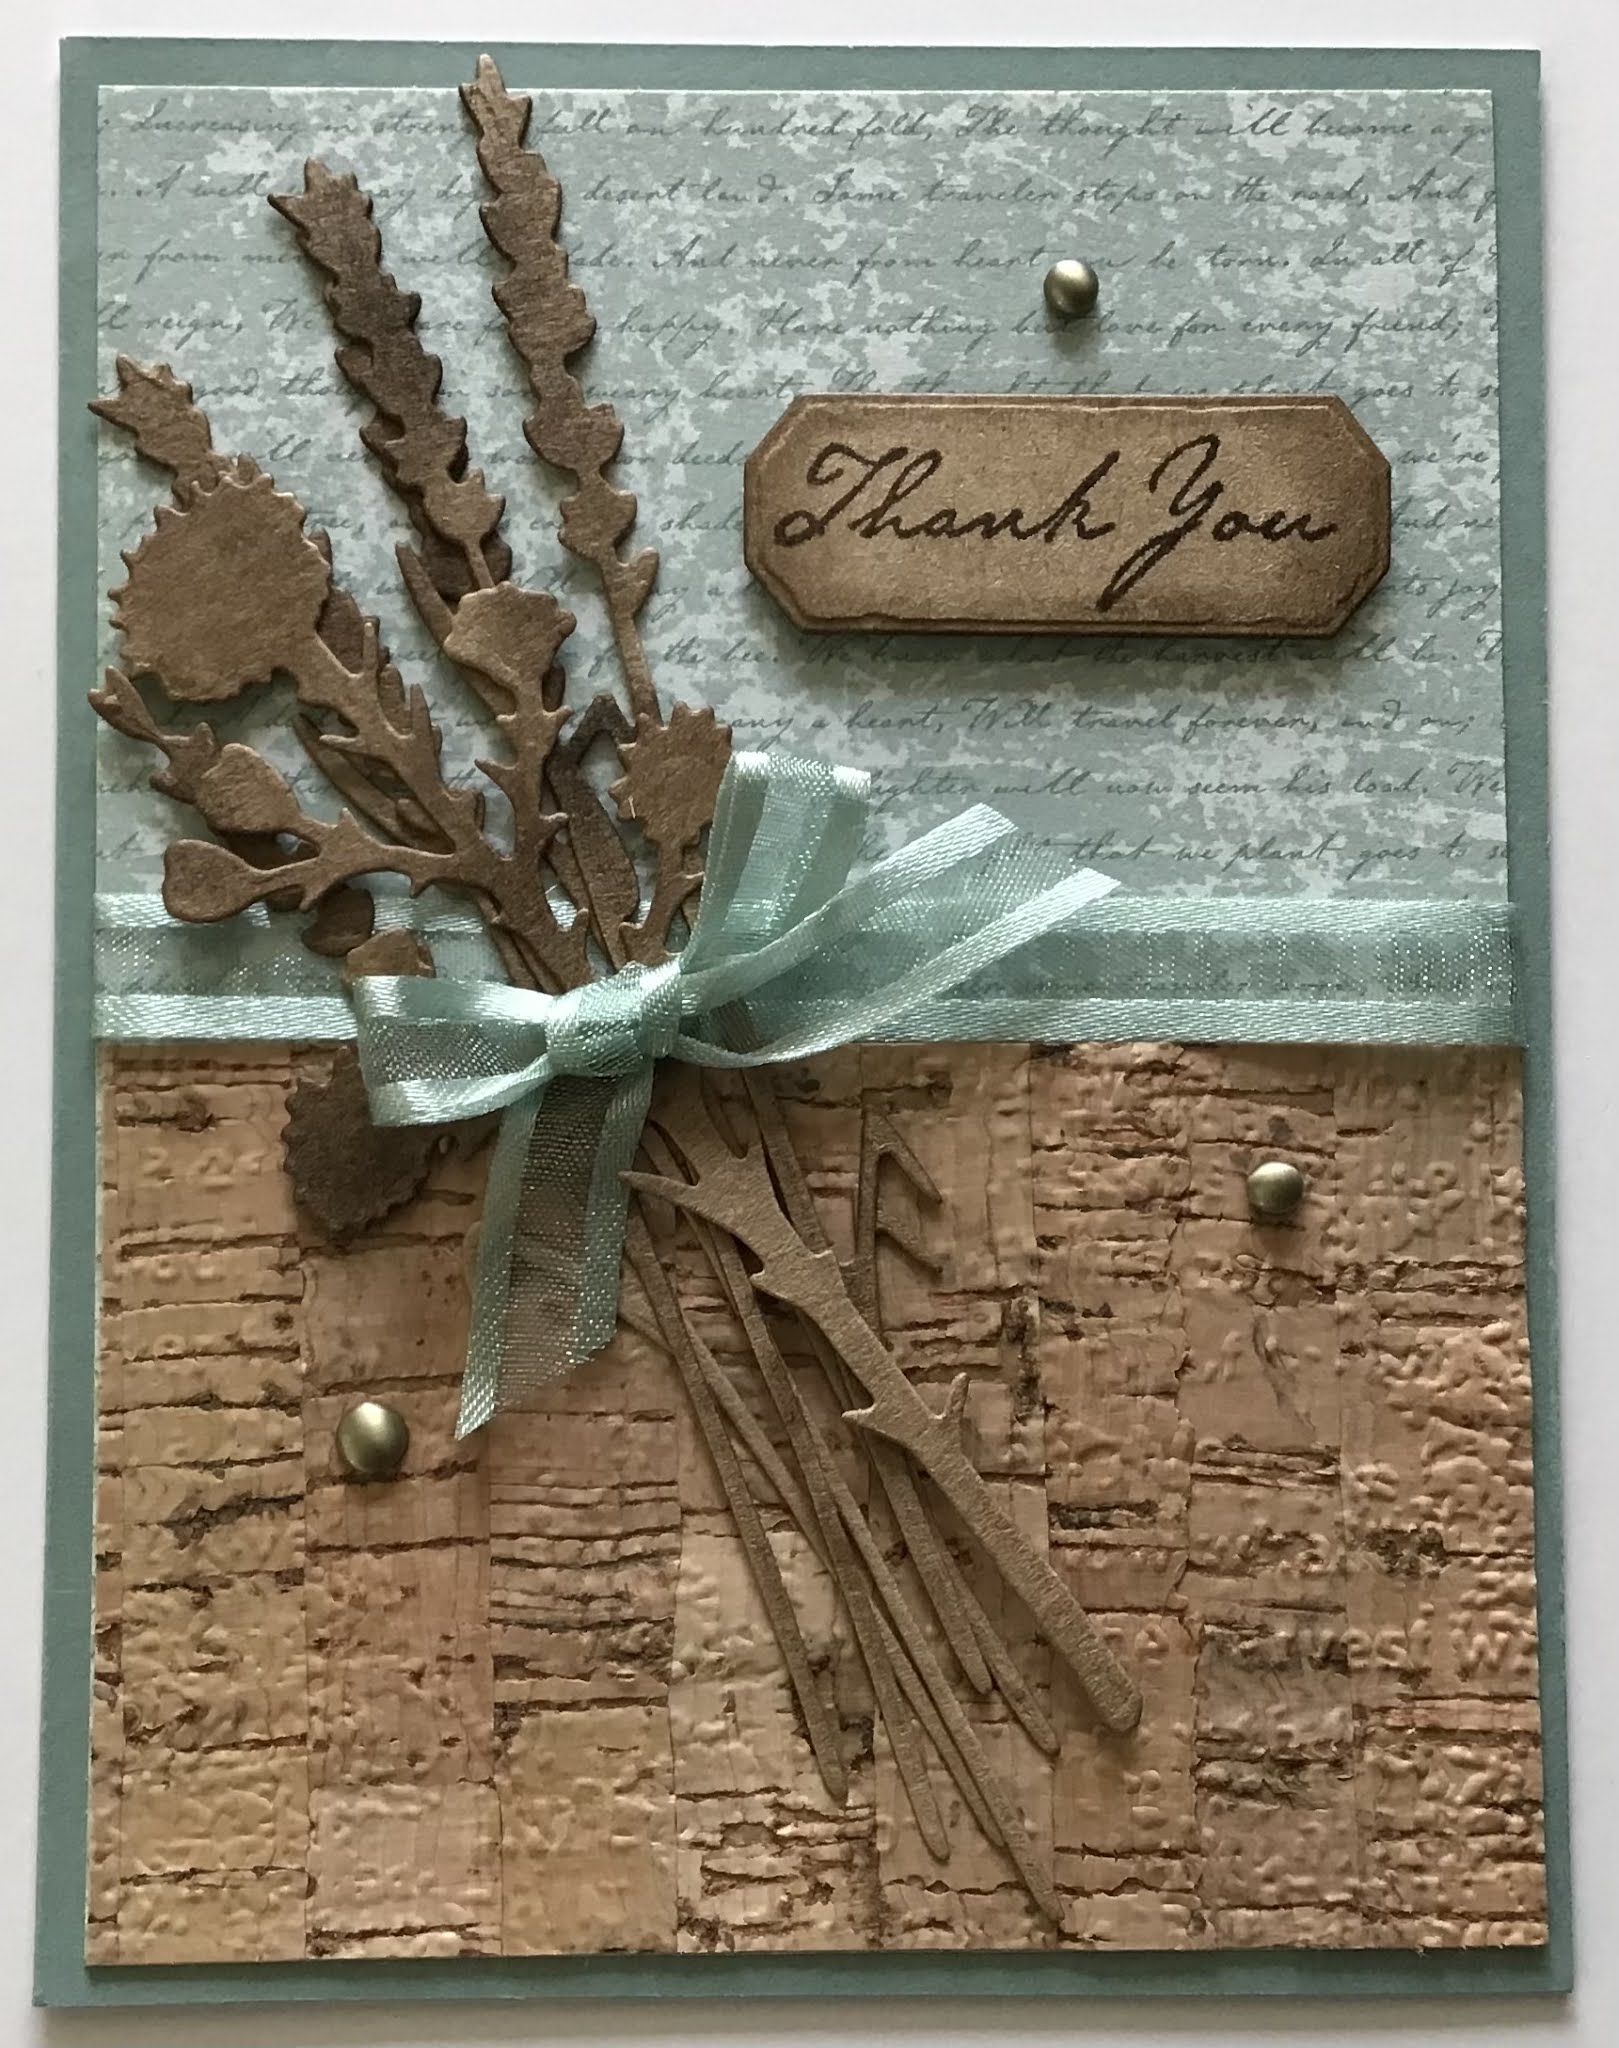
And here is the card I made:
As you can see the basic layout is simple; a portrait oriented card base with a 5 1/4” x 4” layer made from two different Designer Series Paper designs (Harvest Meadow DSP and Cork Specialty DSP). A bit of ribbon conceals the seam between the two pieces of DSP. I used 3 of the silhouette die cut images for the focal images, and added a bow. I die cut the sentiment with another one of the Harvest Dies. I finished the layout by adding 3 of the brushed metallic dots.
SUPPLIES FOR THIS CARD
* Nature’s Harvest Bundle
* Soft Succulent card base 8 1/2” x 5 1/2” scored and folded at 4 1/4”
* Harvest Meadow DSP cut at 4” x 3”
* Cork Specialty DSP cut at 4” x 2 1/2” and embossed with the Timeworn Type embossing folder - this adds just a touch more texture
* Kraft 6x6 paper - 1 sheet
* Soft Succulent Open Weave Ribbon 5” to go across the front of the card, and about 8” inches more for the bow
*Early Espresso ink
* Blending Brush
*Brushed Metallic Dots -3 bronze
* Stampin’ Seal, glue dots, and dimensionals
ASSEMBLY
* Adhere the Cork paper to the DSP making sure the two pieces together measure 5 1/4” x 4” to form the card layer
* Adhere one end of the ribbon to the back side of the card layer right above the Cork paper, then adhere the other end to the back side of the card layer. Adhere the layer to the cardbase.
* Die cut three of the silhouette images from the Kraft paper
* Stamp the greeting on the Kraft paper with Early Espresso ink and die cut it with the smaller label die
* Use a blending brush and the Early Espresso ink to add a bit of color to the die cut silhouettes and the edges of the sentiment
* Use glue dots in strategic places to adhere the silhouette die cuts together and to adhere them to the card front. I put mine at an angle
* Tie the remaining piece of ribbon in a bow and use a glue dot to place it in the center of the silhouette die cuts.
* Use dimensionals to adhere the sentiment to the upper right hand side of the card
* Finish the card with the three Brushed Metallic Dots
That’s all for today. Thank you for stopping by. Until next time…
Stamp Happy!
Kim
All stamps and stamped images ©️1990-2021 Stampin’ Up!®️


No comments:
Post a Comment