Hi Stampers!
Today I am going to share a box you can use as a starting point for Halloween treat holders. This box is 3” long x 2” tall x 1” wide. The box can be decorated directly, or sandwich the box between decorative two panels. Let’s take a look at my sample projects:


This what the box looks like:

VIDEO
TRICK OR TREAT!
LET’S MAKE A BOX FOR SOMETHING SWEET!
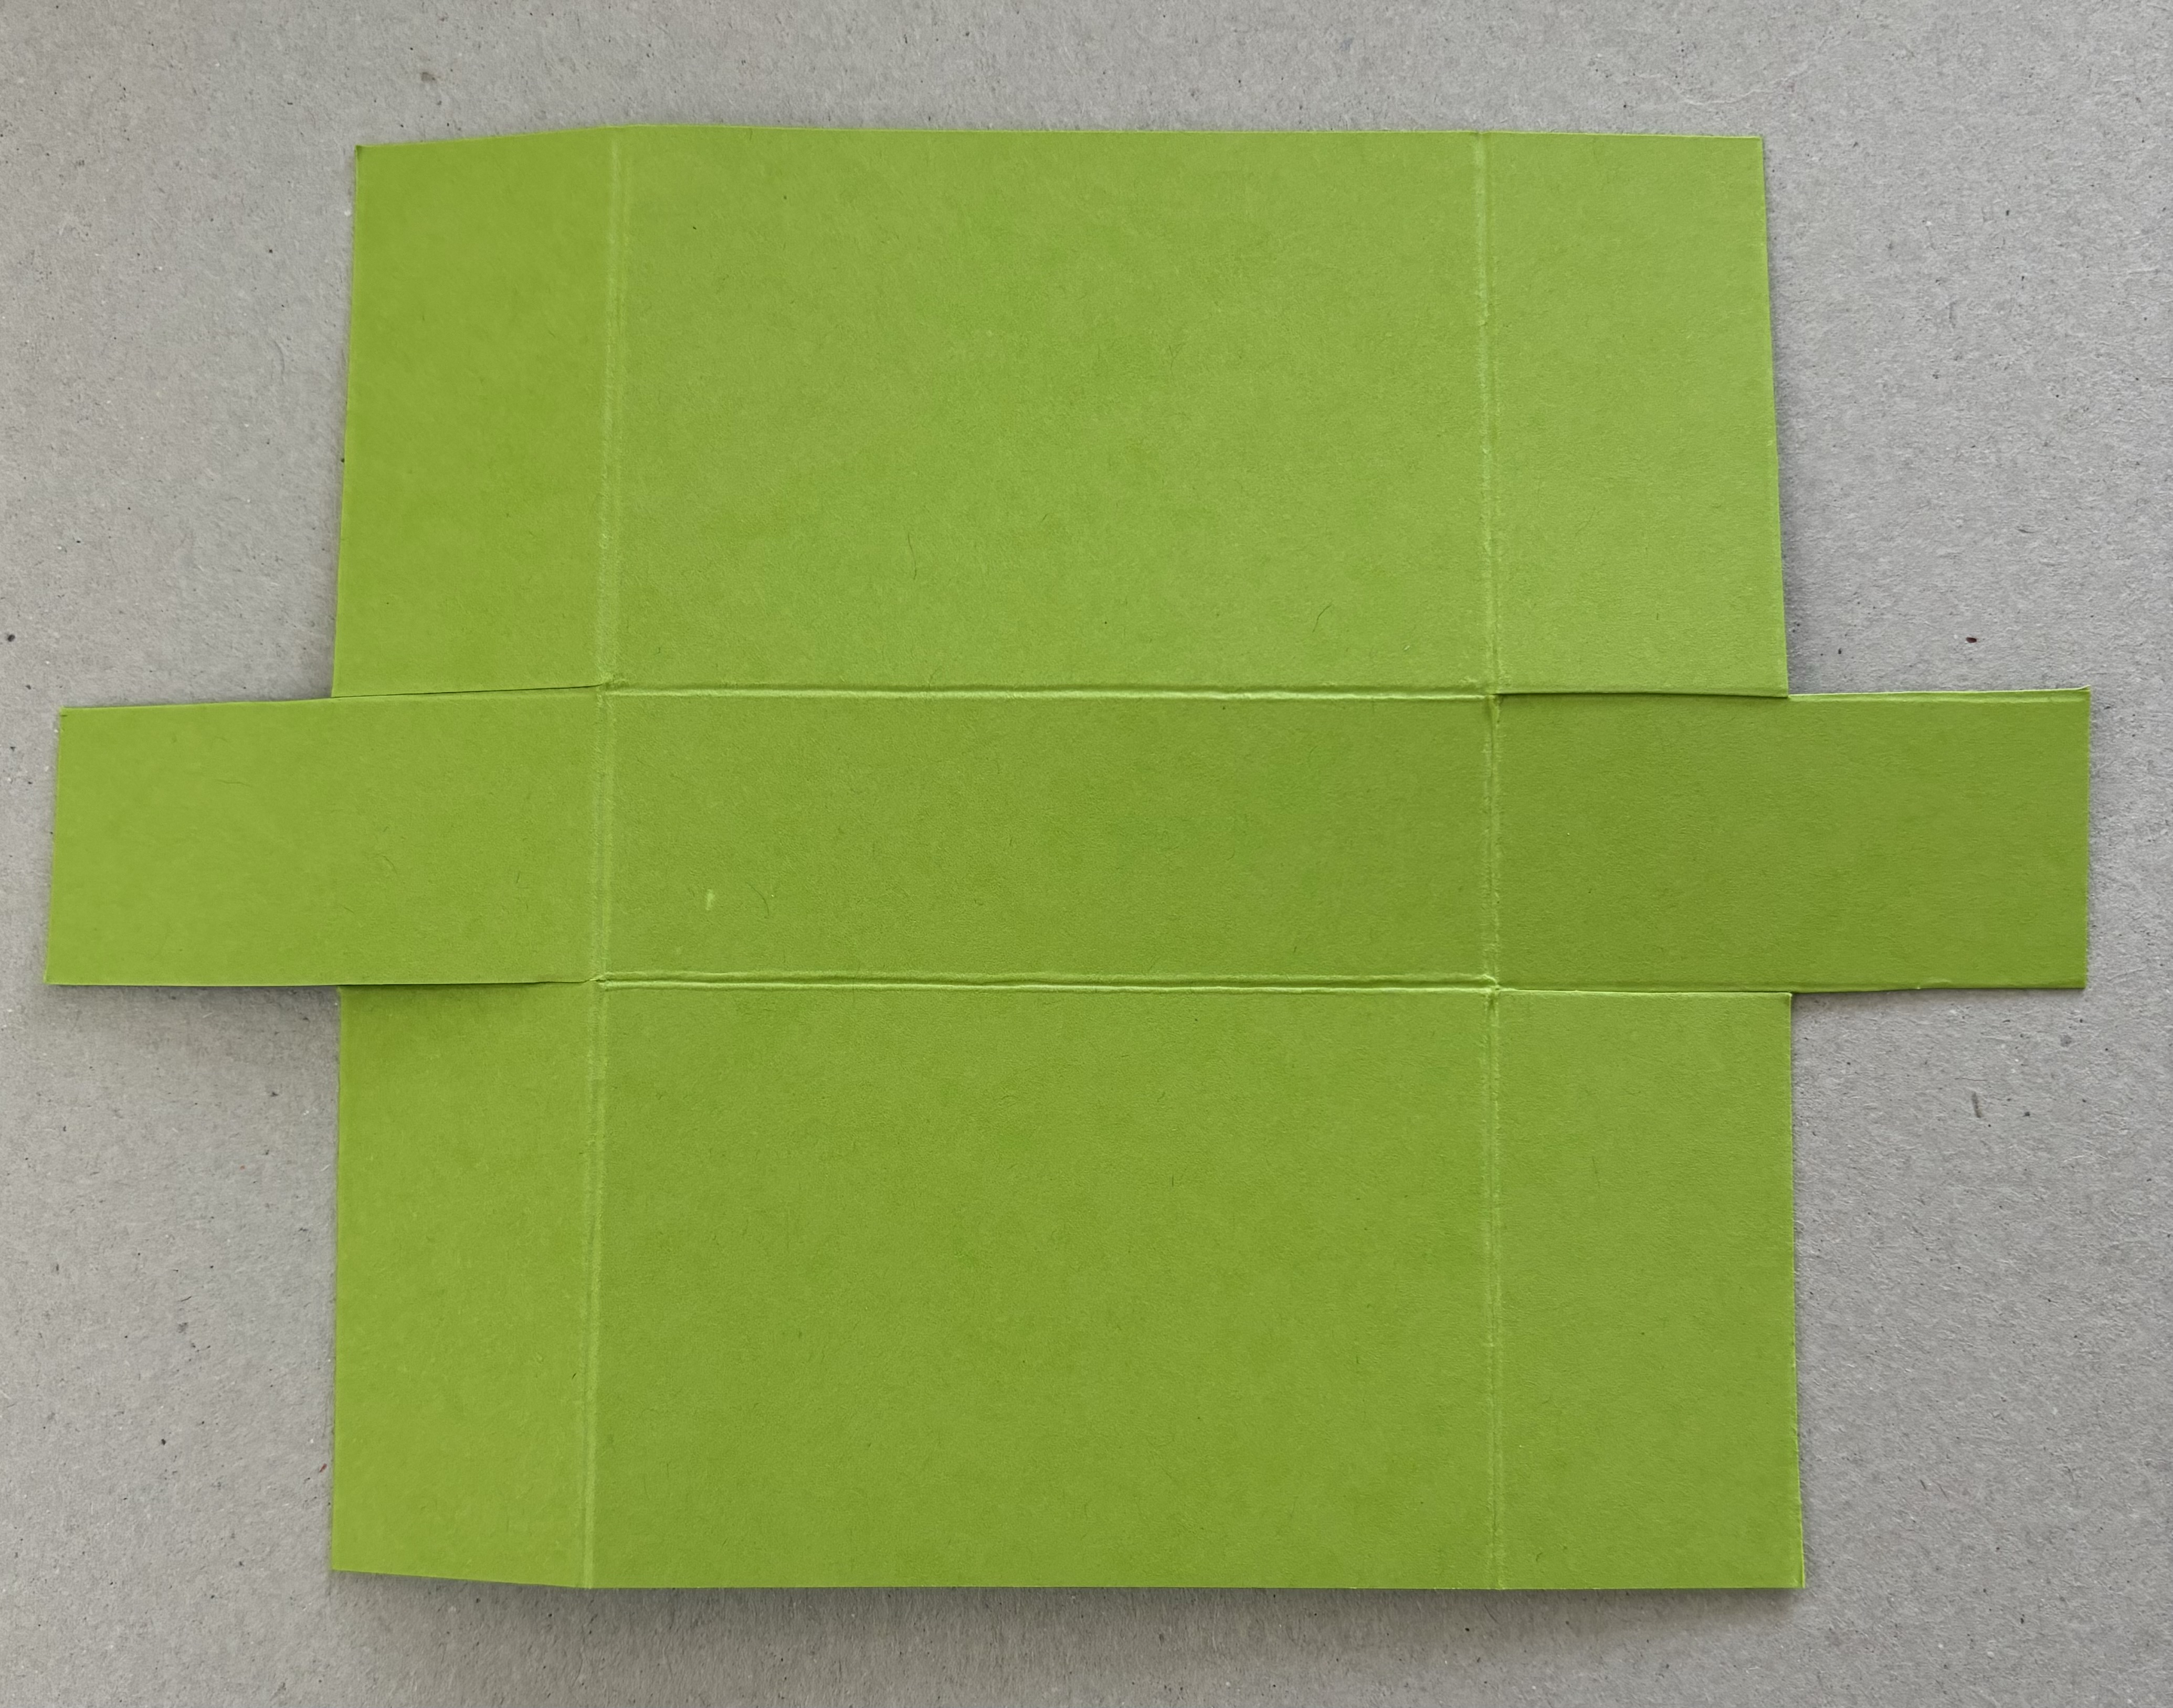
TO MAKE THE BOX
STEP 1

* Along the 7” side score at 2” and 5”.
* Along the 5” side score at 2” and 3”
STEP 2

* Along the 7” side, score at 1” down to the horizontal score line. Do the same at the 6” mark.
* Repeat the process on the other 7” side.

STEP 4
* Finish cutting the flaps apart.
* Fold score lines and burnish with bone folder.
* Place adhesive on the top side of the two longest flaps and on the back sides of the two short bottom strips on the bottom side.
* Put the box together.
* Your box should resemble the box below.

STEP 5


SUPPLIES
* Cardstock for box - green (Granny Apple Green)
* Other cardstock - black, white (Basic Black, Basic White)
* Ink - Memento Tuxedo Black; Stampin’ Blends (alcohol markers) - Smoky Slate, Basic Black, Lemon Lime Twist
* Stamp set - Trick Or Tweet (Stampin’ Up! - retired)
* Dies - squares - (Stylish Shapes - Stampin’ Up! - current)
* Adhesive
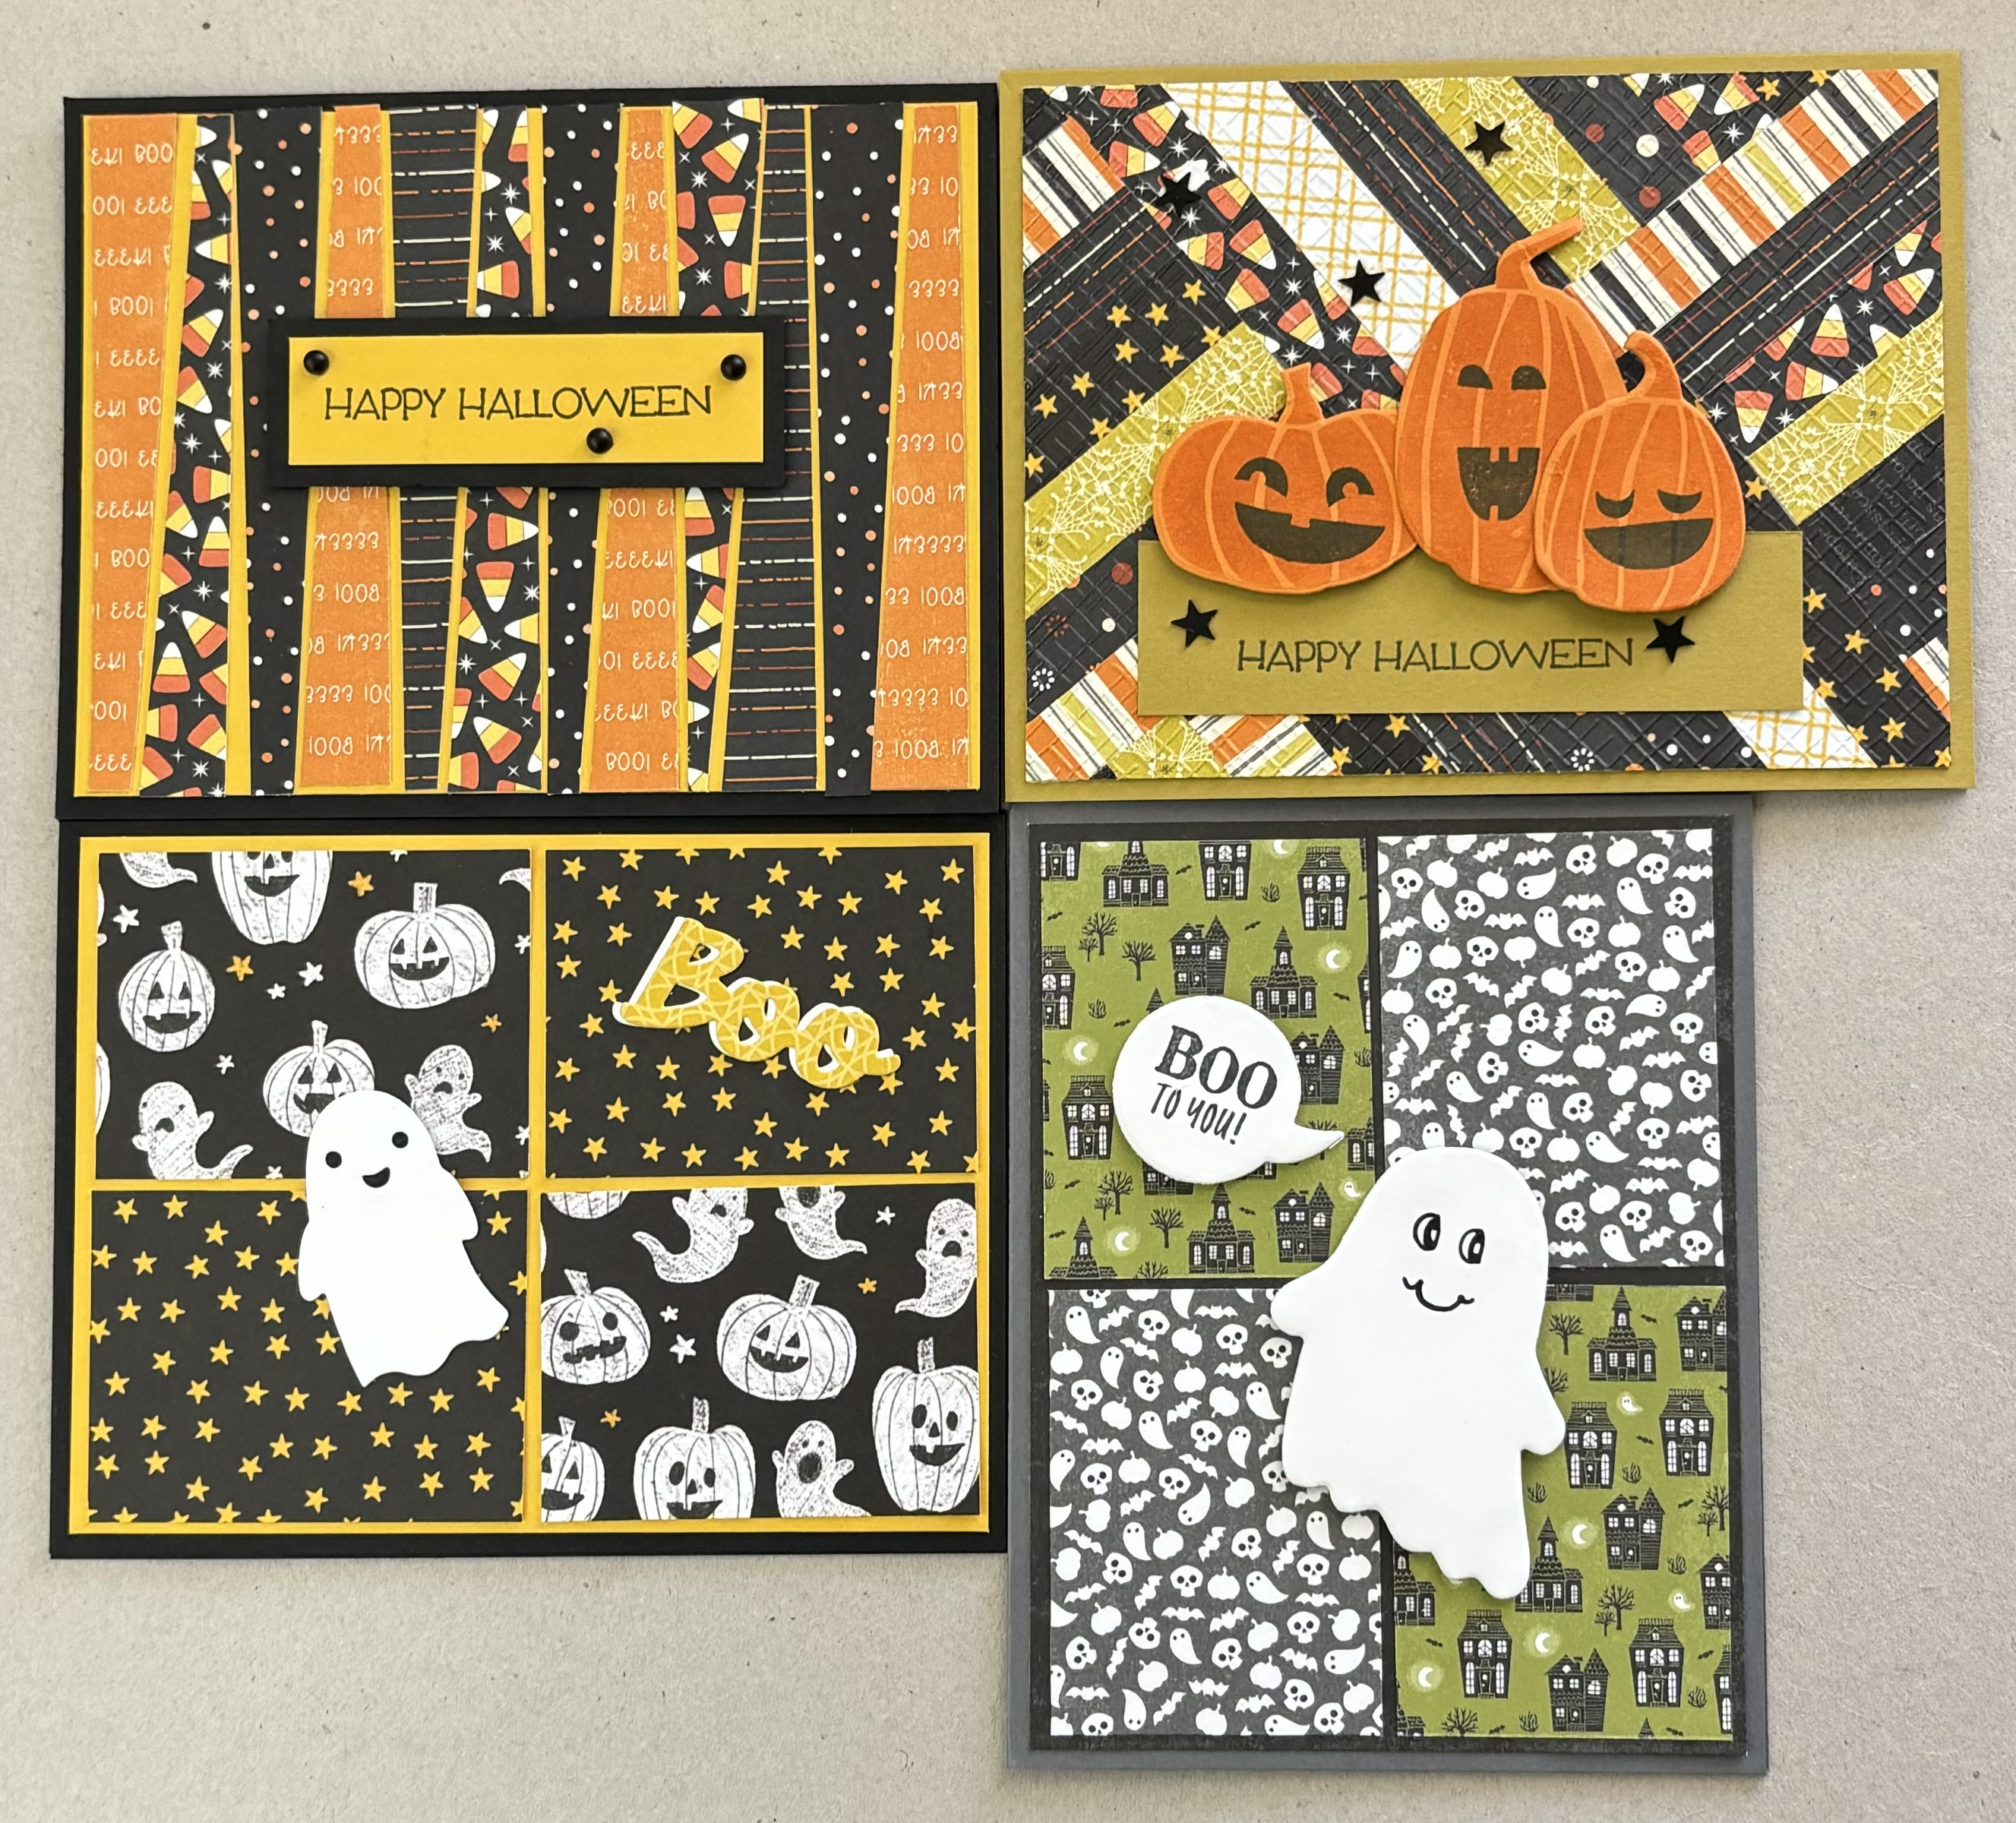
CANDY CORN TREAT HOLDER

To create this treat holder I used PRIMITIVE CANY CORN DIES from WHIMSY STAMPS. (See photo below.) This die is currently available from Whimsy Stamps. See it HERE. I purchased it from Simon Says Stamp. See it HERE
OTHER SUPPLIES
* Cardstock for box - orange (Pumpkin Pie)
* Cardstock for candy panels - Orange, yellow, white (Pumpkin Pie, Daffodil Delight, and Basic White)
* Star embellishments - yellow and orange
* Sentiment and black ink for back side of treat holder.
* Adhesive

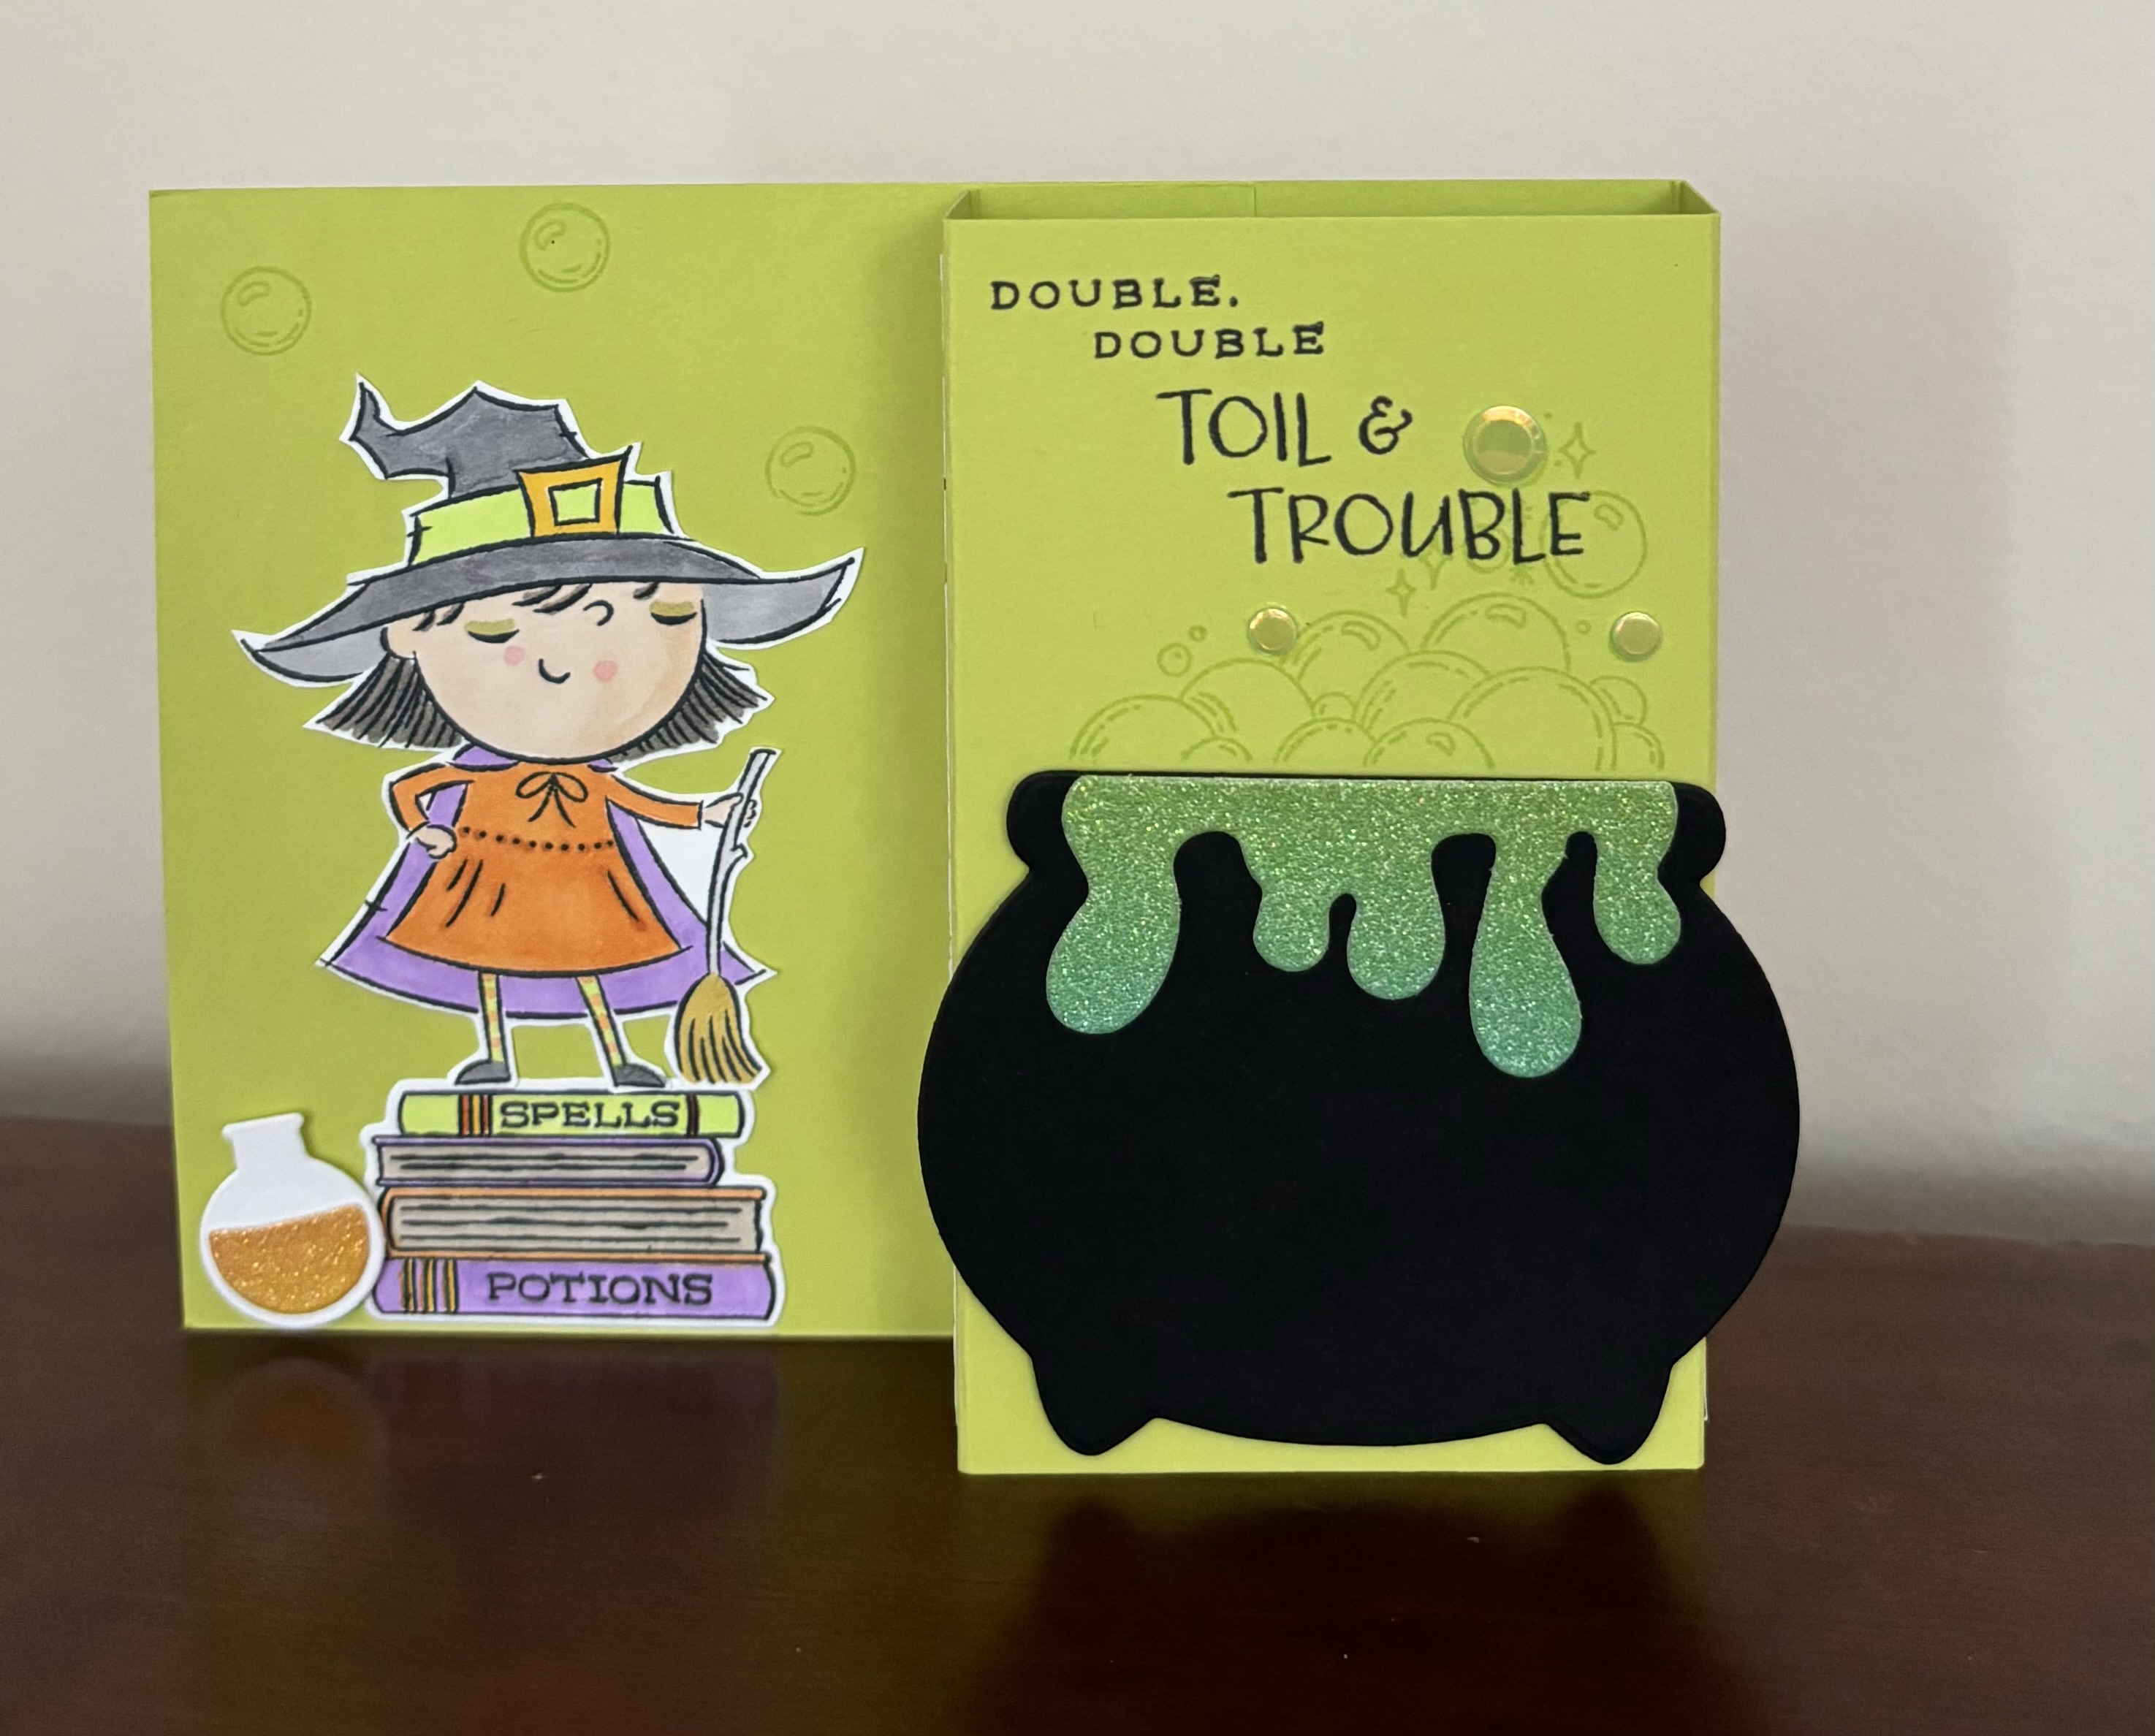
CAULDRON TREAT HOLDER

OTHER SUPPLIES
* Cardstock for box - lavender (Fresh Freesia )
* Other cardstock - black (Basic Black), glitter cardstock - purple
* Ink - Versa Mark (embossing ink), white embossing powder
* Adhesive

CAT MUMMY TREAT HOLDER

SUPPLIES
* Cardstock for box - black (Basic Black)
* Cardstock for die cuts - white (Basic White)
* Stamps for images and greetings (Trick Or Tweet - Stampin’ Up! - retired)
* Inks - Memento Tuxedo Black, Pumpkin Pie; Stampin’ Blends (alcohol markers) - Pumpkin Pie, Peach Pie, Daffodil Delight, Pretty In Pink, Smoky Slate, Pool Party
* Dies - circles (Stylish Shapes - Stampin’ Up!)
* Adhesive
SPOOKY FUN TREAT HOLDERS

This box is easy to make. It can be used as a treat holder for any occasion. When I need party favors or need something to hold little gifts and treats for co-workers, teachers, or anyone, this box is my go to starting point. It holds quite a bit of fun-sized candies, small toys and trinkets, lip balm, smaller tubes of lotion, travel sized toiletry items, etc. Yes, I have been known to fill these boxes with a small tube of toothpaste and a travel toothbrush along with a few sweet treats. This box can be dressed up a lot, but when I make them to hand out for Trick or Treating, I kept them simple - let’s be real - the box will soon be in the trash. When I create these as party favors or to pass out to groups, like co-workers, a church group, a school class, and the like - I add a bit of bling. Many times I put the decorated and filled box inside a small clear cellophane bag and tie a ribbon around it.
That’s all for today and this wraps up my Stamp Happy Halloween series for 2024. Thank you so much for joining me. Until next time . . .
Stamp Happy!
Kim
NOTE
When possible I provide sources and availability information on products I use for my projects. This information is provided as a resource only. I am not affiliated with nor am I endorsed or compensated by any company.
CARDSTOCK - All is from Stampin’ Up! All colors used are current
INK - Memento (Tuxedo Black), Stampin’ Up! (Pumpkin Pie) - current; Stampin’ Blends (alcohol markers from Stampin’ Up!) All colors are current.
STAMPS & DIES - As stated with each project