Hi Stampers!
Today I am sharing three different card layouts using strips of cardstock in different colors. The color blocked panels all measure 5” x 3 3/4”. All the cardstock strips are 1 1/4” wide cut at varying lengths. I chose bright colors for my cards, but any color combination will work. Once the panel is assembled I embossed it with an embossing folder, adhered it to a mat, and then to a card base. I added a greeting and a few gems to finish the cards. Let’s take a look!

VIDEO
COLOR BLOCKING CARD LAYOUTS
USING CARDSTOCK STRIPS
WHAT YOU NEED TO MAKE THE CARDS
* An A-2 card base (8 1/2” x 5 1/2” scored and folded at 4 1/4” or 11” x 4 1/4” scored and folded at 5 1/2”)
* Cardstock strips cut at 1 1/4” x 1 1/4” , 1 1/4” x 5”, and 1 1/4” x 3 3/4”
* Printer paper or other light weight paper cut at 5” x 3 3/4”
* Cardstock for mat cut at 5 1/4” x 4”
* Embossing Folder - embossing the piece helps hold the pieces together, adds a little strength to the panel, and it looks great!
* Greeting
* Embellishments
* Adhesive of choice
My three sample cards are all in portrait orientation, but, the design can be turned to landscape orientation too.
COLOR BLOCKING WITH SQUARES

* Card Base - A-2 size
* Inside Panel - White or light colored cardstock cut at 5” x 3 3/4”
* Mat -cardstock cut at 5 1/4” x 4”
* Squares - Twelve 1 1/4” squares - I used 3 each of 4 different colors
* Backing for Squares - Printer Paper or light weight paper cut at 5” x 3 3/4”
* Embossing Folder
* Greeting (I used a stacked die cut)
* Stamp for inside greeting
* Ink for inside greeting
* Embellishment - optional
* Adhesive
WHAT TO DO
* Adhere squares to printer paper to form the focal panel.
* Emboss the focal panel with the embossing folder.
* Adhere the focal panel to the mat.
* Adhere matted panel to the card base.
* Add the greeting
* Add embellishments
* Stamp and adhere inside panel
WHAT I USED
* Cardstock - Melon Mambo, Basic White, Basic Black, Pumpkin Pie, Lemon Lime Twist, Lemon Lolly(Stampin’ Up!)
* Embossing Folder - Beautiful Butterflies (Stampin’ Up!)
* Greeting - Birthday Chick Dies (Stampin’ Up!- retired)
* Embellishments - Enamel Dots (Simple Stories)
COLOR BLOCKING WITH LONG STRIPS

WHAT I USED
* Cardstock - Lemon Lime Twist, Basic White, BasicBlack, Melon Mambo, PumpkinPie (Stampin’ Up!)
* Embossing Folder - Sea Shells (Stampin’ Up! retired)
* Greeting - Happy Birthday Die (Pink & Main)
COLOR BLOCKING WITH SHORT STRIPS

Create this card layout exactly like the previous two layouts, but use three colors of cardstock cut in 1 1/4” x 3 3/4” strips.
WHAT I USED
* Cardstock - Pumpkin Pie, Basic Black, Basic White (inside), Melon Mambo, Lemon Lime Twist, Lemon Lolly (Stampin’ Up!)
* Embossing Folder - I don’t know the name, but it is an older one from Sizzix
* Greeting - Let’s Celebrate Happy Birthday dies (Scrapbook.com)
* Embellishments - Enamel Dots (Simple Stories)
CHRISTMAS VERSION OF THE COLOR BLOCKING

This is the landscape version of the layout used for the previous card. It is four strips of cardstock cut at 3 3/4” x 1 1/4”. This time that colorful focal panel is now the background panel. It was adhered to the backside of the Merry Christmas cover plate die. The card front was then adhere to a white card base, so no need for an inside panel.
WHAT I USED
* Cardstock- Basic Black, Basic White (card base), Poppy Parade, Tahitian Tide (retired), Granny Apple Green, Melon Mambo (Stampin’ Up!)
* Cover Plate Die - MerryChristmas (Scrapbook.com)
* Embossing Folder - Texture Fades, Quilted (Tim Holtz)
Embellishments - retired (Stampin’ Up!)
VIDEO CARDS
NO EMBOSSING FOLDERS? NO PROBLEM!

COLOR BLOCKING AND EMBOSSING INK WITH BACKGROUND STAMP

For this card I created my 3 3/4” x 5”panel with the three strips of 1 1/4” x 5” cardstock. Next I inked a background stamp with clear embossing ink, and stamped the image on the panel. This creates a watermark like effect. It is a subtle, but effective addition to the panel.
WHAT I USED
* Cardstock - Crushed Curry, Basic Black, Basic White (inside panel), Coastal Cabana, Pumpkin Pie,Tahitian Tide (retired) - all from Stampin’ Up!
* Ink - Tuxedo Black (Memento), Embossing Ink (Versa Mark)
* Stamps - Crackle - retired, (Stampin’ Up!), Essential Sentiments (Waffle Flower)
* Embellishments - Mat Dots (retired) Stampin’ Up!
COLOR BLOCKING WITH BLACK INK AND BACKGROUND STAMP
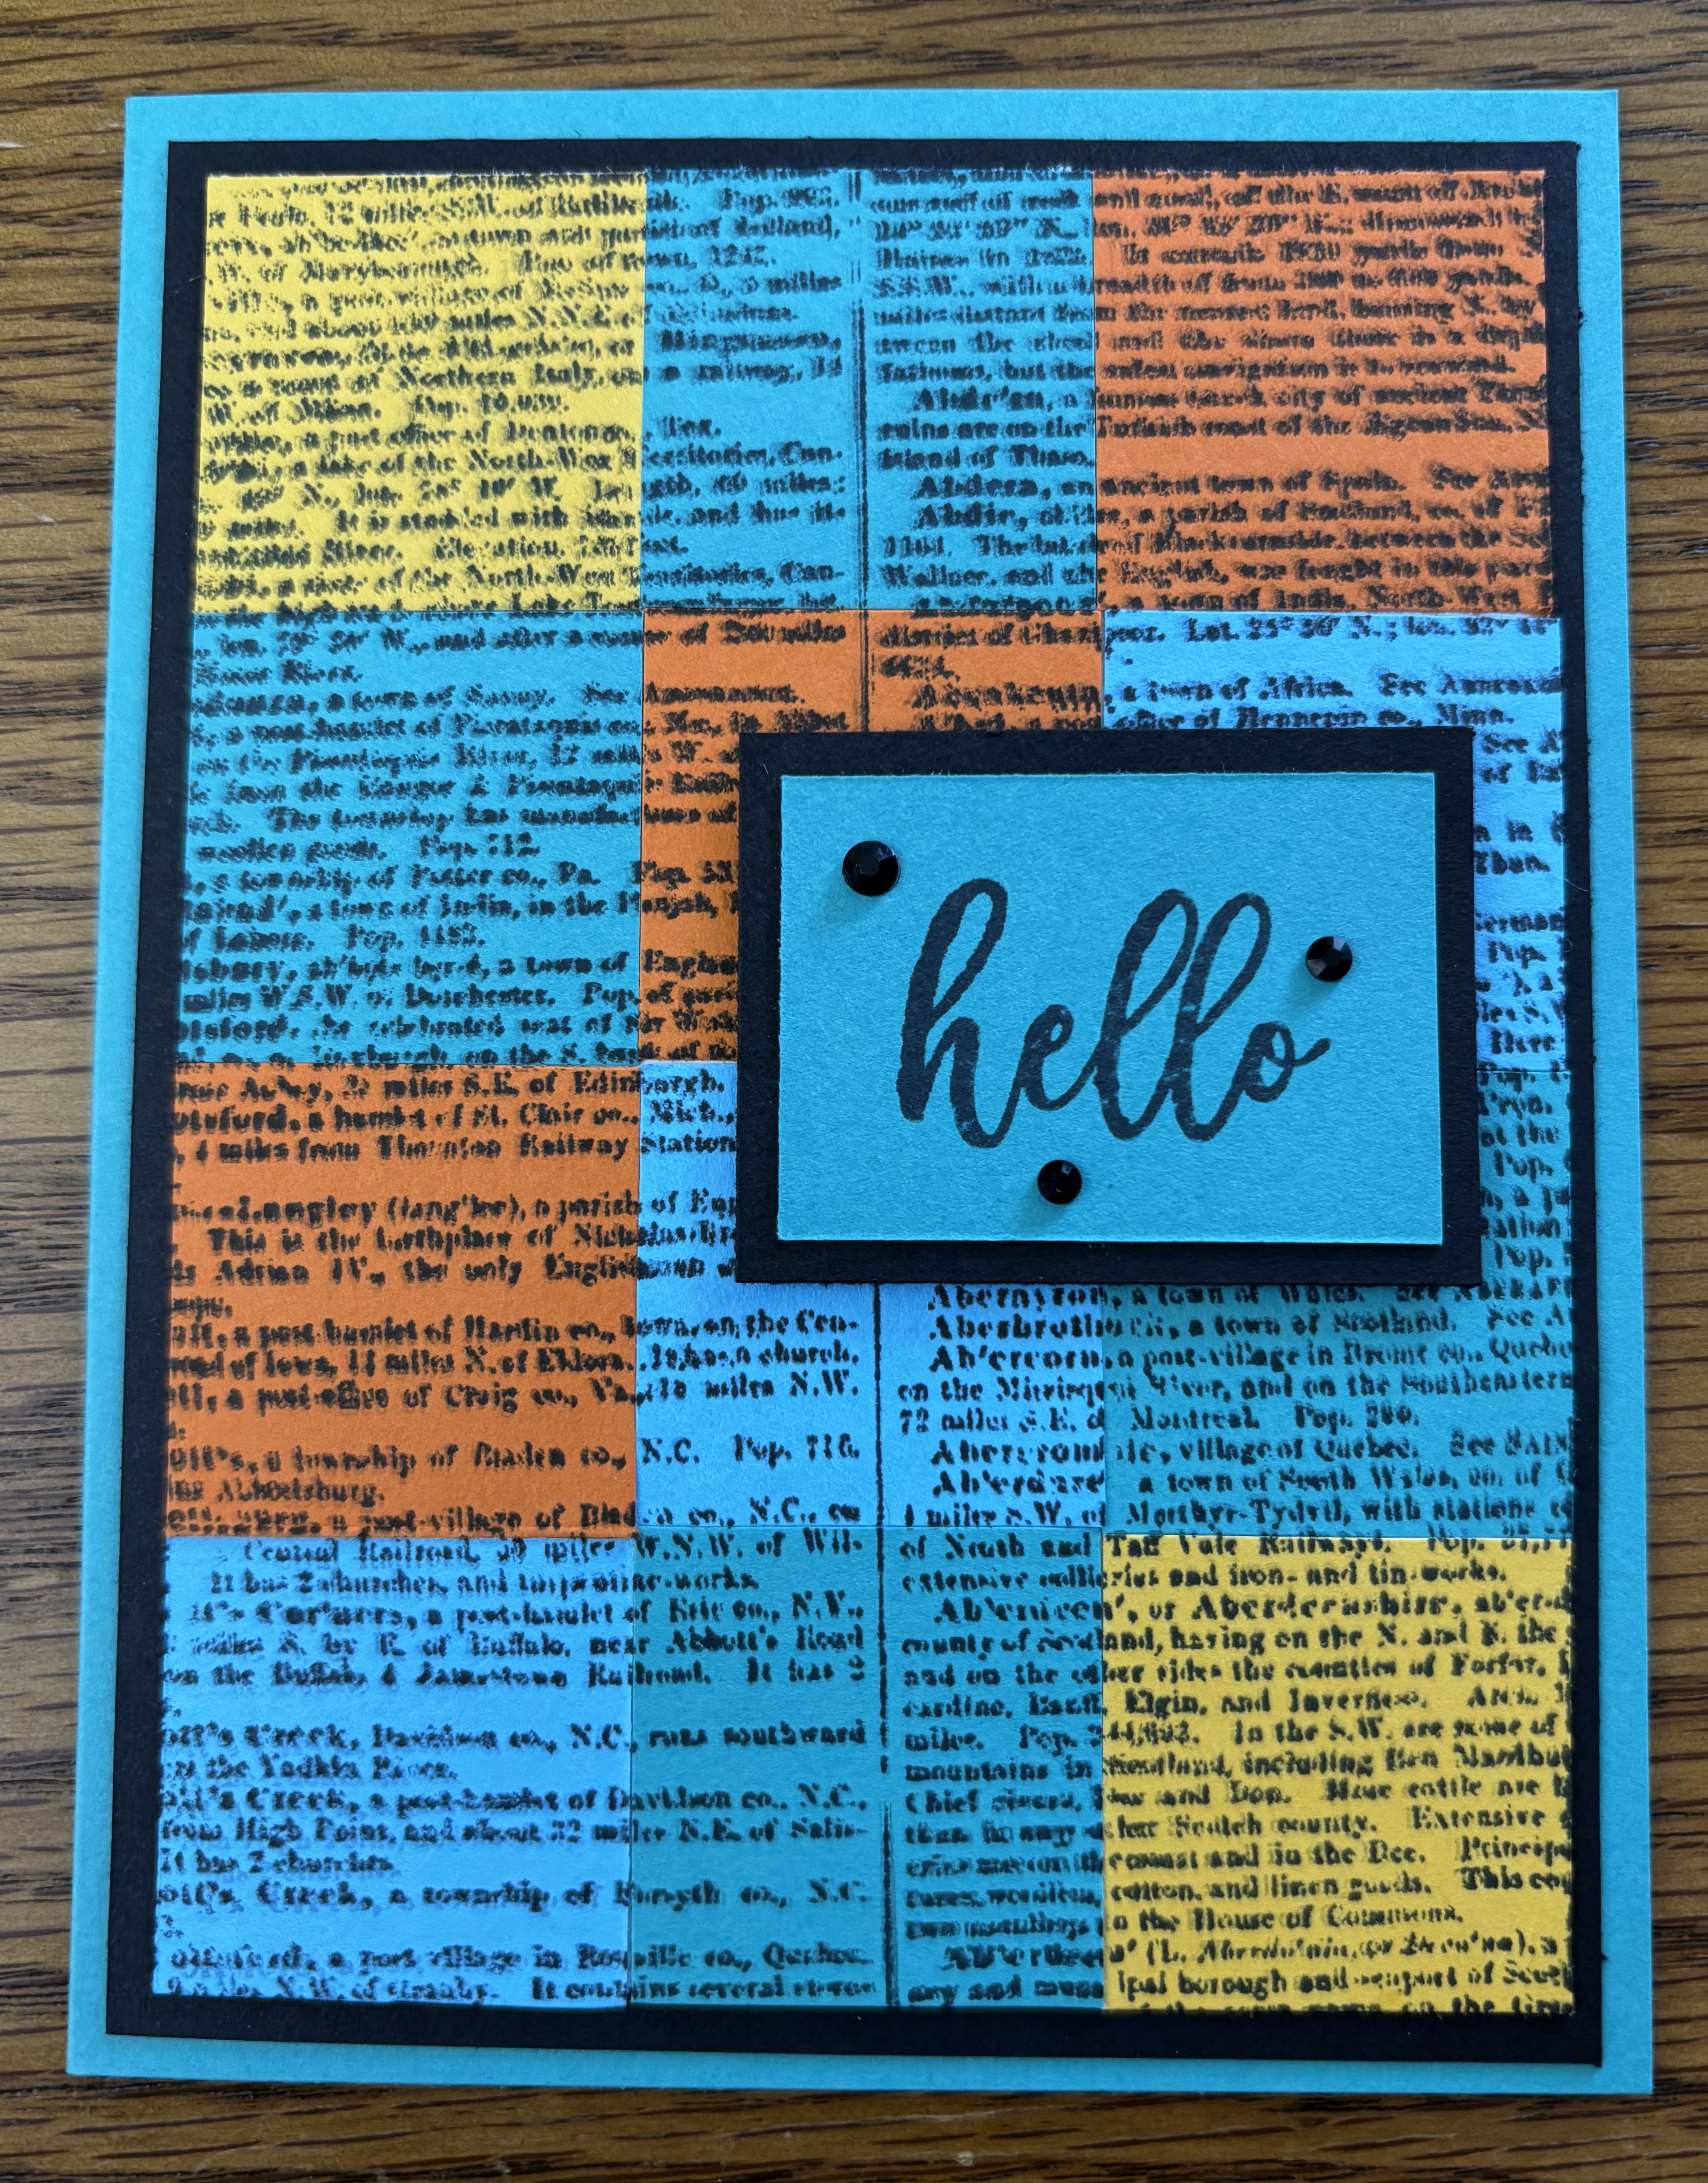
After completing my panel using 1 1/4” squares, I used a background stamp inked in black to add interest to the panel.
WHAT I USED
* Cardstock - Same as previous card
* Ink - Tuxedo Black (Memento)
* Stamps - Dictionary (retired) Stampin’ Up! , Essential Sentiments (Waffle Flower)
* Embellishment - Black Gems - retired (Stampin’Up!)
COLOR BLOCKING - JUST CARDSTOCK

* Cardstock - Same as previous two cards
* Ink - Tuxedo Black (Memento)
* Stamps - Essential Sentiments (Waffle Flower)
* Embellishment - Mat Dots (retired) Stampin’ Up!

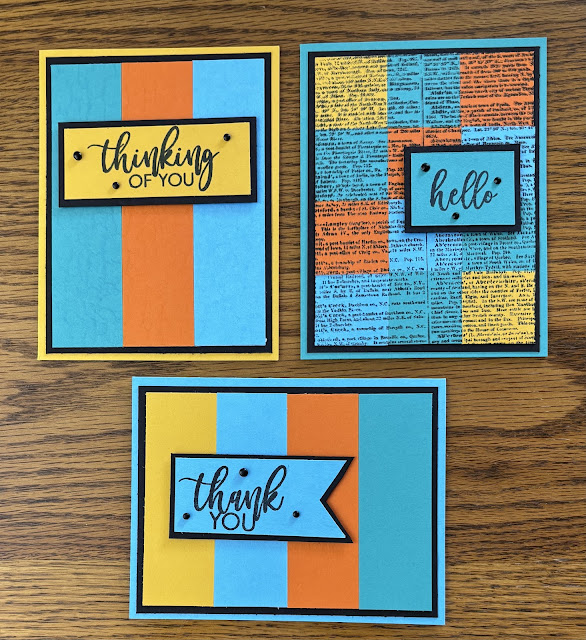
Color blocking layouts are easy to create, a great way to use cardstock scraps, and they are just a lot of fun. I hope you give these layouts a try, or come up with your own color blocking layouts!
NOTE - I flagged the end of the greeting and its mat to create the banners.
COLOR BLOCK CARDS USING 1/4” WIDE STRIPS OF CARDSTOCK


That’s all for now. Until next time . . .
Stamp Happy!
Kim


